I began wrapping up the interior controls installation by adding all the necessary washers (which are pain to install) to the Aileron Pushrod – to – Control Stick attachments. This included tightening the jam nuts on all the pushrods and ensuring that a sufficient number of threads are available on either end to ensure that if something does come loose, nothing can fully unscrew. I then marked everything with torque paint.


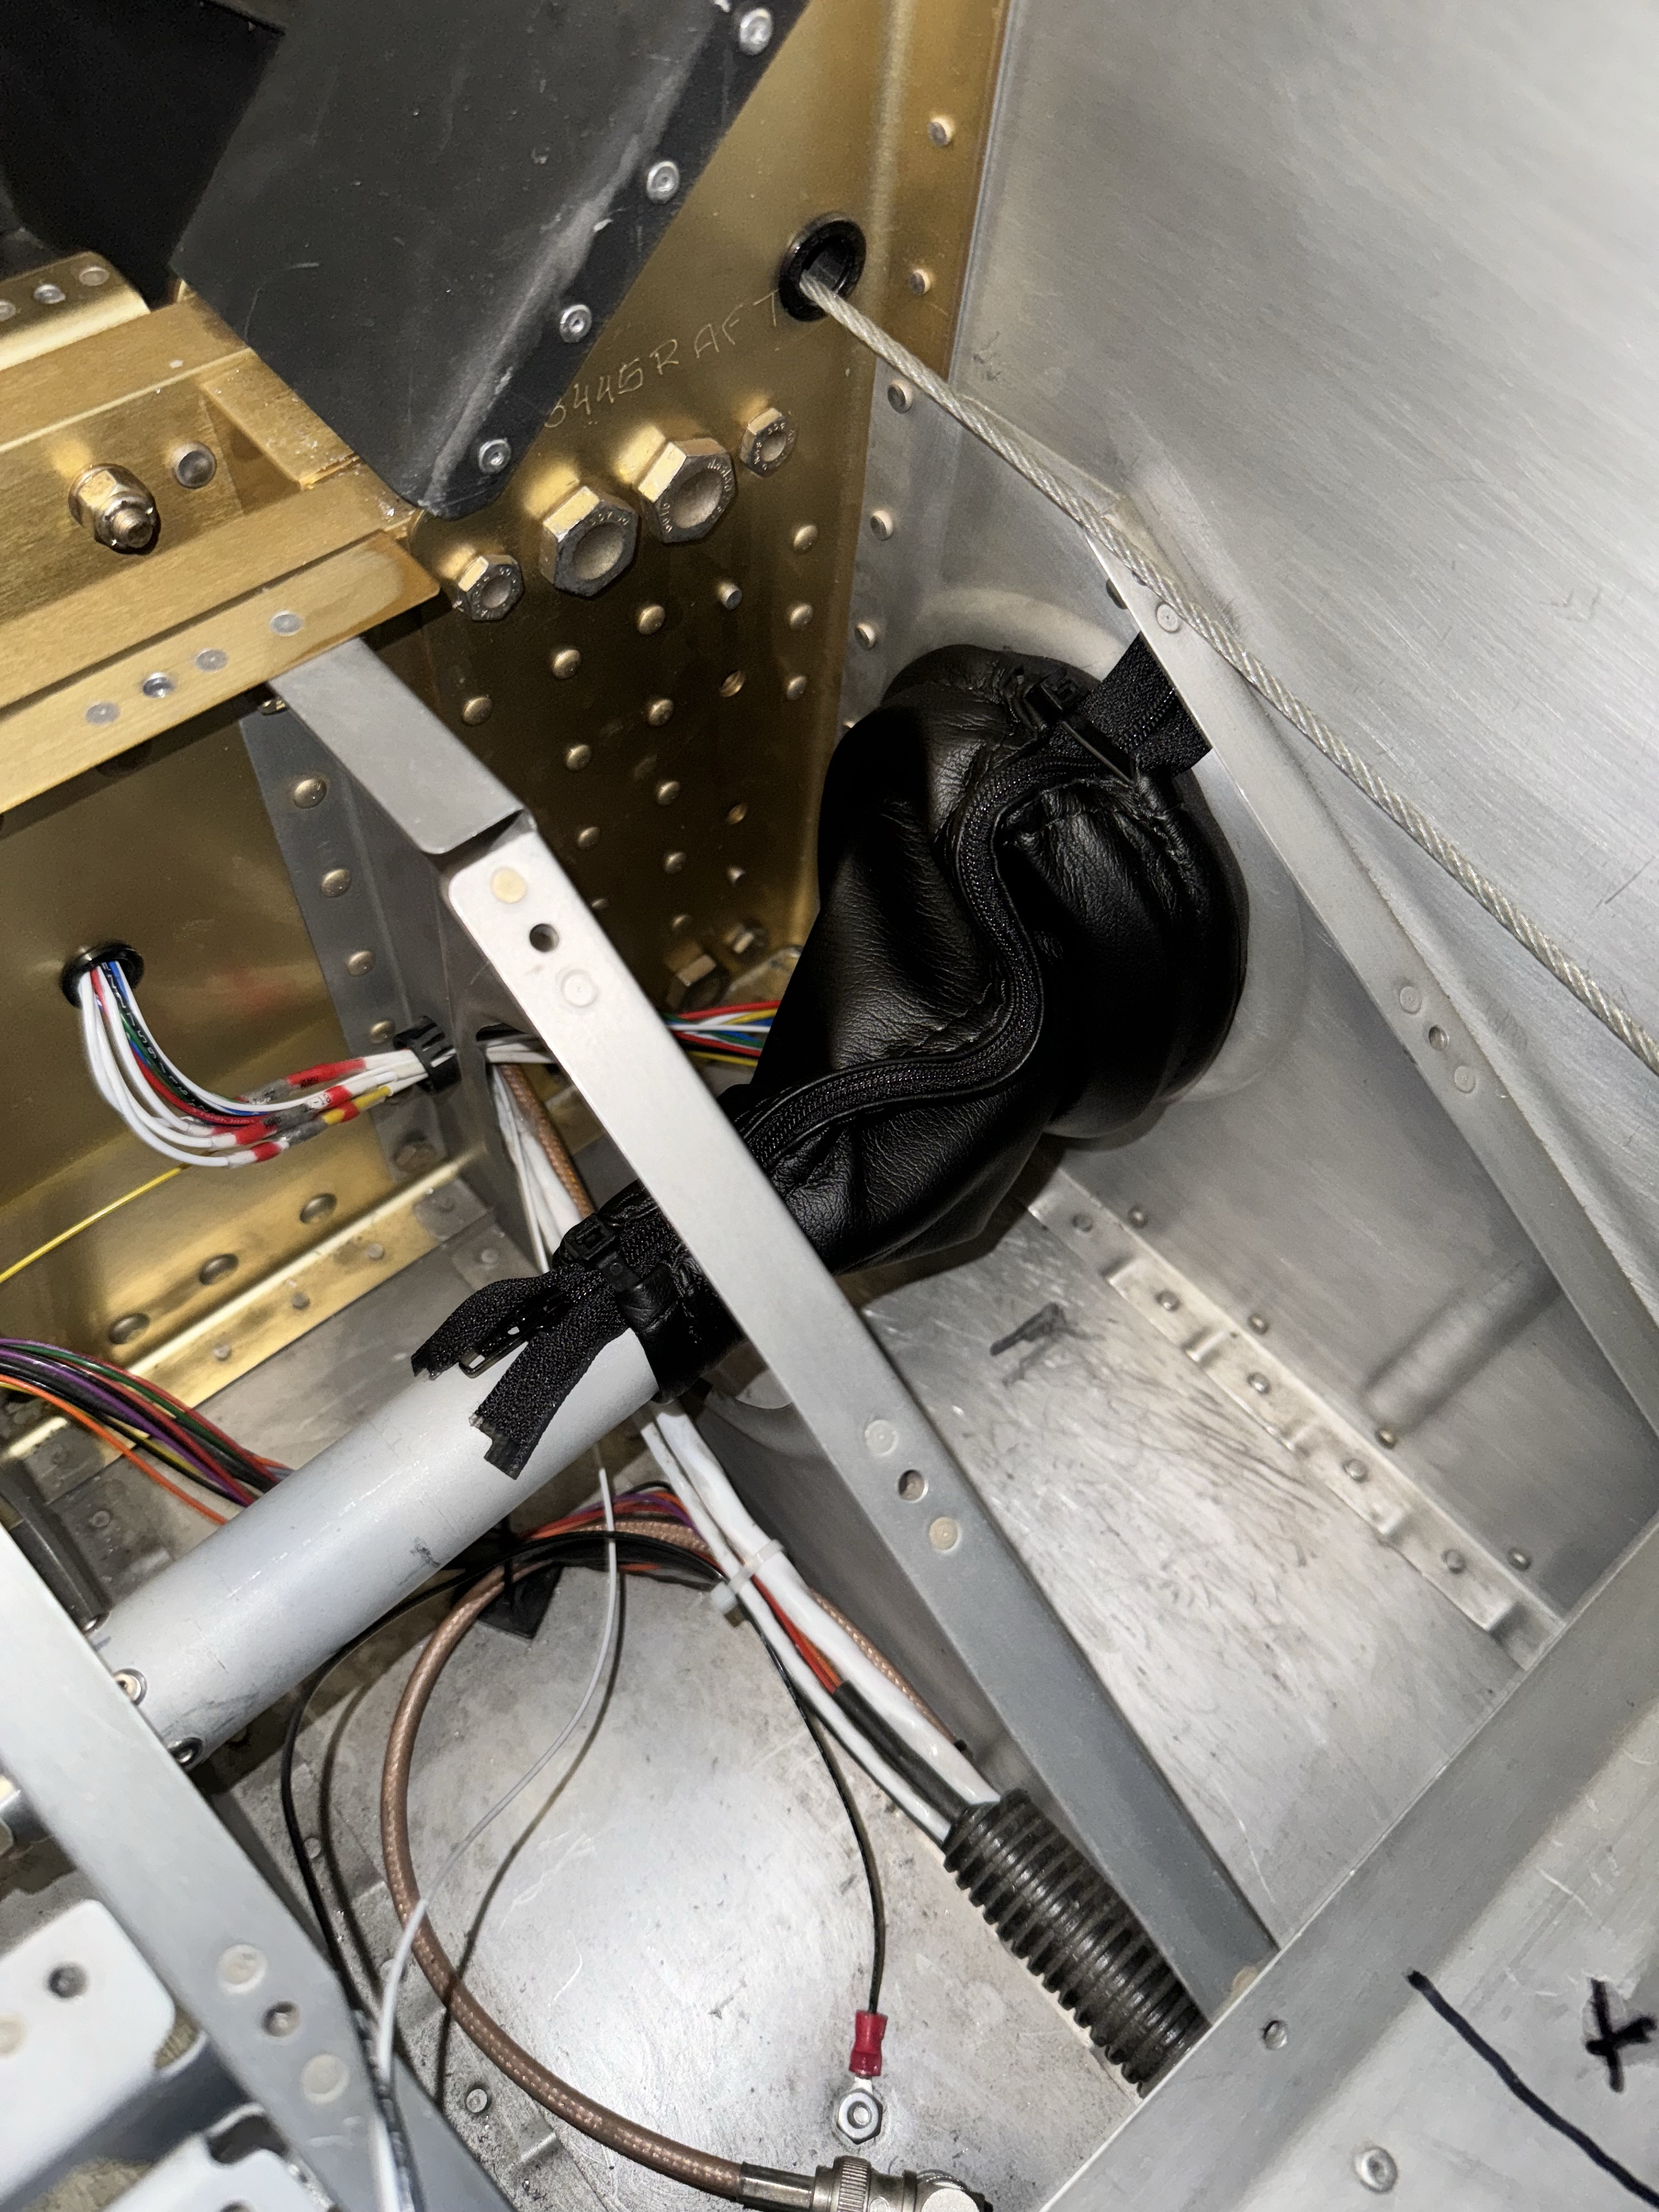
While I had the floor pans out and working on the aileron pushrods, I decided to install the aileron pushrod boots. These are leather covers that attach over the pushrods to prevent air from entering the cabin. They are from Classic Aero Designs and were quite easy to install. The provided instructions are very clear. Another great product to go with my complete interior!
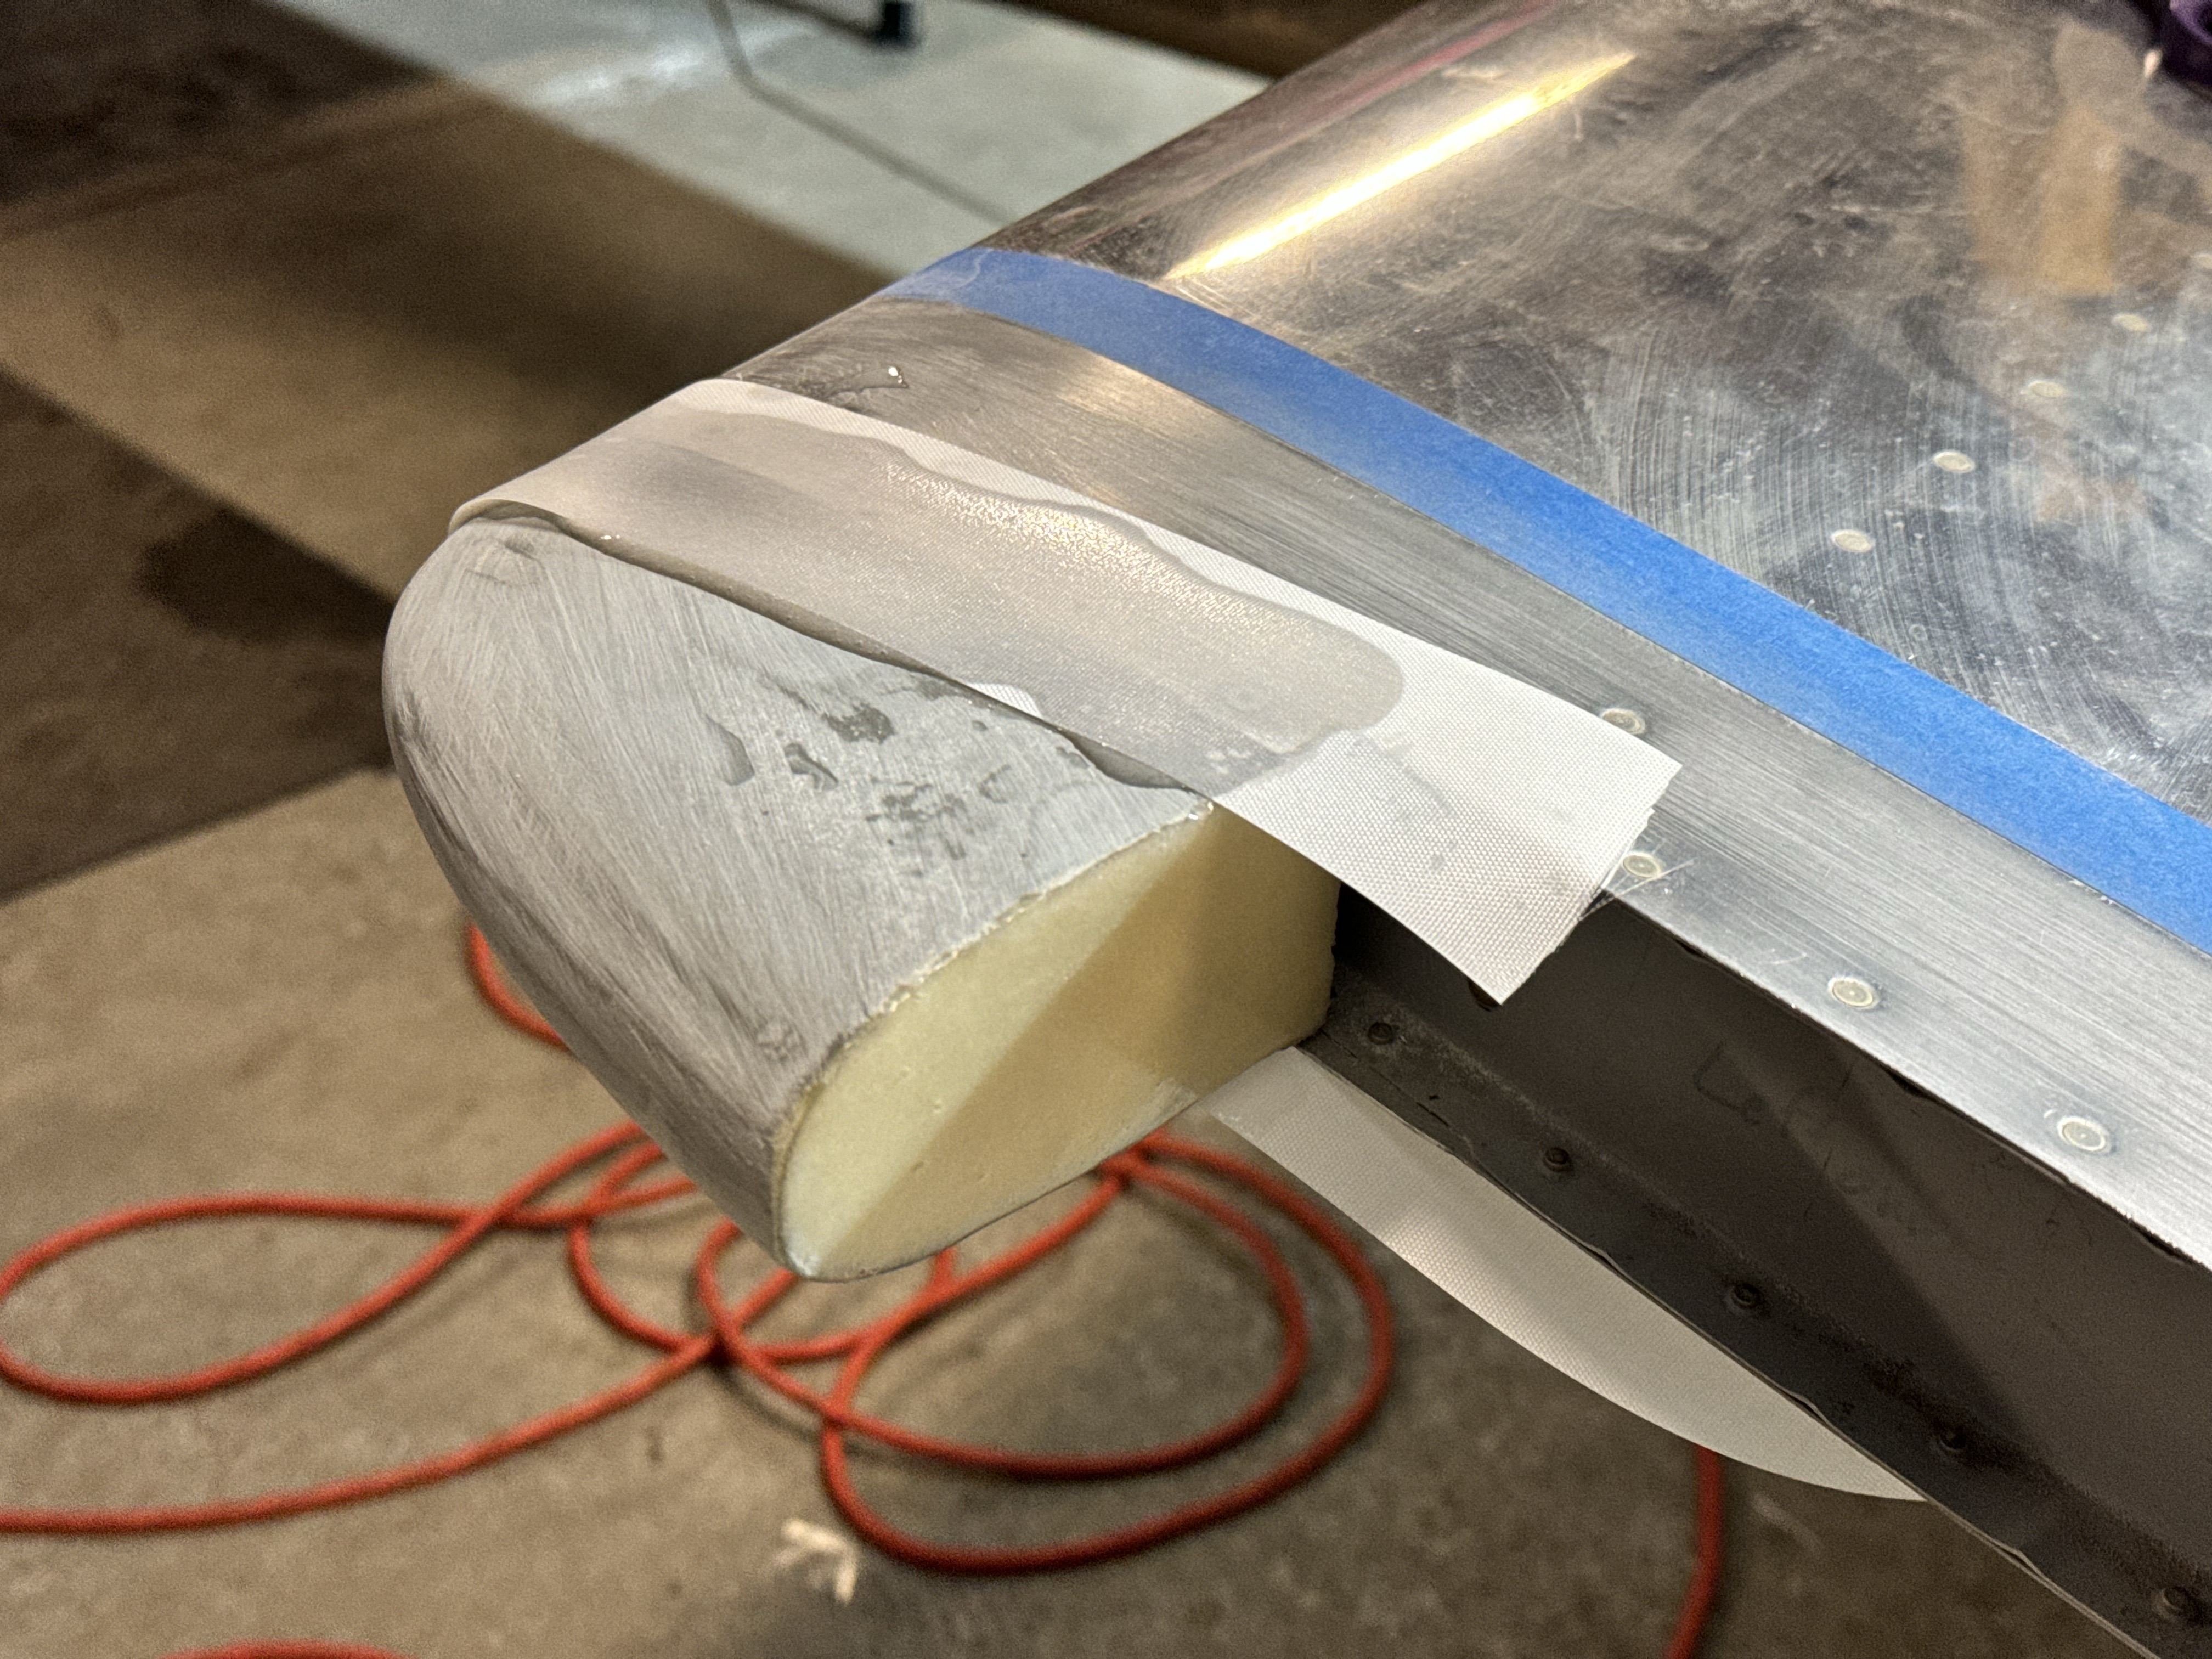
In parallel to all the above items, I began working on some of the fiberglass parts on the plane. Starting with the Horizontal and Vertical Stabilizer tips. They are pop-riveted to the surfaces, and have some foam and fiberglass filling to close gaps around the attachments. I also filled the gaps and glassed over the joint after riveting them to the surfaces. This is an iterative process and the epoxy curing time allows for a lot of work to get done in between. I’m using the West System Epoxy 105A (and 205A hardener). They make it super easy with the pumps – 1 pump from each is exactly the amount for proper mixing. This is going to take a few iterations to complete, but once the surfaces are bonded and glassed, I will paint over them with some primer to seal the whole thing.


Leave a comment