In my continued expansion into the Fiberglass world, I decided to work on the Tail Fairing.
The initial fit was not perfect, but I’ve tried my best with sanding and a heat gun to try and massage the fiberglass into a better position around the tail.
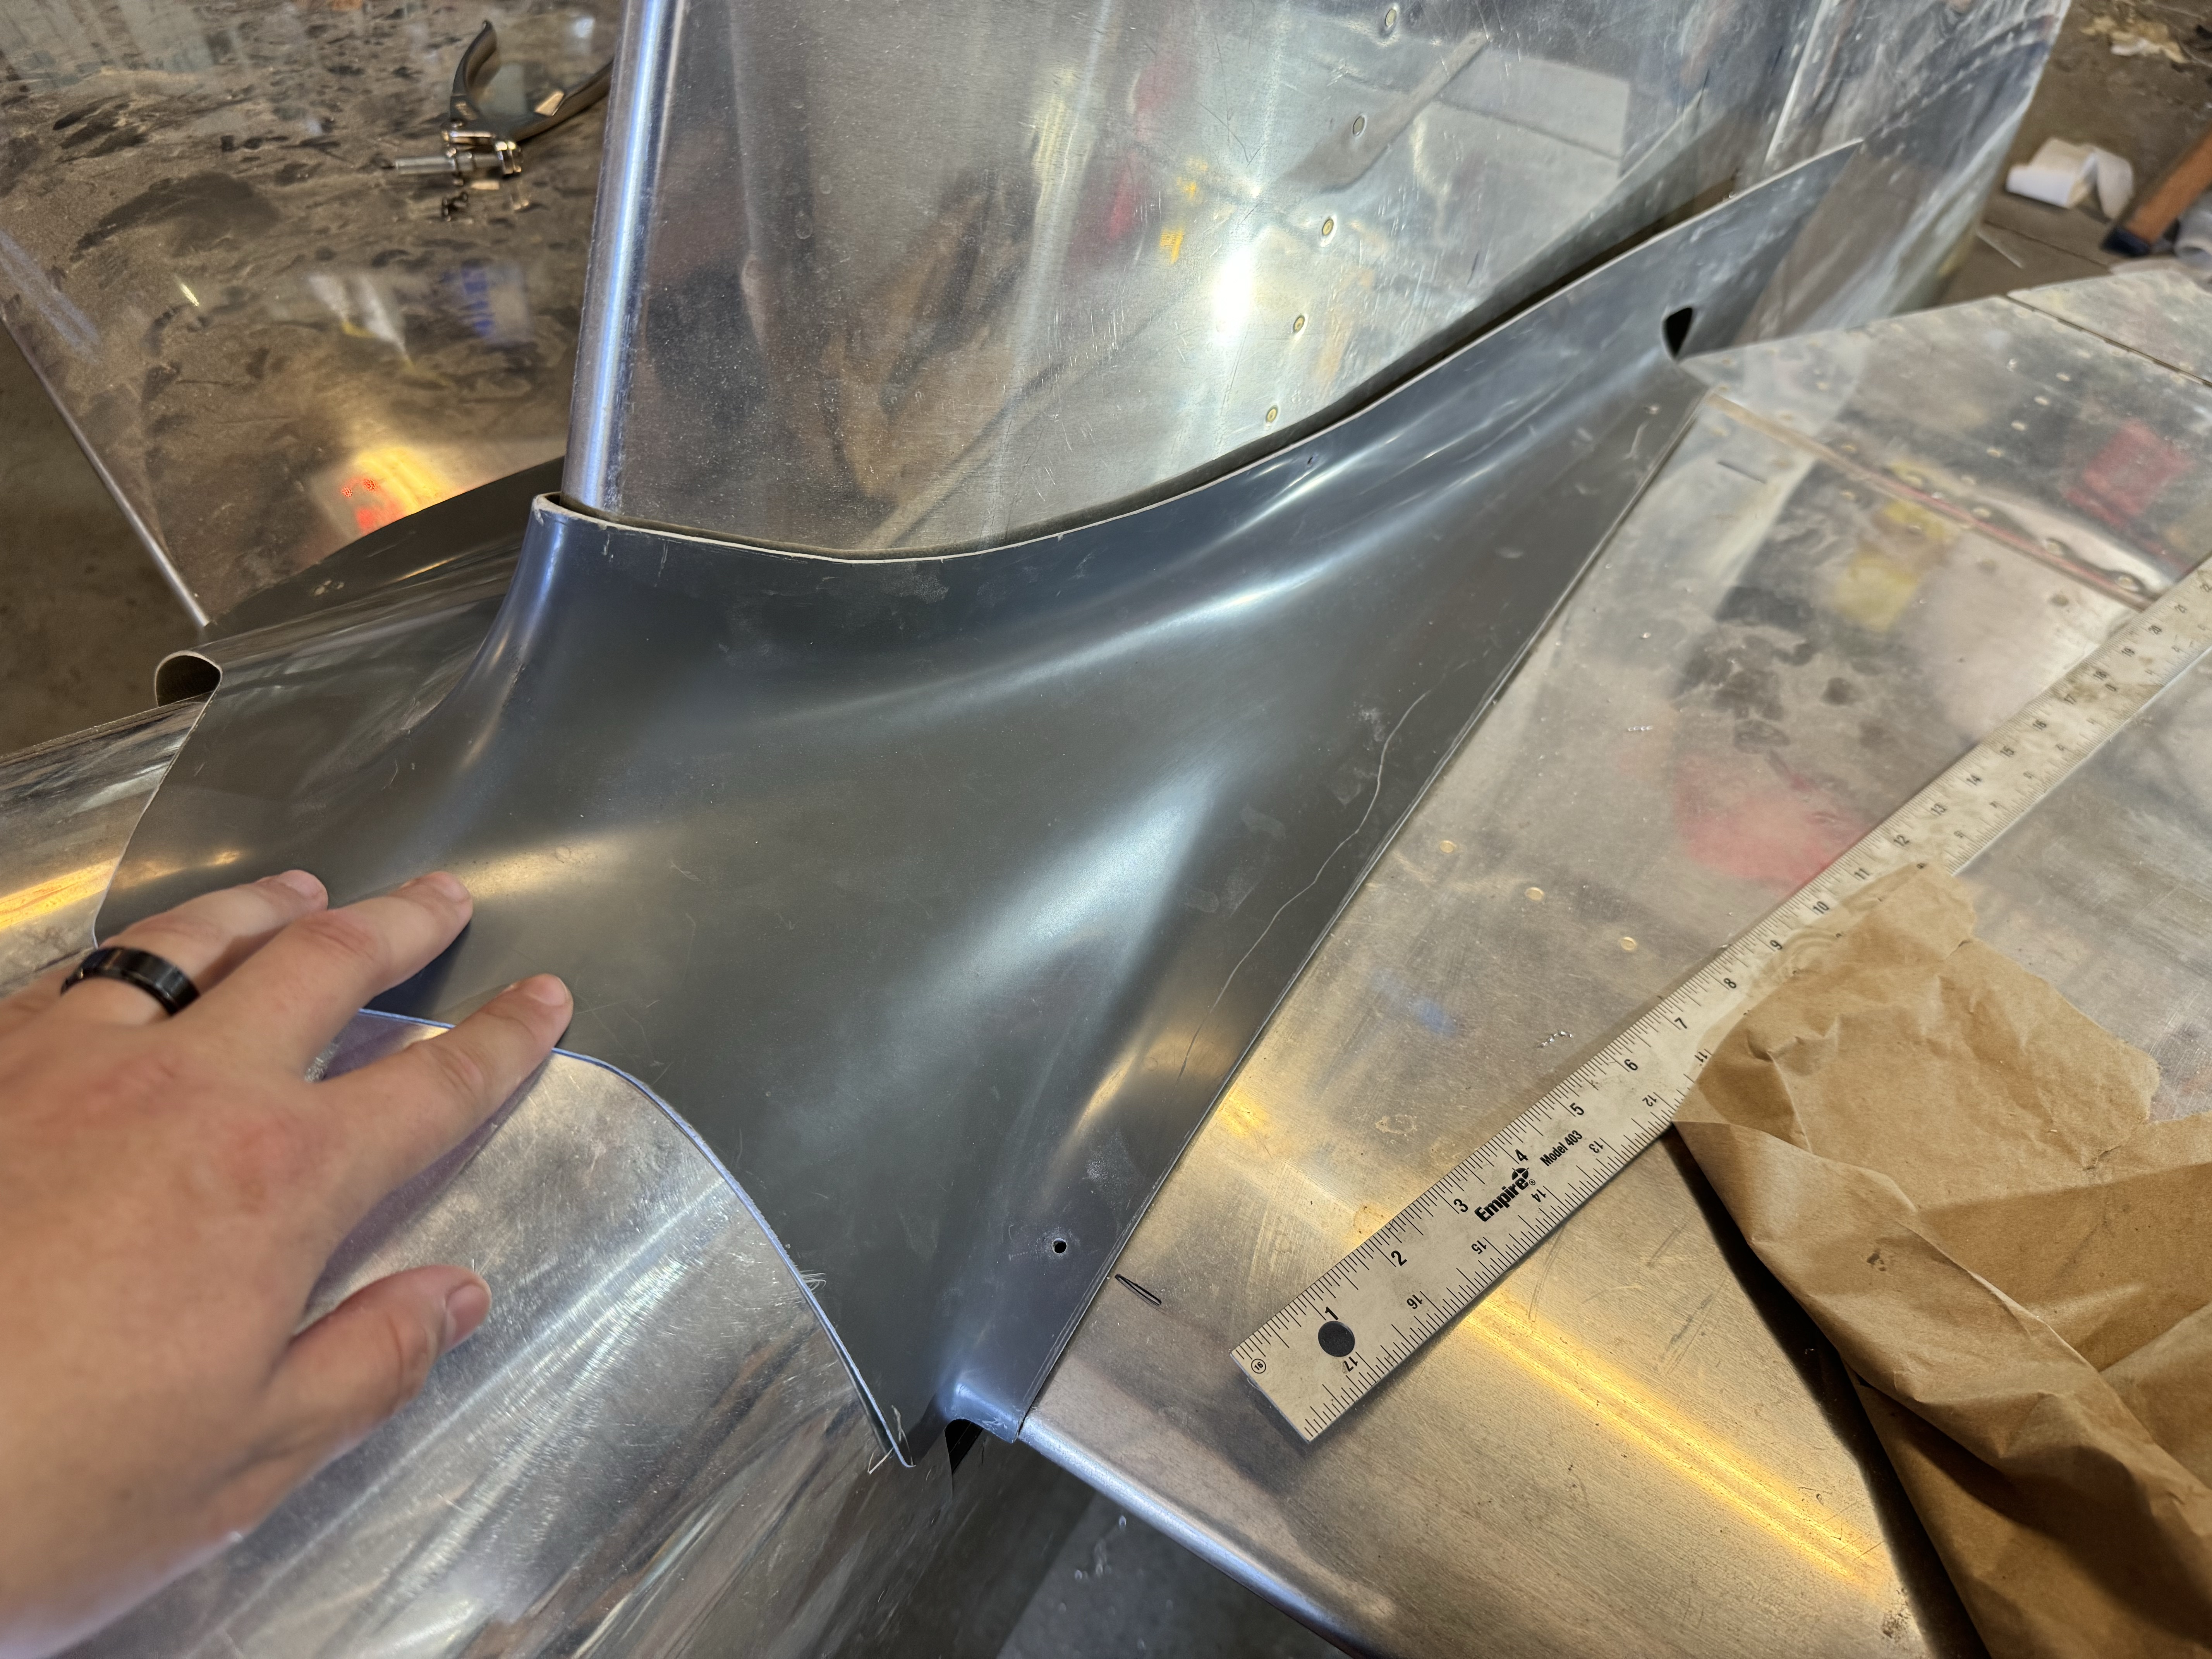
After a few iterations of sanding to get the edges nice and straight, I used my hole-finder to match drill the fairing to the holes in the vertical and horizontal stabilizers. I used my heat gun and a long metal ruler to mold the fairing to the vertical stabilizer where there were some gaps. Once the alignment was as good as I could get it, I drilled the holes to #27 for #6 screws. I then riveted the nut-plates.

I also spent some time adding the vertical stabilizer top fairing rear cover. I used some foam as filler and epoxied it in place. I then used 3 layers of fiberglass on top to complete the cover. This will get sanded and blended to the fairing then primed.

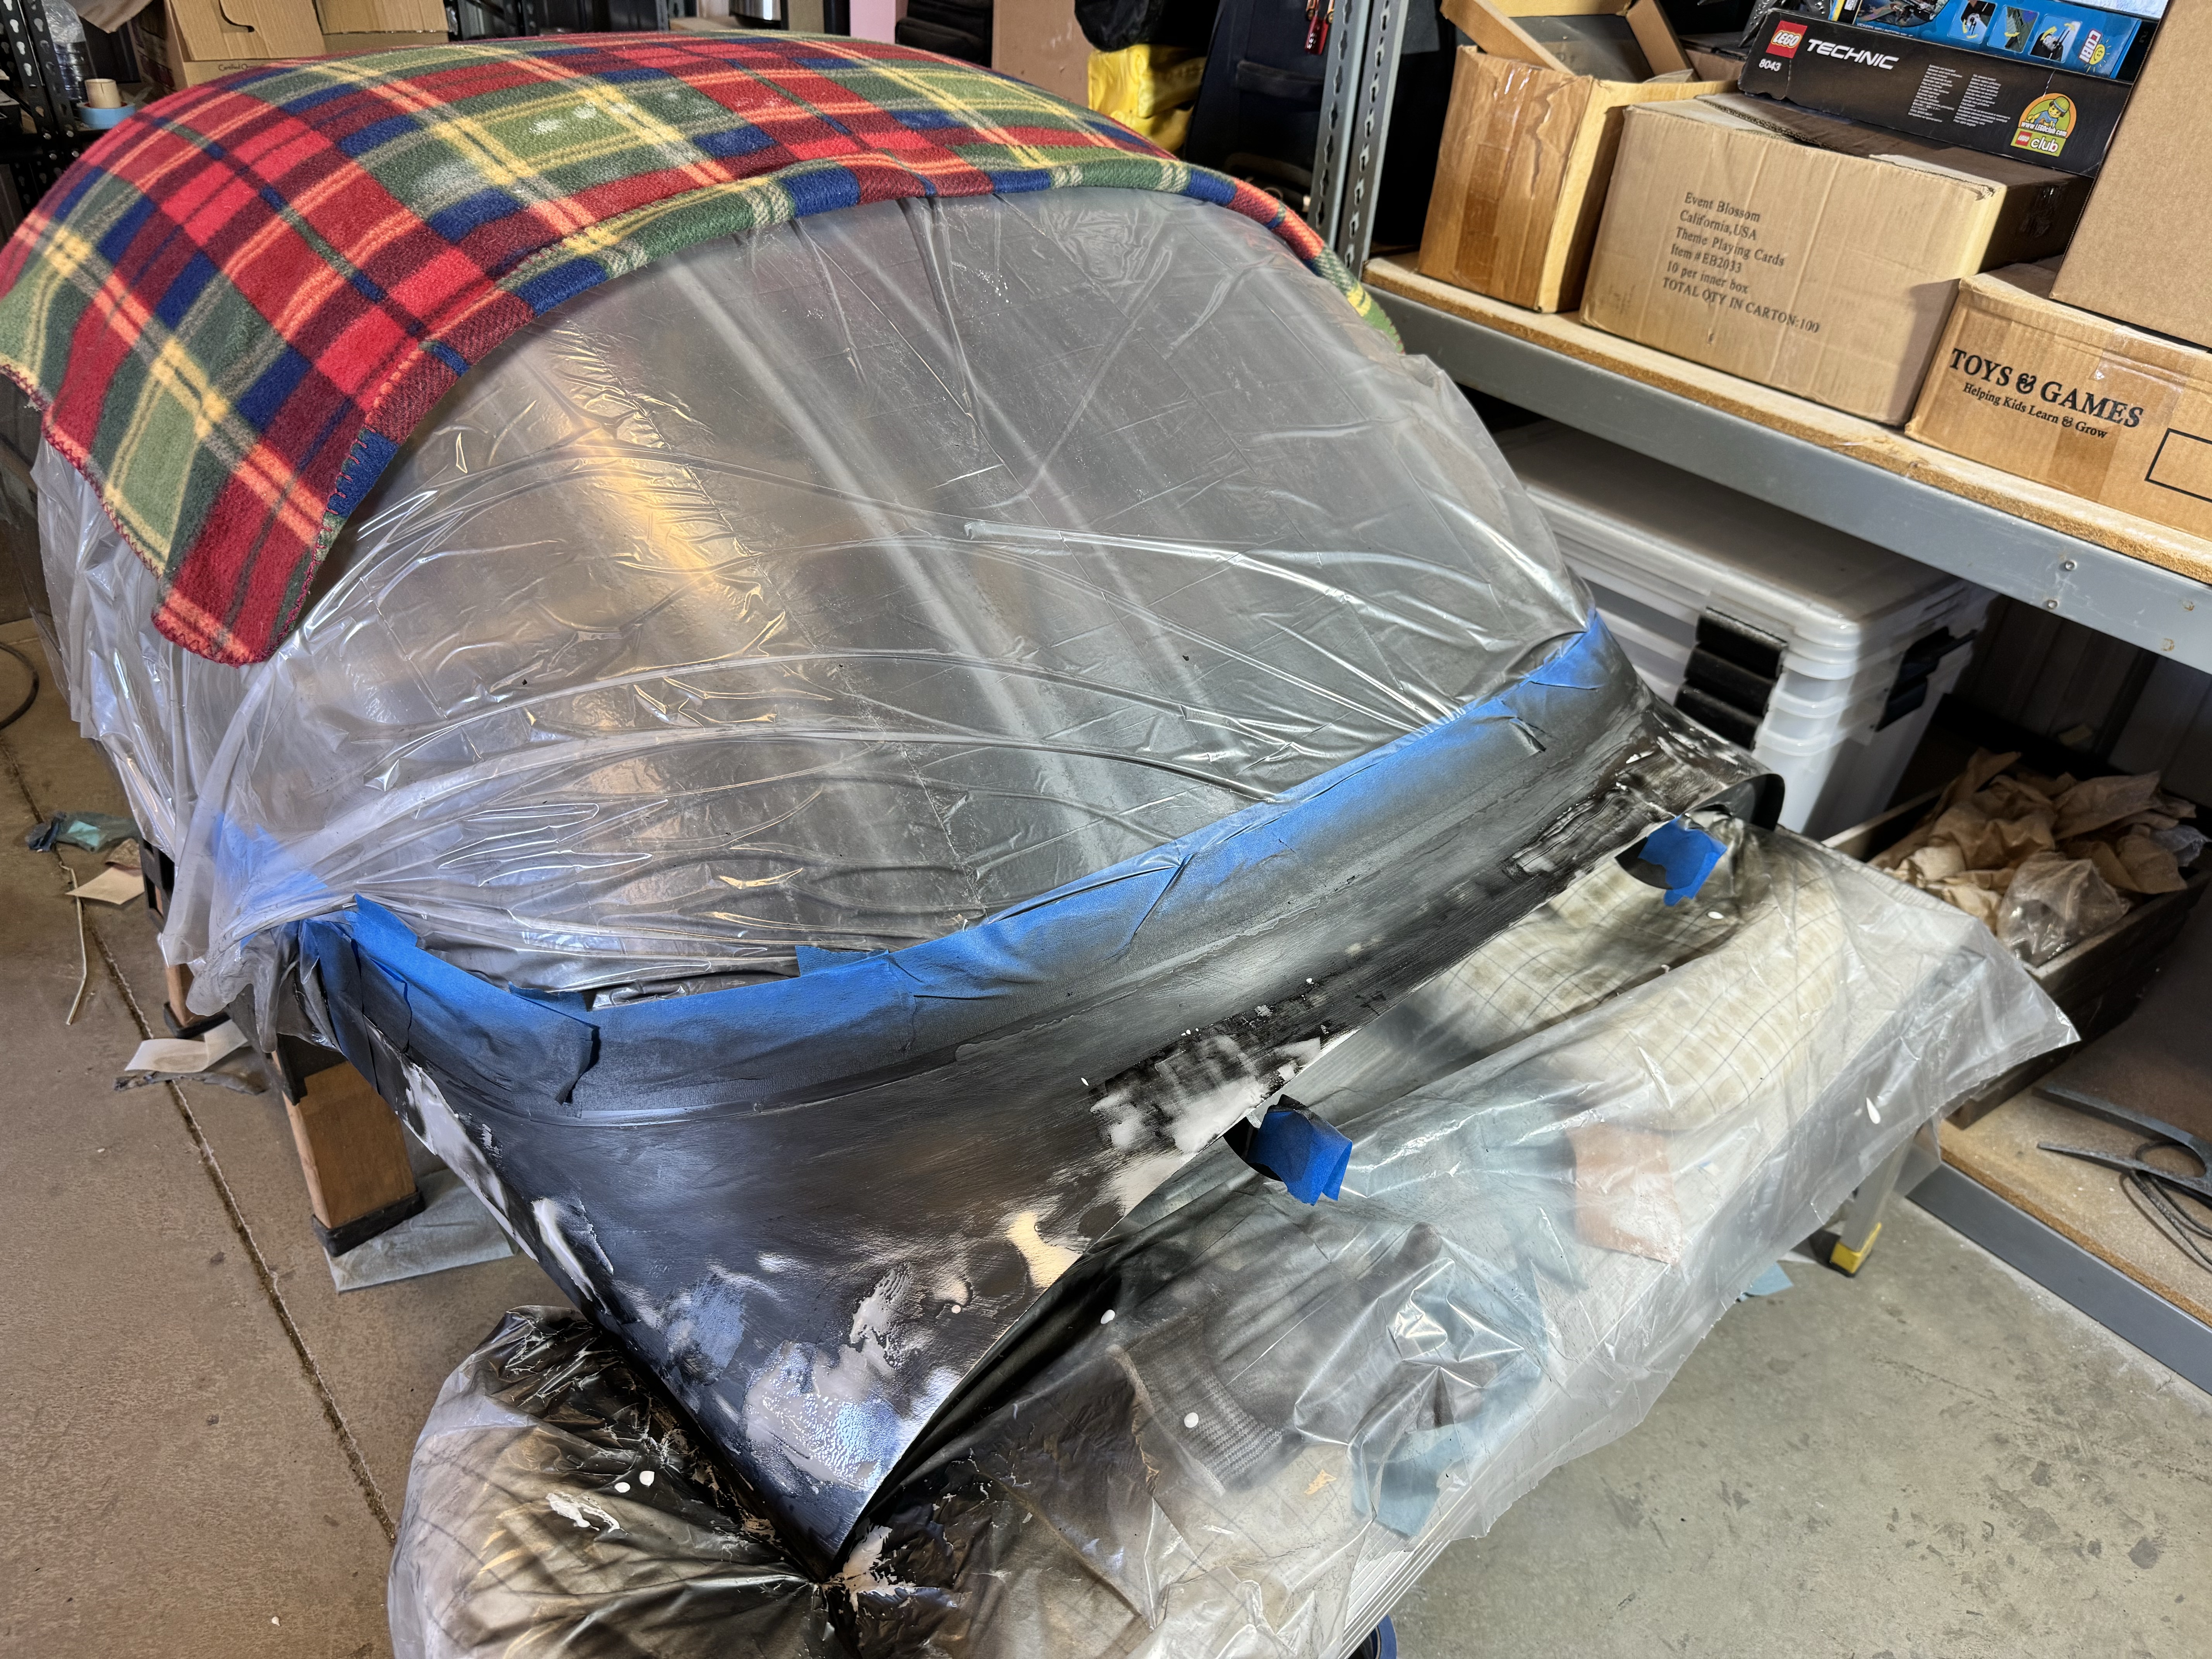
I also did some layups of fiberglass on the canopy fairing. I used 5 layers of fiberglass starting smaller width and getting wider until it was the full 2 inch width. After curing, I began the tedious job of more sanding. I had to use quite a lot of filler to get the surface smooth, but eventually was at a point that I could remove the initial thick pipe tape and switch to thinner electrical tape and begin smoothing the transition. I also did an initial priming of the fairing and added some more filling. The primer helps to show the high and low spots so I can more easily fill and blend. I think another iteration and this should be good to go.

Leave a comment