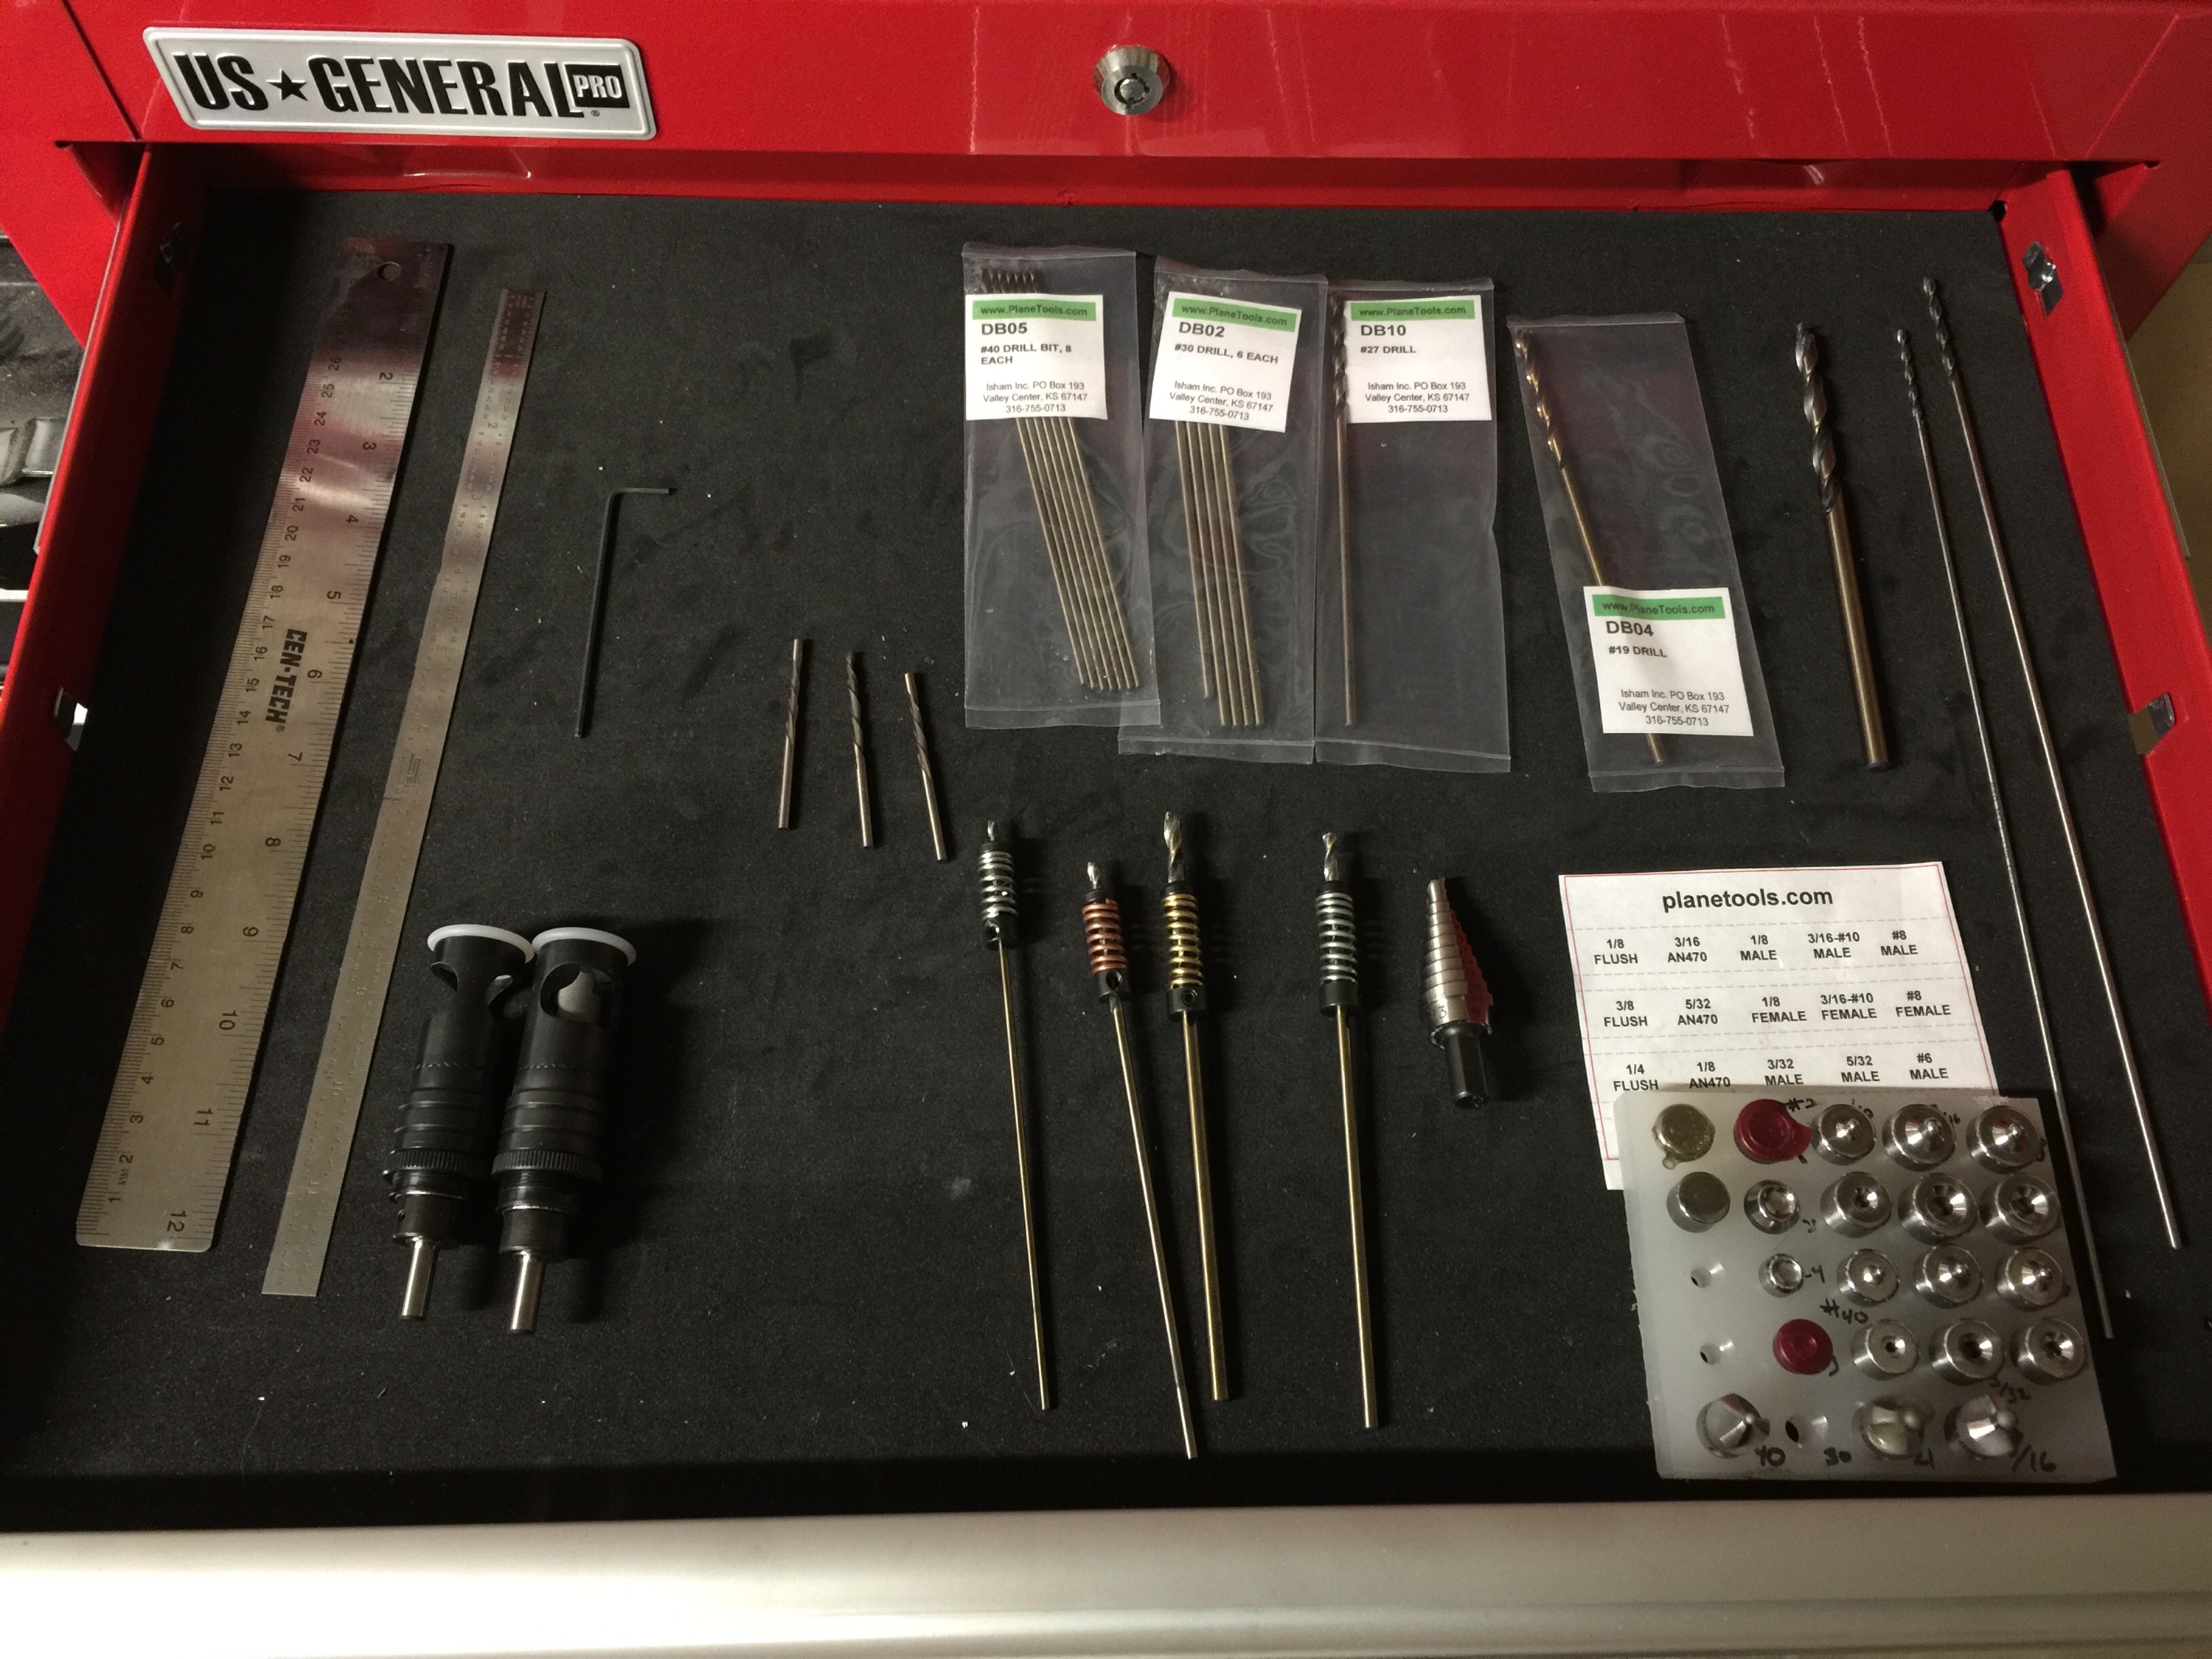
Here are the tools I am using for this project.
I made this back riveting plate out of some MDF and a steel plate.

I have a set of 6″ 40 and 30 drill bits as well as other various sizes called out in the plans for the plane. I also have two countersink micro-stop cages, with four different size counter sink bits. I also have a set of dimples for all the hole sizes used on the plane.
I have a set of standard and metric wrenches, as well as various allan wrenches.


I have a calibrated torque wrench. up to 125 in-lbs. There are a couple of spots where higher is needed on the plane, but a calibrated hand is good enough.

I have a set of rivet gun drivers. a flush set as well as various button head sizes and lengths. I also have four bucking bards – three steel and one tungsten (highly recommend).

Three aviation aluminum snips. One neutral and one each left and right handed (red/green).

This is a hand seamer included in the kit. Its primarily used for straightening out aluminum edges, and can help in bending, but I rarely use it.

Cleco Pliers. used about a billion times.

I purchased this tool from Cleveland Aircraft Tool. It’s used for creating a slight seam on overlapping skins. This ensures that the edge sits tight when the skins are riveted together. Can be a bit tricky to use, so practice on some scrap before using it on the main skins.

I originally got this angle drill kit. It was mostly useful, but quickly broke as its only made of plastic. Just do yourself a favor and get a metal angle drill attachment at your local hardware store, much better.

This is the 3x rivet gun with the flush mount, as well as a swivel hose attachment and a pressure adjustment knob.

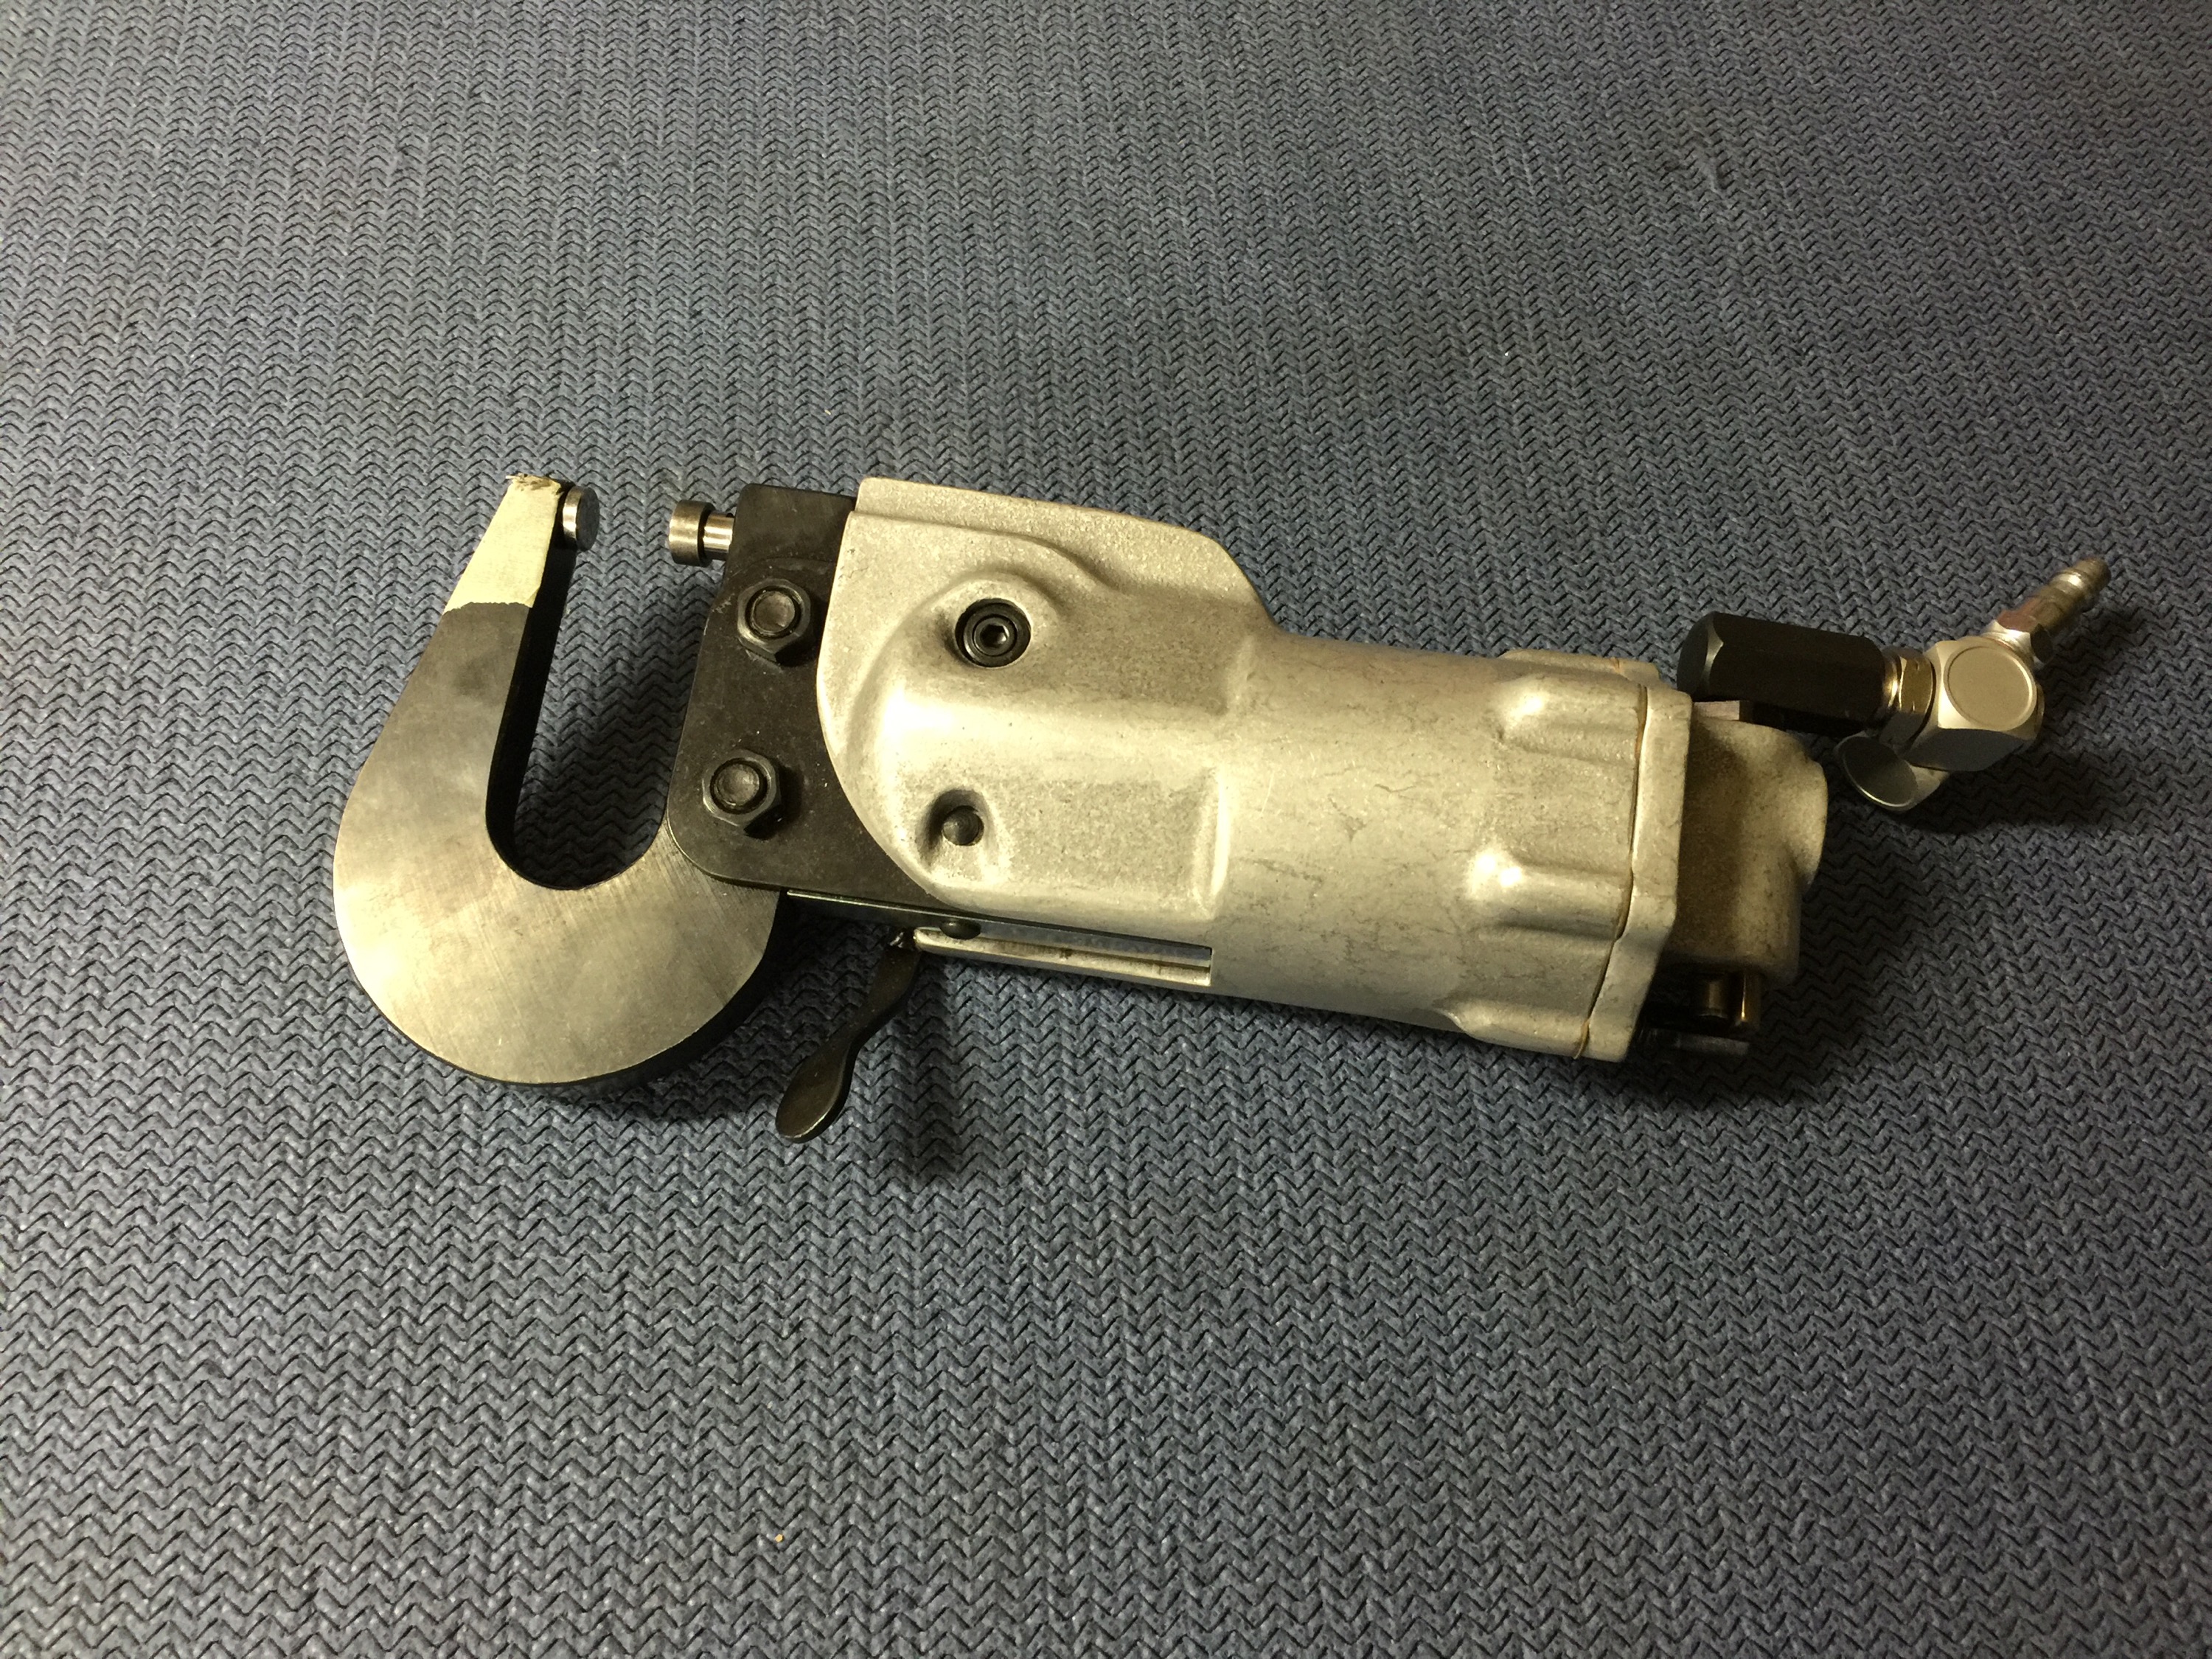
This is the pneumatic squeezer. It’s excellent at setting perfect rivets every time. The project can get completed without one, but why suffer.
This is a Sioux clone pneumatic drill. It was recommended which is why I got it, but I rarely use it. A good quality electric drill is much more useful. I would not get it again.

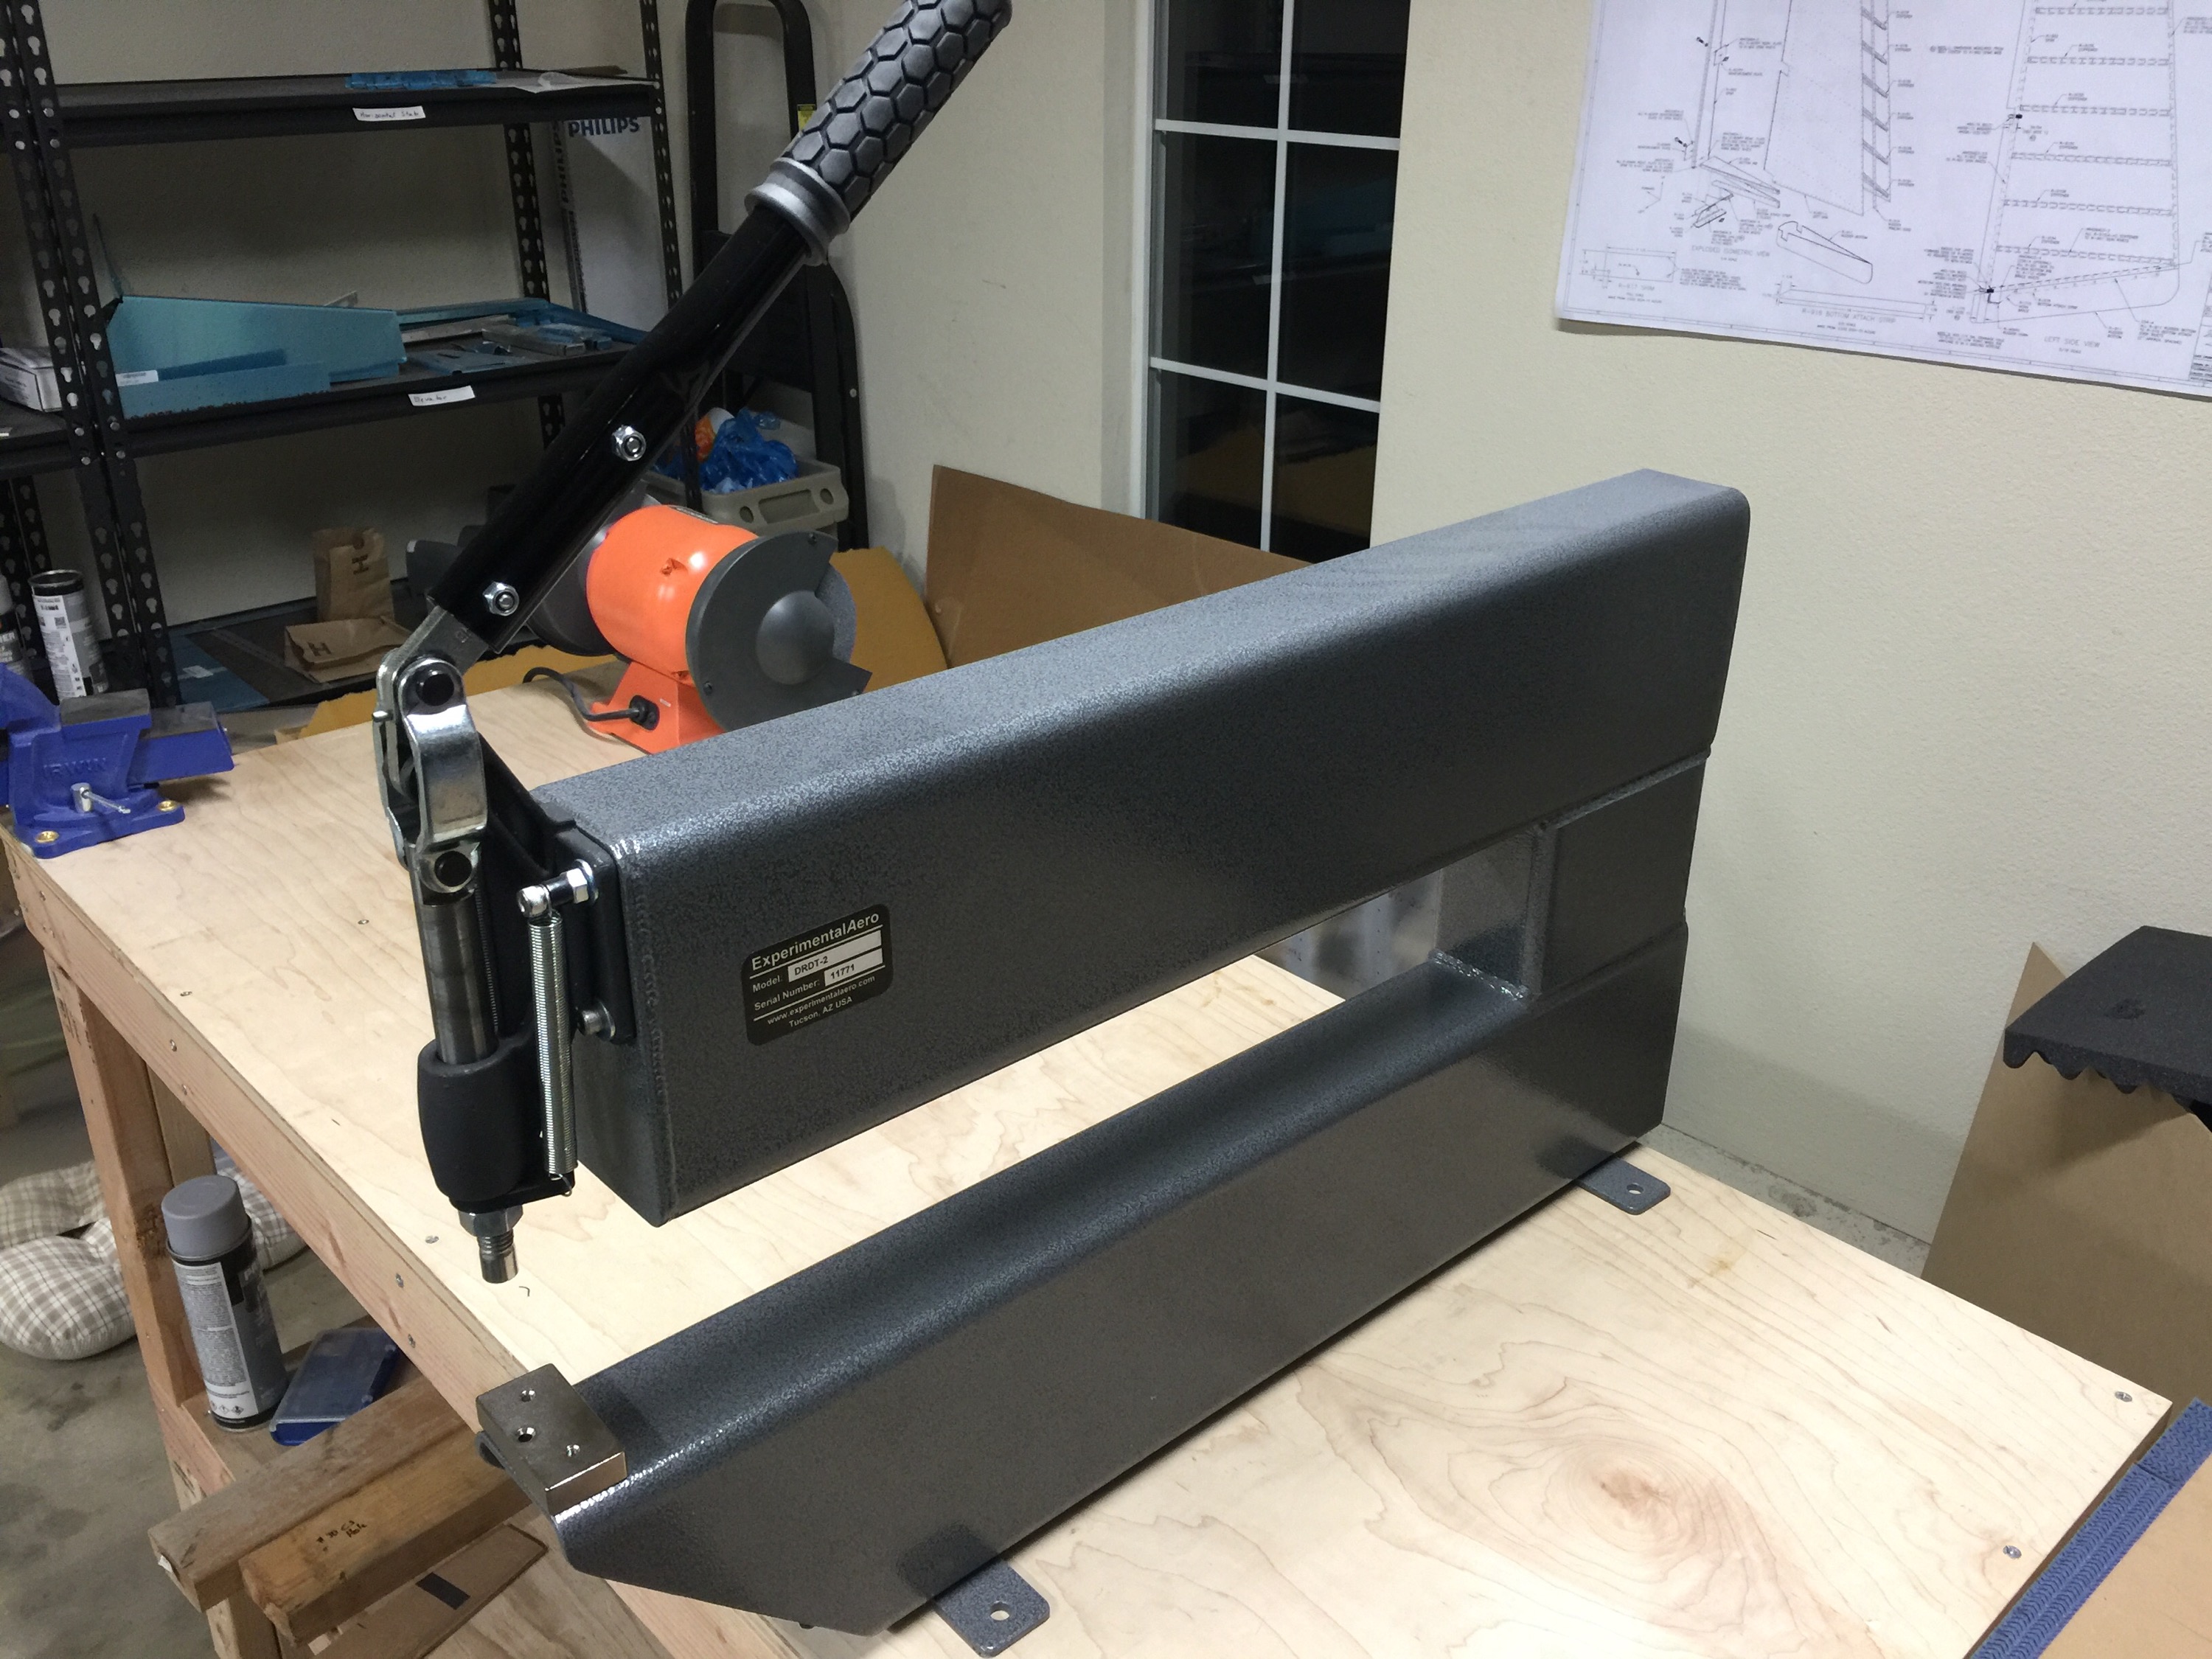
And this is the DRDT-2 Dimpler. It’s an amazing tool and is great for setting perfect dimples and doing it quietly. The alternative is a cheaper C-frame Dimpler, it requires lining up the dimple set and striking it with a hammer to create the dimple. This operates with a lever arm.