Now that the wings are installed I spent a couple hours working on some remaining wiring tasks inside the fuselage. I drilled two holes through my center section (with the guidance from this post on vansaircraft.com) in order to route my autopilot and right wingtip lighting harnesses forward of the spar. The left side wingtip lighting harness was routed through an existing hole. I will then connect the wires up to the existing wires that were in place already. I also routed the Fuel Level sensor wires through the sides of the fuselage as well. Once these last few connections are complete, the entire avionics and wiring of the aircraft will be complete.
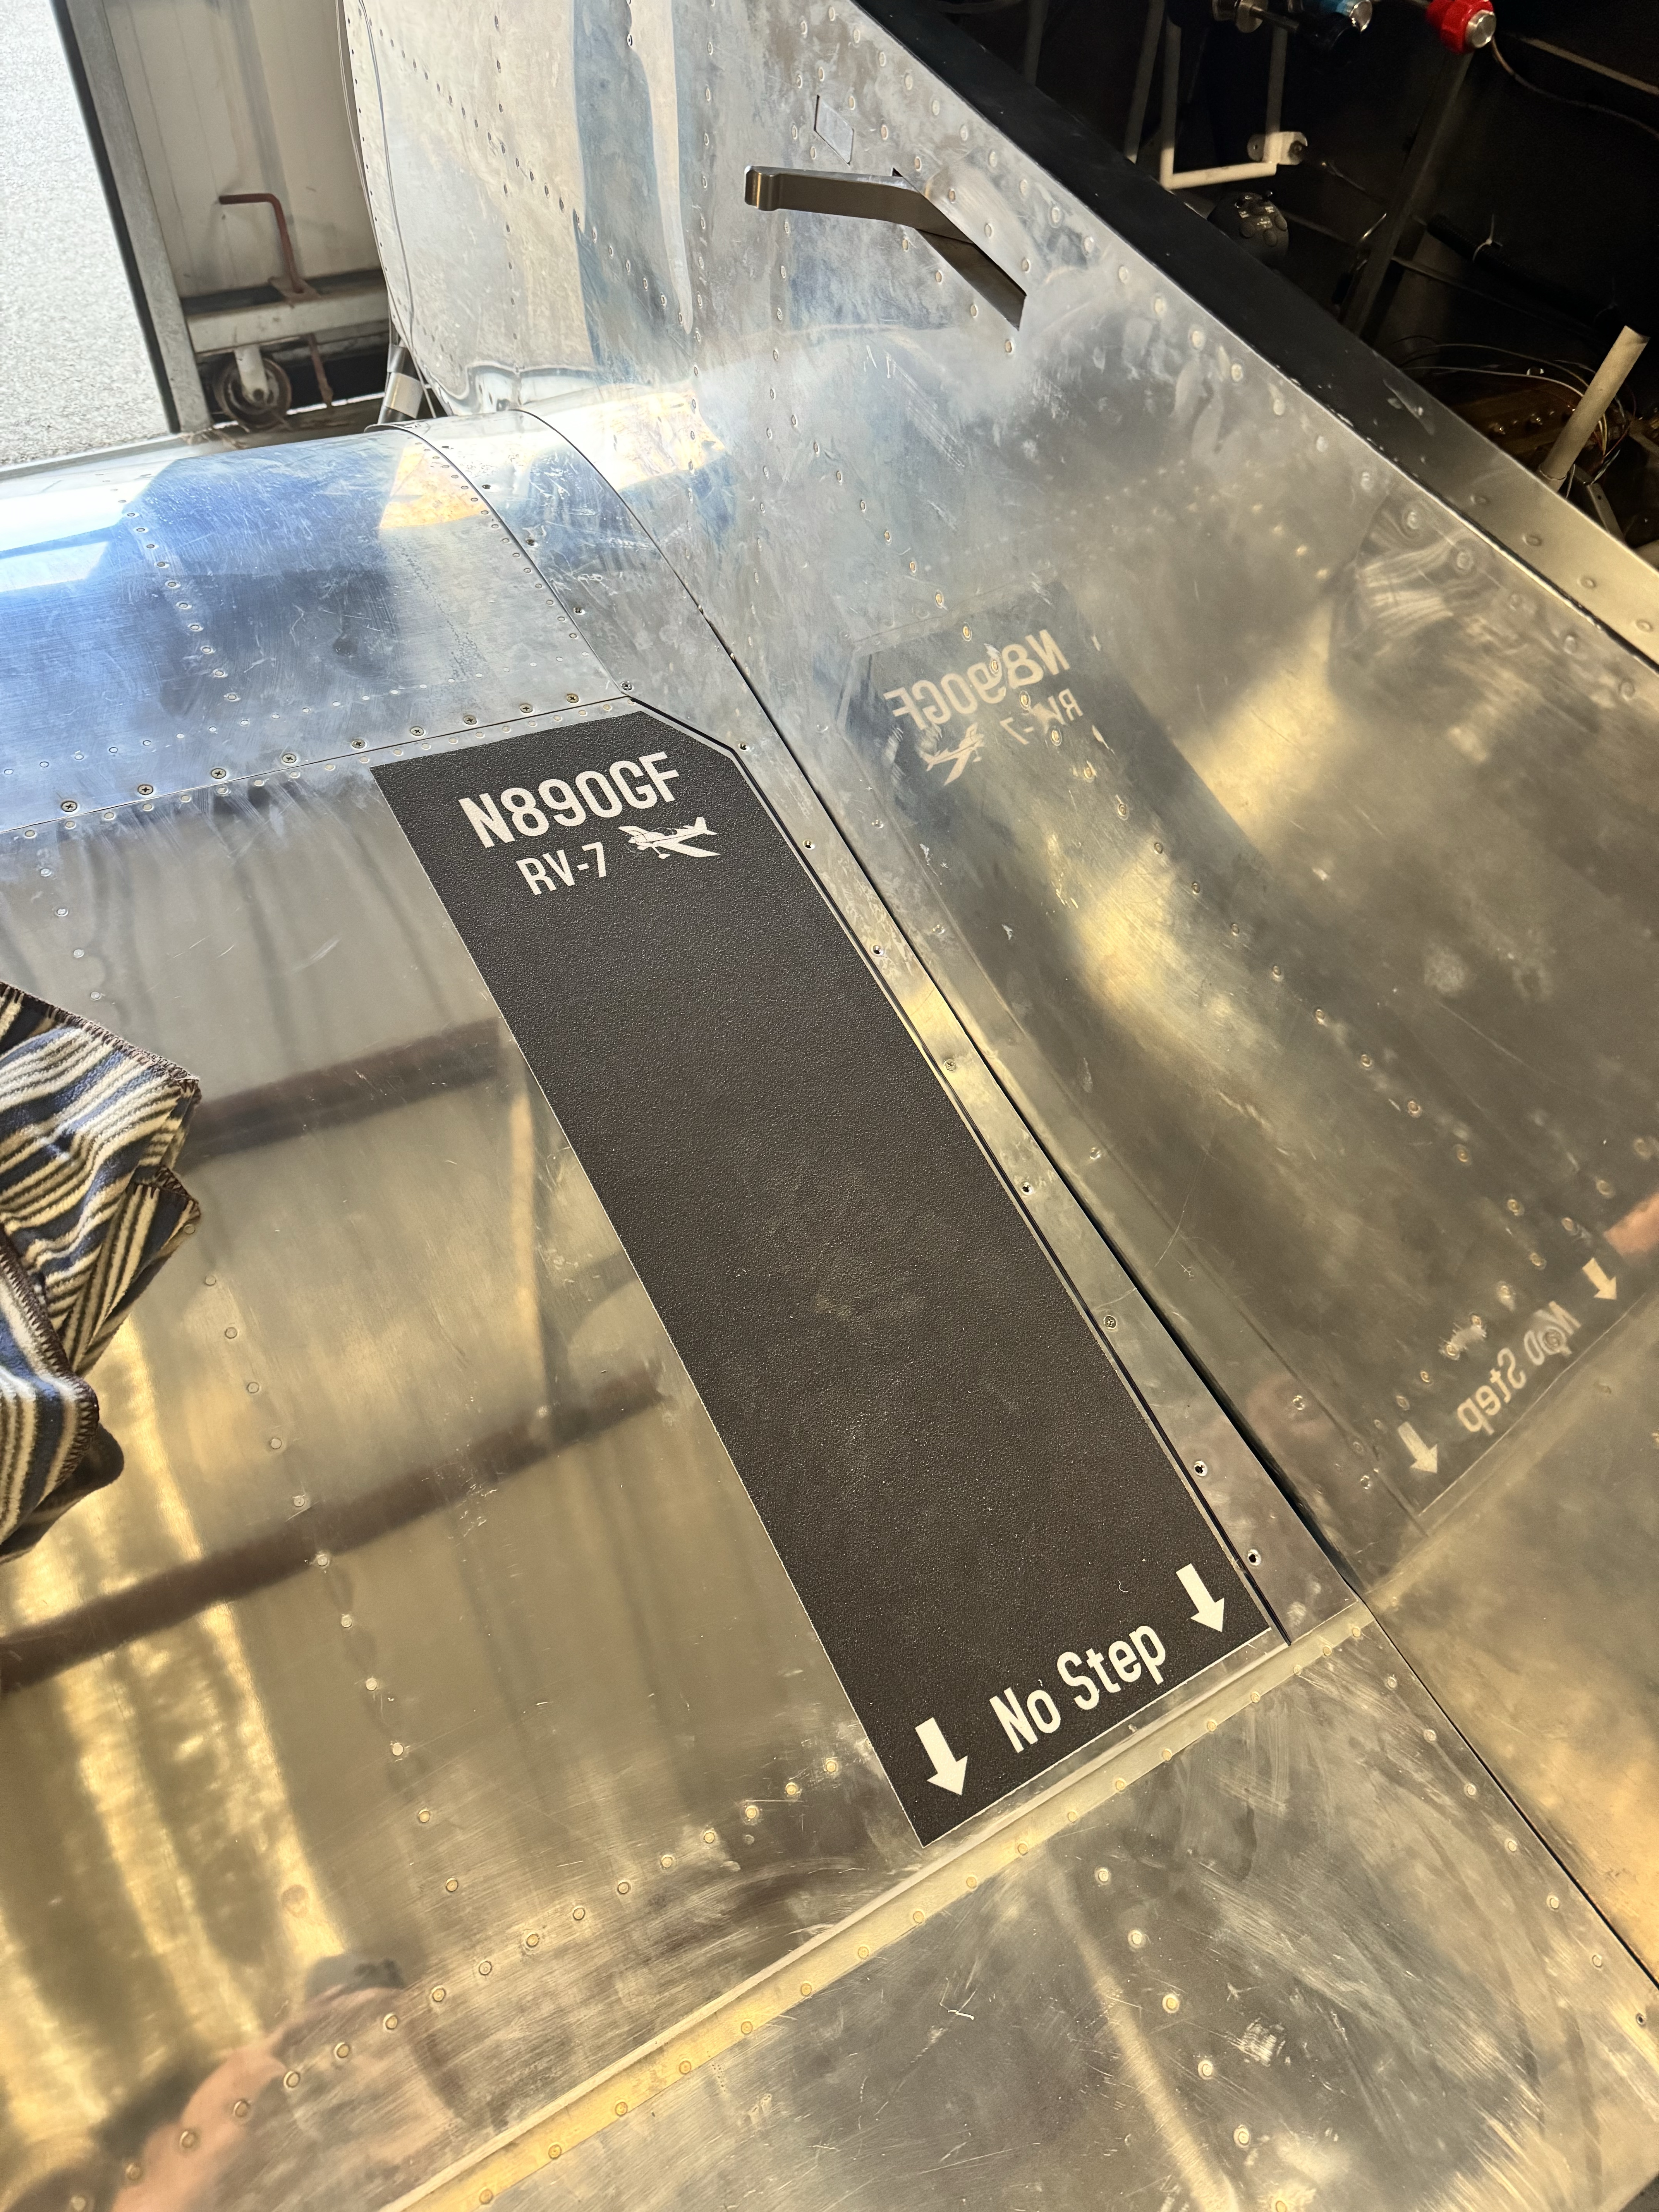
I also took this opportunity to install my wing-walk grip. I ordered custom skateboard grip tape from www.boardpusher.com, and they turned out amazing! I cut them to final size by laying them on the wing and trimming as necessary.
I came back the next day and began wiring up the lighting harnesses and the roll servo. It was a quick job to splice the wires together and secure the bundle forward of the spar.

I got my wingtips out and propped them up on the wings. I connected the included ZipTip wiring connector and powered up the panel. On first try, the left wingtip taxi and landing light both failed to turn on, while the right side worked nominally. I then began to trace the break in the line, starting with just powering the wingtip with a power supply directly via the wiring harness. I went to disconnect the harness, and one of the ground wires separated from the connector. The ZipTips utilize two grounds – one for landing/taxi lights, and one for nav/strobe. I popped the pin out of the connected, re-stripped the wire and re-crimped a new pin. When I plugged it in, everything worked as expected!
With the panel powered up, I also updated the autopilot servo software to the latest version. When it came back online, I calibrated the servo and verified that everything worked as expected. Its fun to see the autopilot try to maneuver the plane!

Leave a comment