With the top cowl clecoed in place I was able to drill out the 15/32″ holes for the SkyBolt grommets. I’ve spaced out the holes resulting in 17 skybolts across the top cowl.

I drilled each other hole to full size with my unibit and then full size with a 15/32″ bit. I then placed the grommets in the holes and the SkyBolt receptacle on the underside and used the studs to whole the cowl in place while I removed the clecos and drilled the remaining holes.

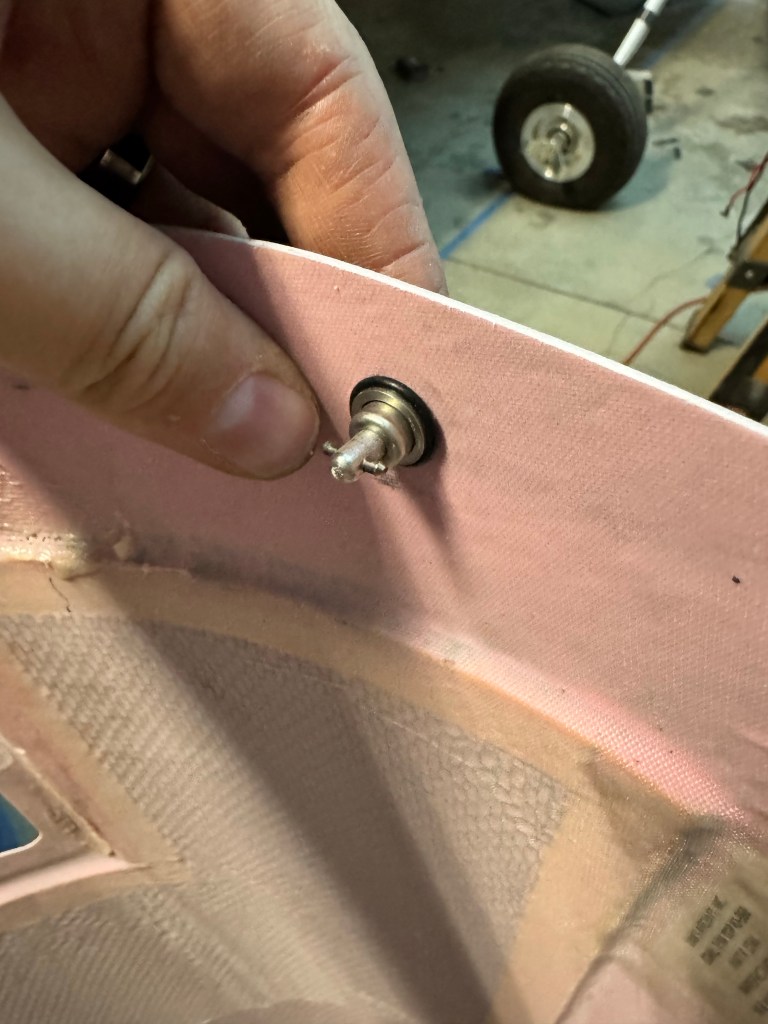
Once all the holes were drilled I removed the cowl and put the temporary grommet retainers on the underside to hold the grommets in place. SkyBolt provides a more permanent retaining clip, but the intention is to only apply those once the cowl is painted.

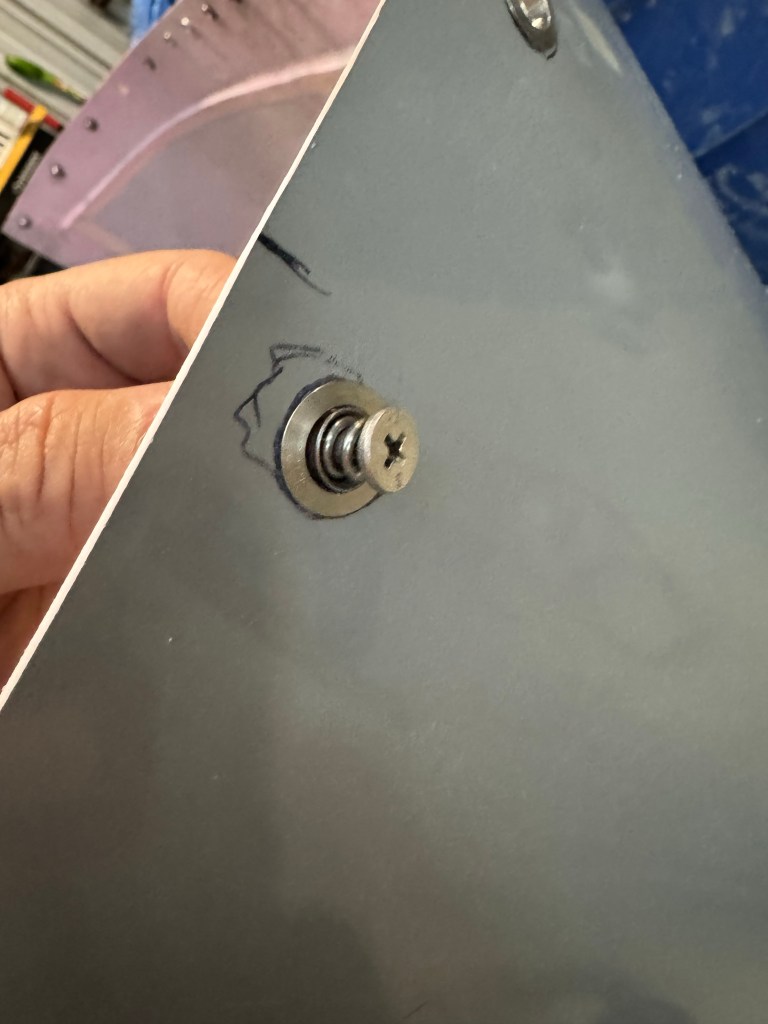
I then installed all the studs into the grommets using the SkyBolt stud pliers.
I then removed all the flanges from the firewall and prepped, primed and riveted the receptacles onto the flanges.


I then re-clecoed the flange-receptacles back to the firewall, and reinstalled the top cowl. I then set all the studs into the receptacles. This allows me to set the appropriate depth for the studs. I then removed the studs with a quick quarter turn, which leaves the depth unchanged, but removes the studs. I then removed the top cowl and removed all the anti-lock pins from the receptacles, which makes the depth permanent.


With the top cowl now fixed to the firewall, I can temporarily install the lower cowl. This took some annoying trial-and-error, but I managed to install the lower cowl and secure it in place with a ratchet-strap.

With the cowl temporarily held in place, I was able to align the front of the cowl and drill the three attach holes at the forward joint behind the spinner.

I also scored the bottom cowl where it aligns with the firewall, as well as the sides. The instructions say to cut the bottom first which allows the cowl to fully seat upwards against the lower fuselage.


Then I can cut the sides to match the fuselage.

Here you can see the flanges on the sides and bottom.


Once the flanges were on I was able to drill the lower cowl using the click adapter. I drilled the two on the side with the oil door as it was easier to access. Then removed the top cowl to drill the remaining holes on both sides.

The lower cowl can now support itself which will allow me to trim the sides to match the top cowl, followed by adding the last skybolts along the sides of the cowl to attach top to bottom.


Leave a comment