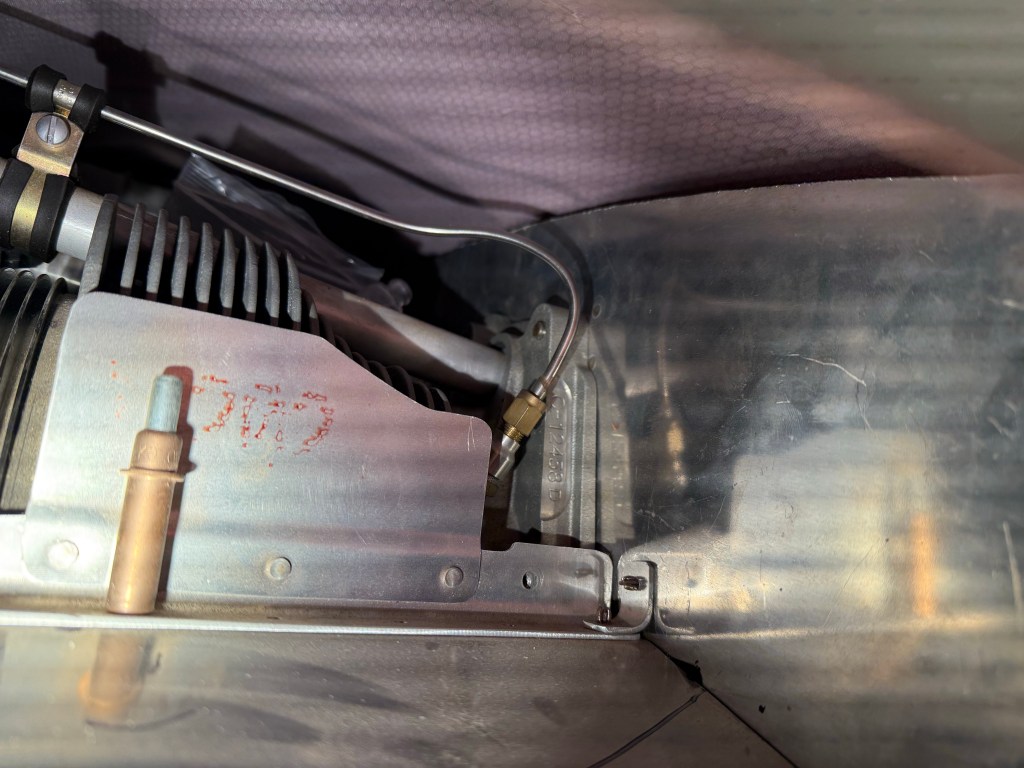
With the cowl complete, I can really dial in the baffles. I started by installing all the baffles on the engine. I trimmed several pieces around the aft part of the engine to better fit, as well as around the valve covers. Once the baffles were installed, I put the lower cowl on.

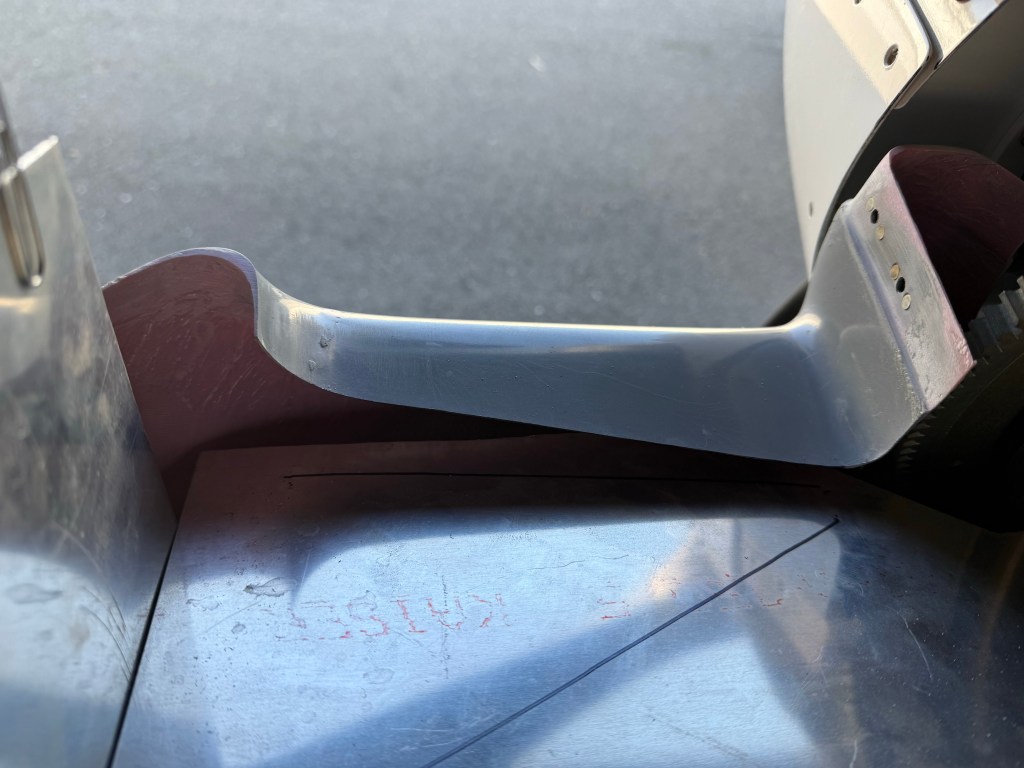
Immediately I needed to trim the lower inlet ramps to fit under the cowl lip, since the lower cowl could not be installed with the ramps untrimmed.
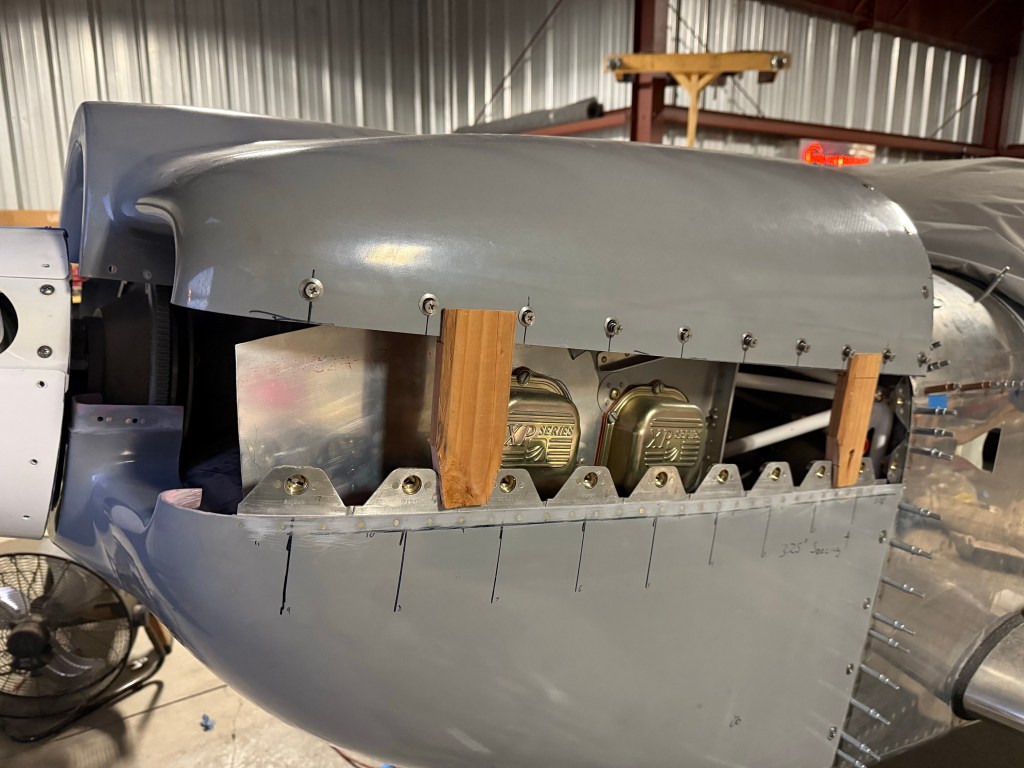
With the baffle on i fabricated some spacer blocks to hold the top cowl up 5″ – based on this post by Bruce (slightly modified to make it easier to reach).
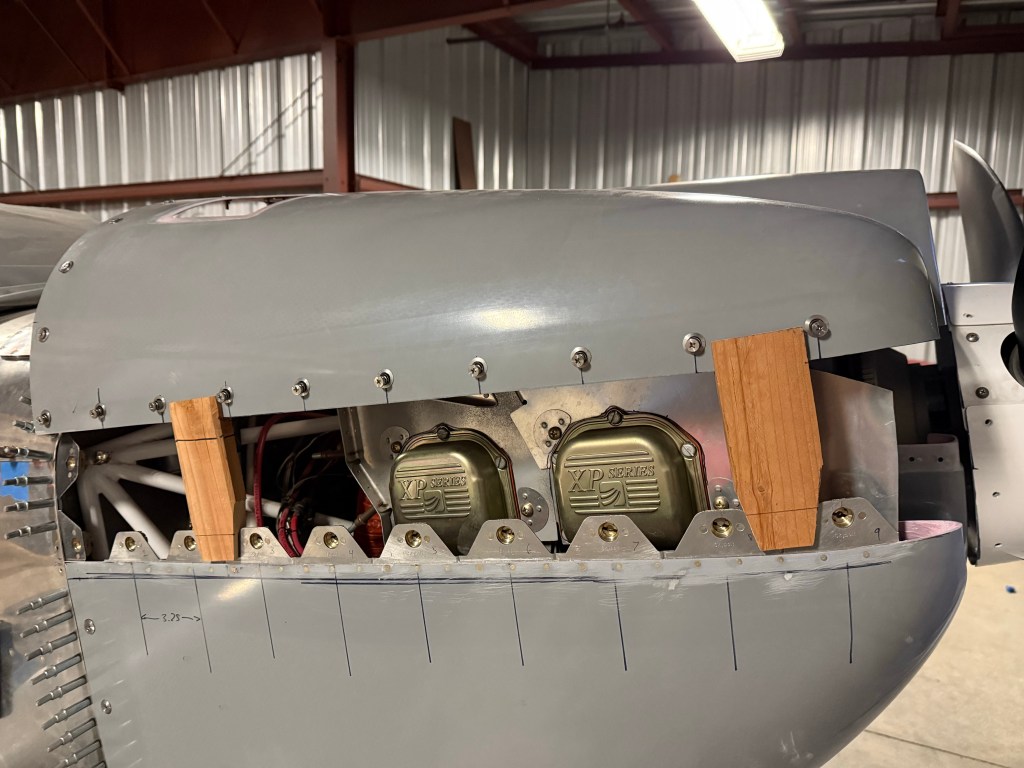
I used the scribe attached to a sharpie pen, which measured 5.5″ and used it to scribe along the outside of the baffles under the cowl. I then marked the scribe line with that sharpie and trimmed baffle back to the line. With the top cowl reinstalled, I was able to get a glimpse of the gap after trimming.

I then added a bunch of paper clips to the baffle to use as a measure to get a 1/2″ gap. Since I’m going to build a plenum, I may try to get a little extra room here.
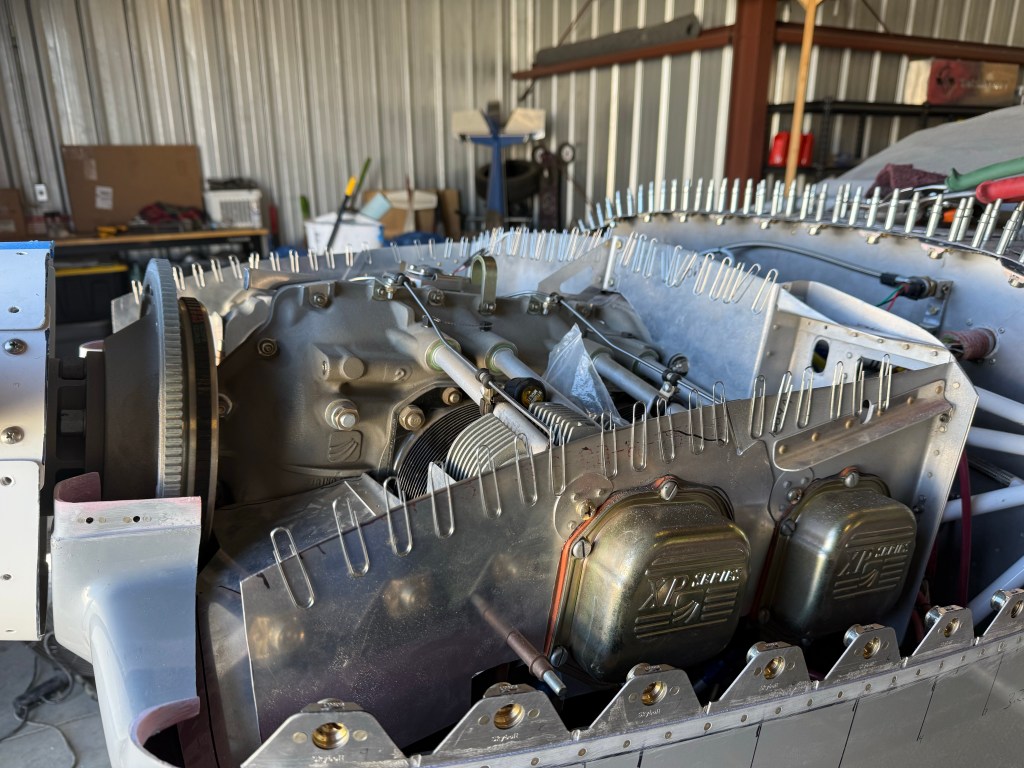
I then trimmed the baffles down where the paperclips indicated the need. I also trimmed the forward baffles to better fit under the cowl inlets. It will take a bit to improve the fit.

Leave a comment