Today I had my friend Norio help me out on the actual fiberglass layup of the Plenum. He’s a seasoned composites expert and has helped me on many other parts (canopy, wings) of the plane as well.
I started the day by finishing off trimming the foam around the inlets, and covering the rest of the foam with packing tape. I then laid a sheet of plastic over the top to prevent epoxy from getting on anything.
I planned on using four layers of fiberglass and a 1/8″ core to provide strength. I laid out the first layer and cut it to size around the compound corners of the baffles. I repeated this for all the layers. We then began the layup.

We used squeegees and brushes to push the epoxy and saturate the two bottom layers. I alternated a 2×2 twill weave with a 1×1 straight weave.
I shaped the core material a bit and cut it to sit around the shape of the mold. We then added the top two layers in reverse: 1×1 straight and 2×2 twill on top. Here is a close up of the finished plenum with the core material clearly visible between the layers (the barcoded part). There are some voids right near the core that I will fill later. There is a solid two inches around the perimeter that has no gaps or voids.

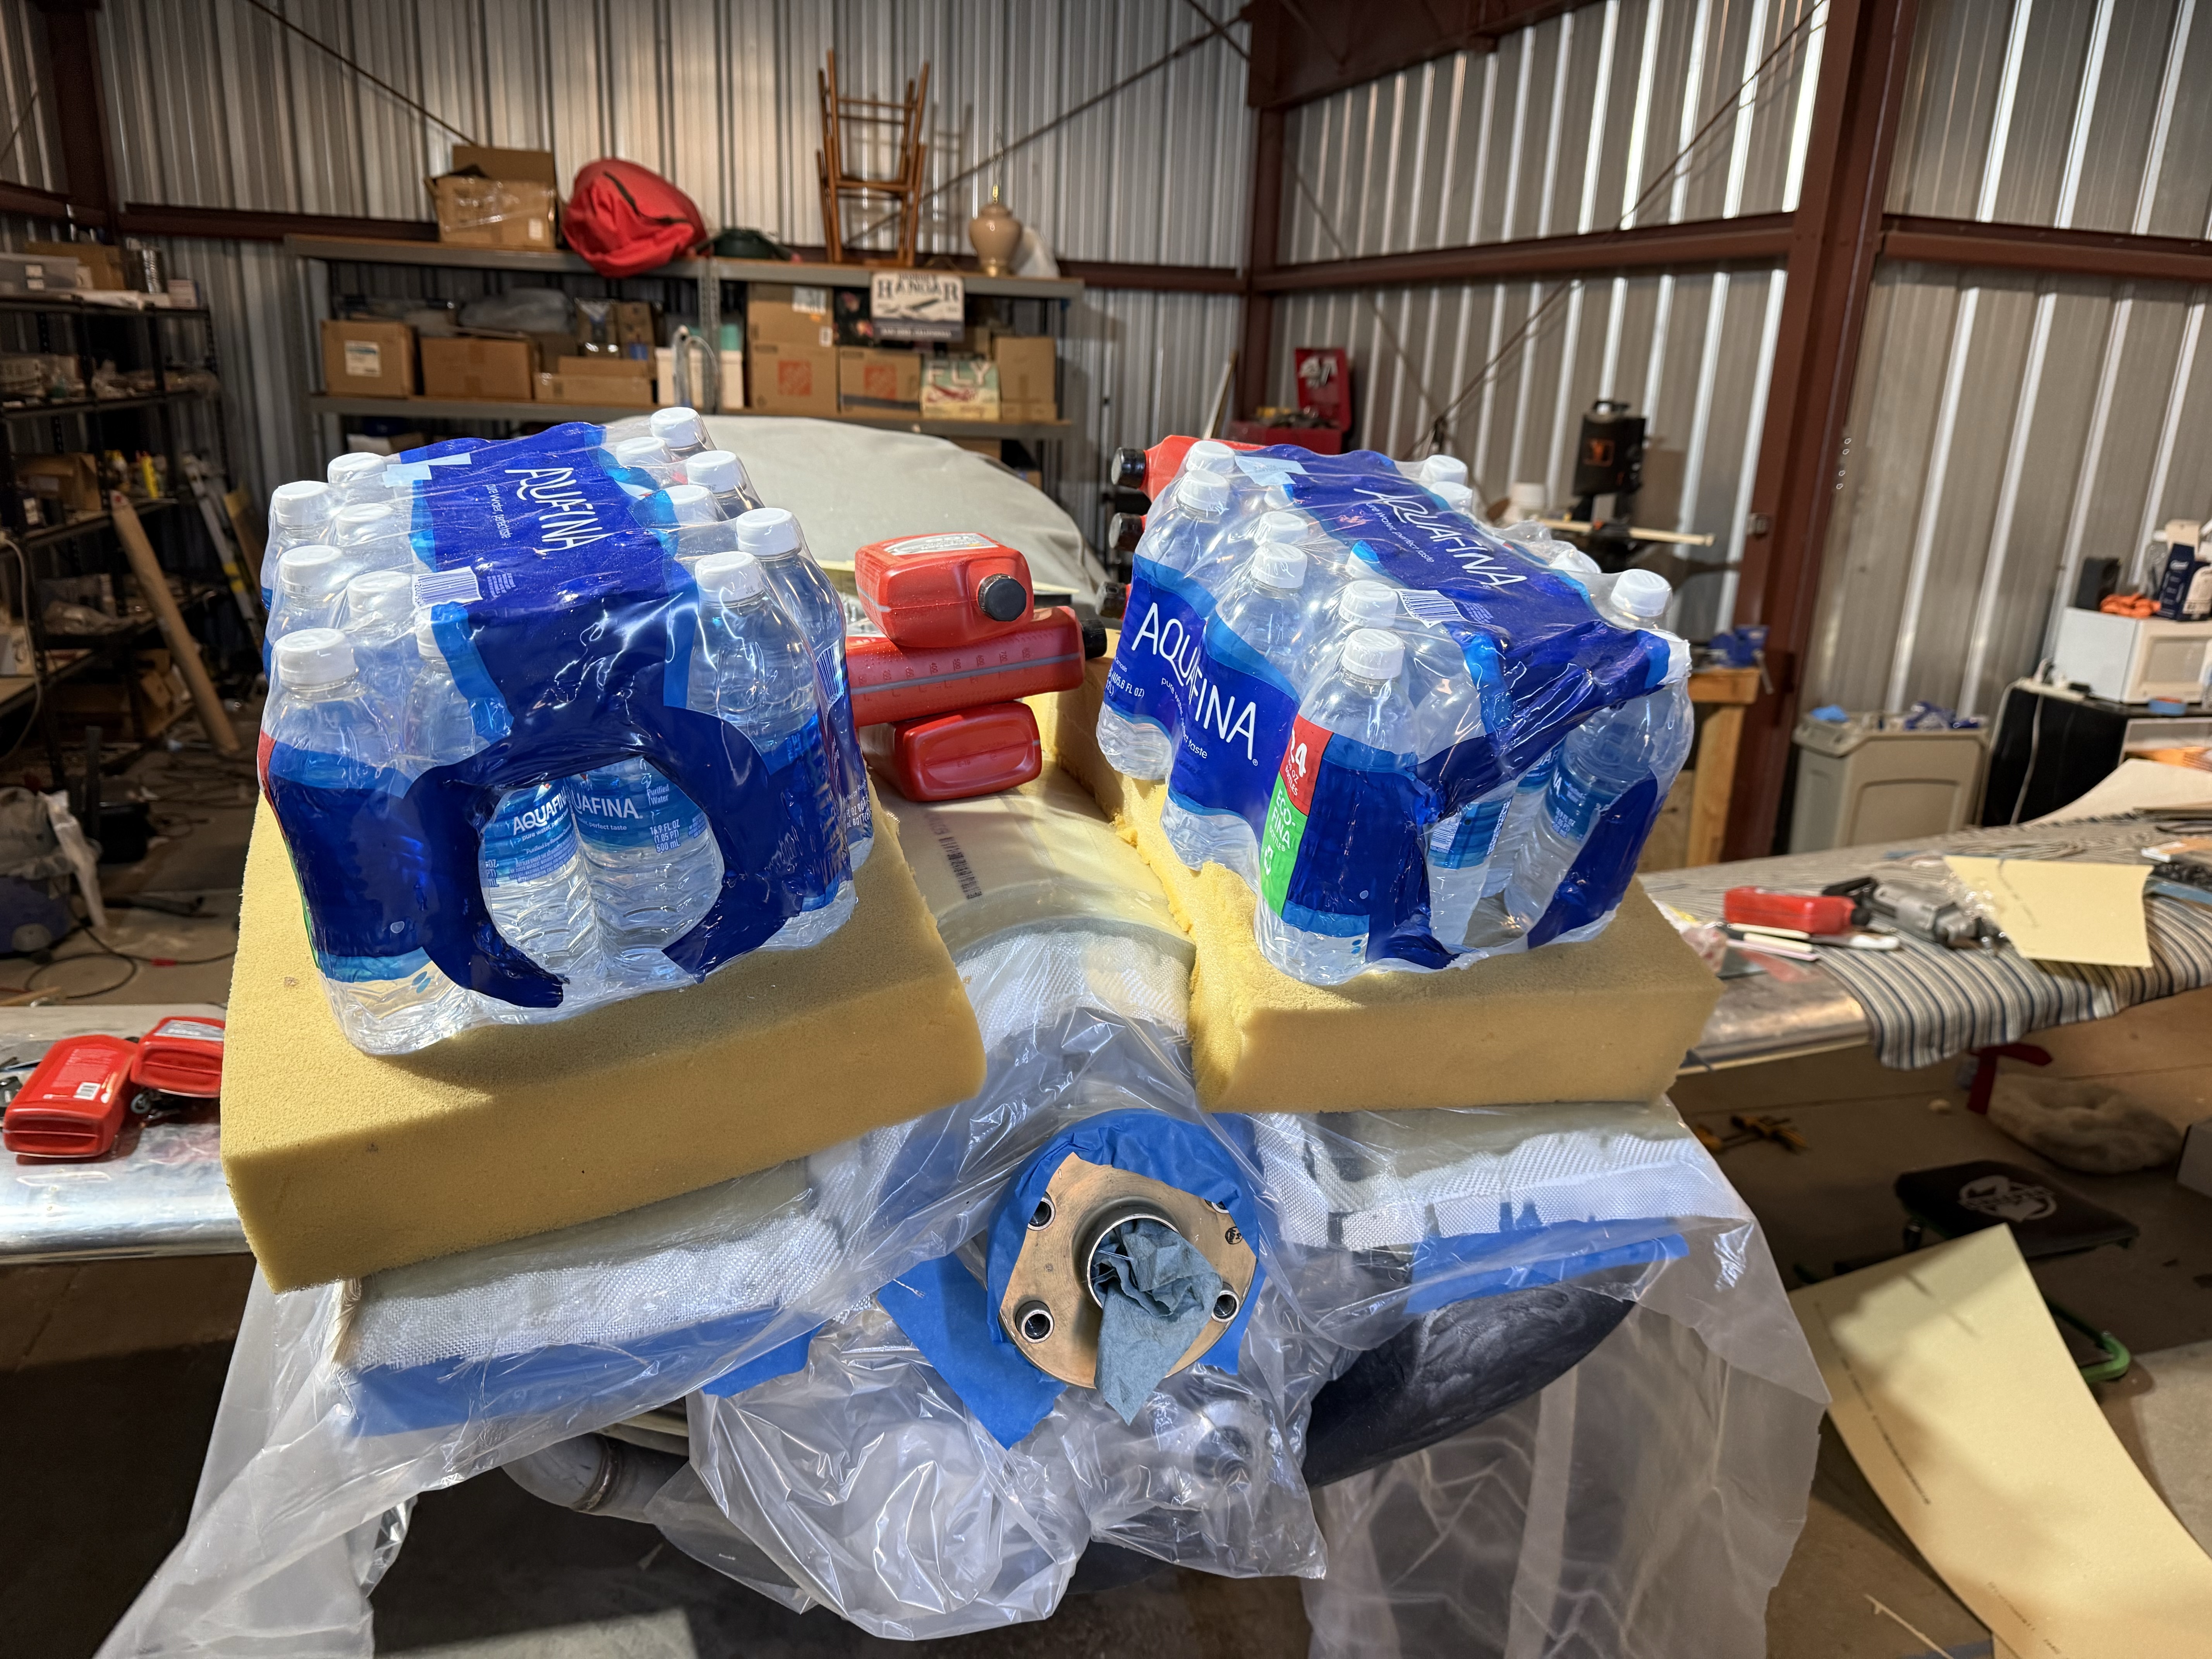
We then weighed the entire thing down using some foam to distribute the load then left it to cure overnight.
After this sets up, I will remove the plastic cover and trim the edges. If i need to reinforce anything or redo any parts, I will add subsequent layers and filler material. The whole lid can experience a couple hundred pounds of force at high speeds, so it needs to be stiff enough to not flex, which may open up gaps (reduce cooling) or cause the whole thing to crack.
The final step to this project will be creating the cowl inlet seals which will join the cowl inlets to the plenum preventing any air from leaking around the engine.

Leave a comment