I had a big life event a few weeks ago – my son was born! I have not had much time to work on the plane obviously, but I did manage to get away today for an hour to work on some things.
A few weeks ago (before my son was born) I spent some time making the forward fuselage hatch gaskets.
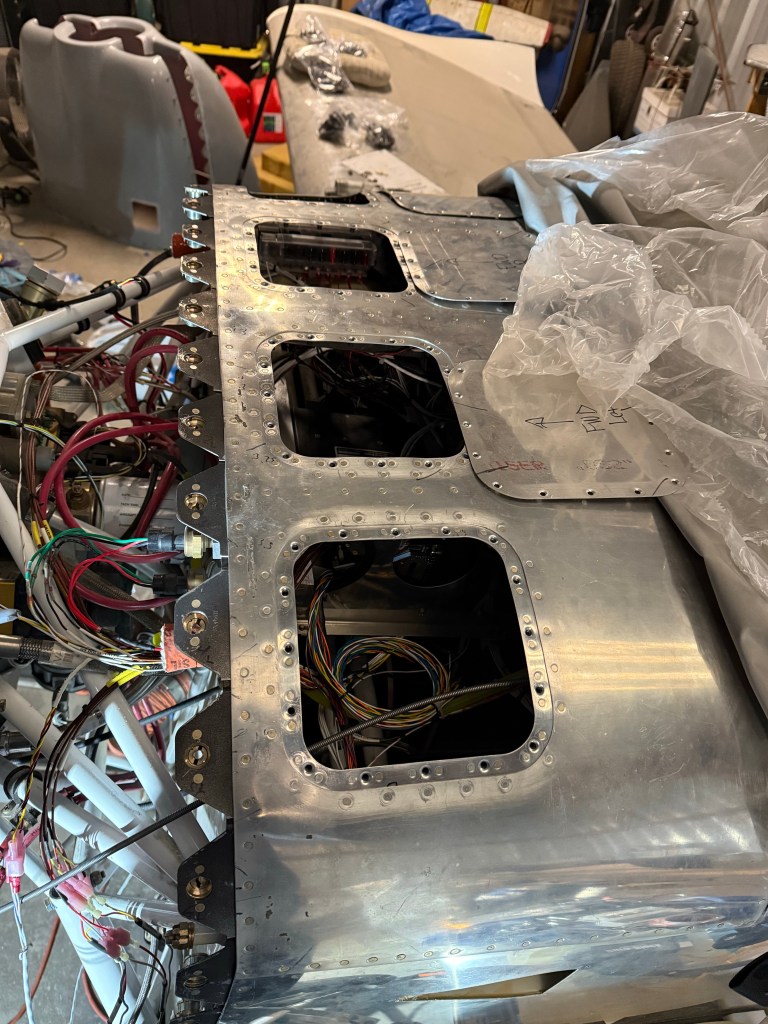
Here are the flanges prior to applying ProSeal and the plastic protective film. I then applied the ProSeal to the flanges, covered it in plastic and then installed the hatch covers.

I let these cure for the last few weeks – mostly because I wasn’t able to get to the hangar, but they would have been fully cured after a few days.
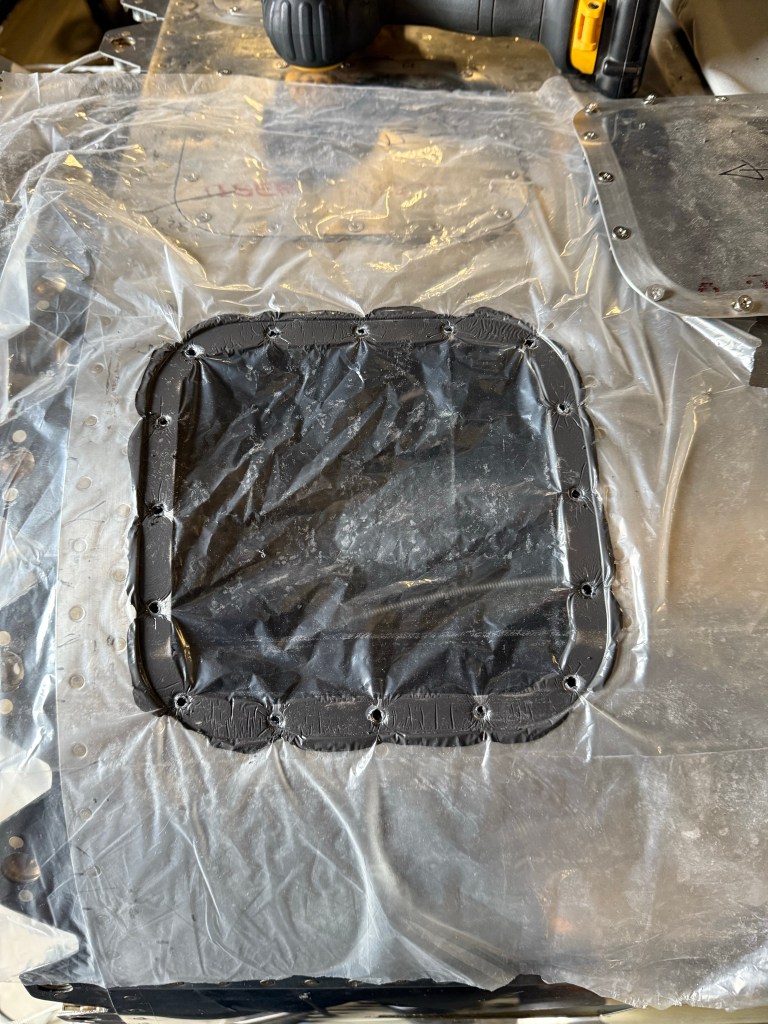
Here is the panel removed, and the plastic barrier on top of the ProSeal. Its not the most perfect gasket, there are a couple of spots where its not fully covered, I will go back and add more material and reseal it. The plastic pealed right off leaving no residue or anything.
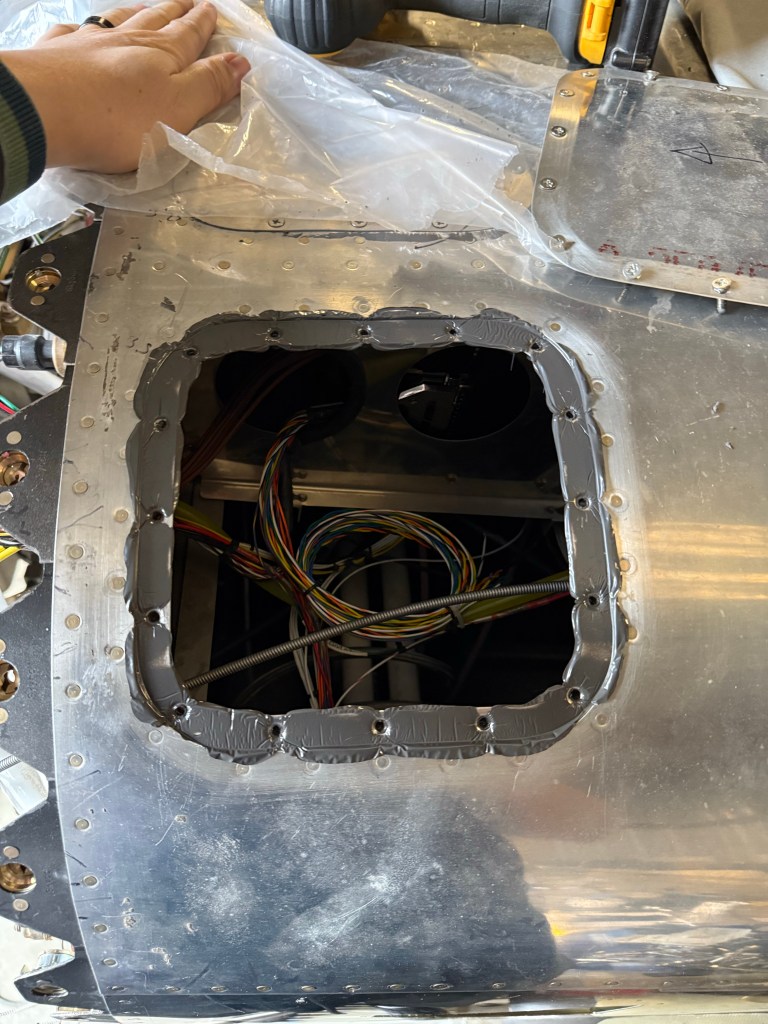
I then removed the plastic, and used a razor to trim the inner edges of the flanges, followed by the overflow on the outside.
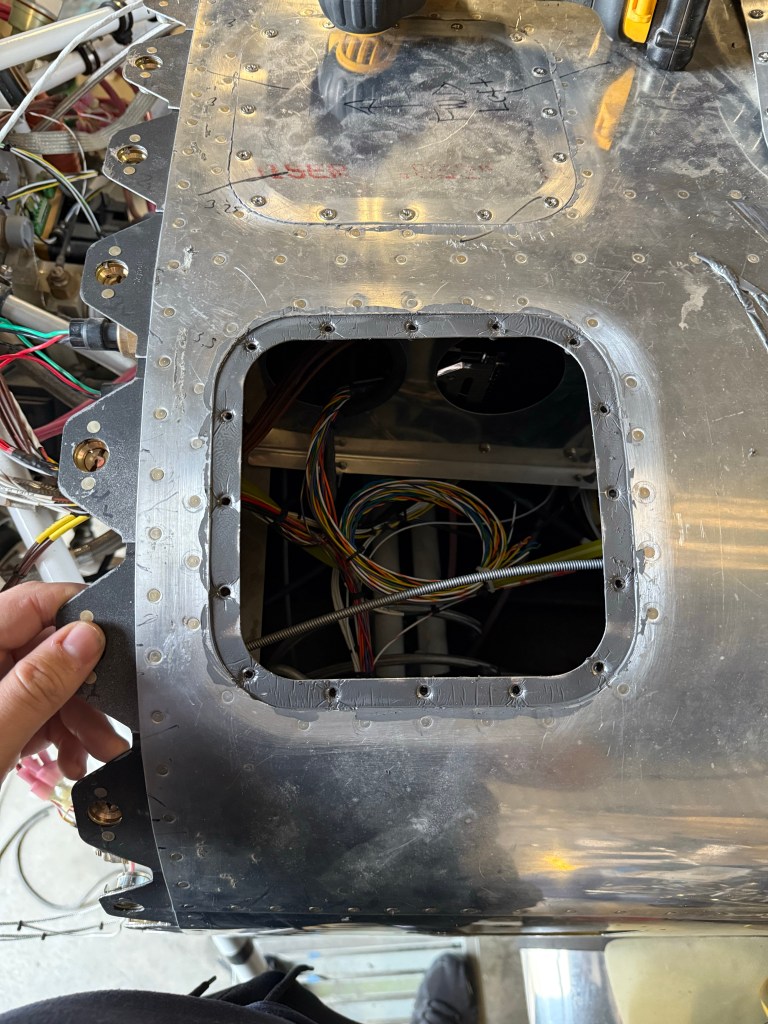
The completed gasket with all edges trimmed. I then installed all the panels (as can be seen above this one) and the forward fuselage is now complete.

Here are all the covers installed. When this is painted, all the remnants of the ProSeal will be removed with surface prep sanding, but this is done for now.

Leave a comment