Today I decided to knock out the left flap hinges and rigging. I began by aligning the aileron using the bellcrank jig, and slotting a few bolts in the tooling holes in the main outboard rib.
 Here’s the jig installed along with the lower outboard skin clecoed to the wing. With this installed I was able to then align the flap to the aileron trailing edge.
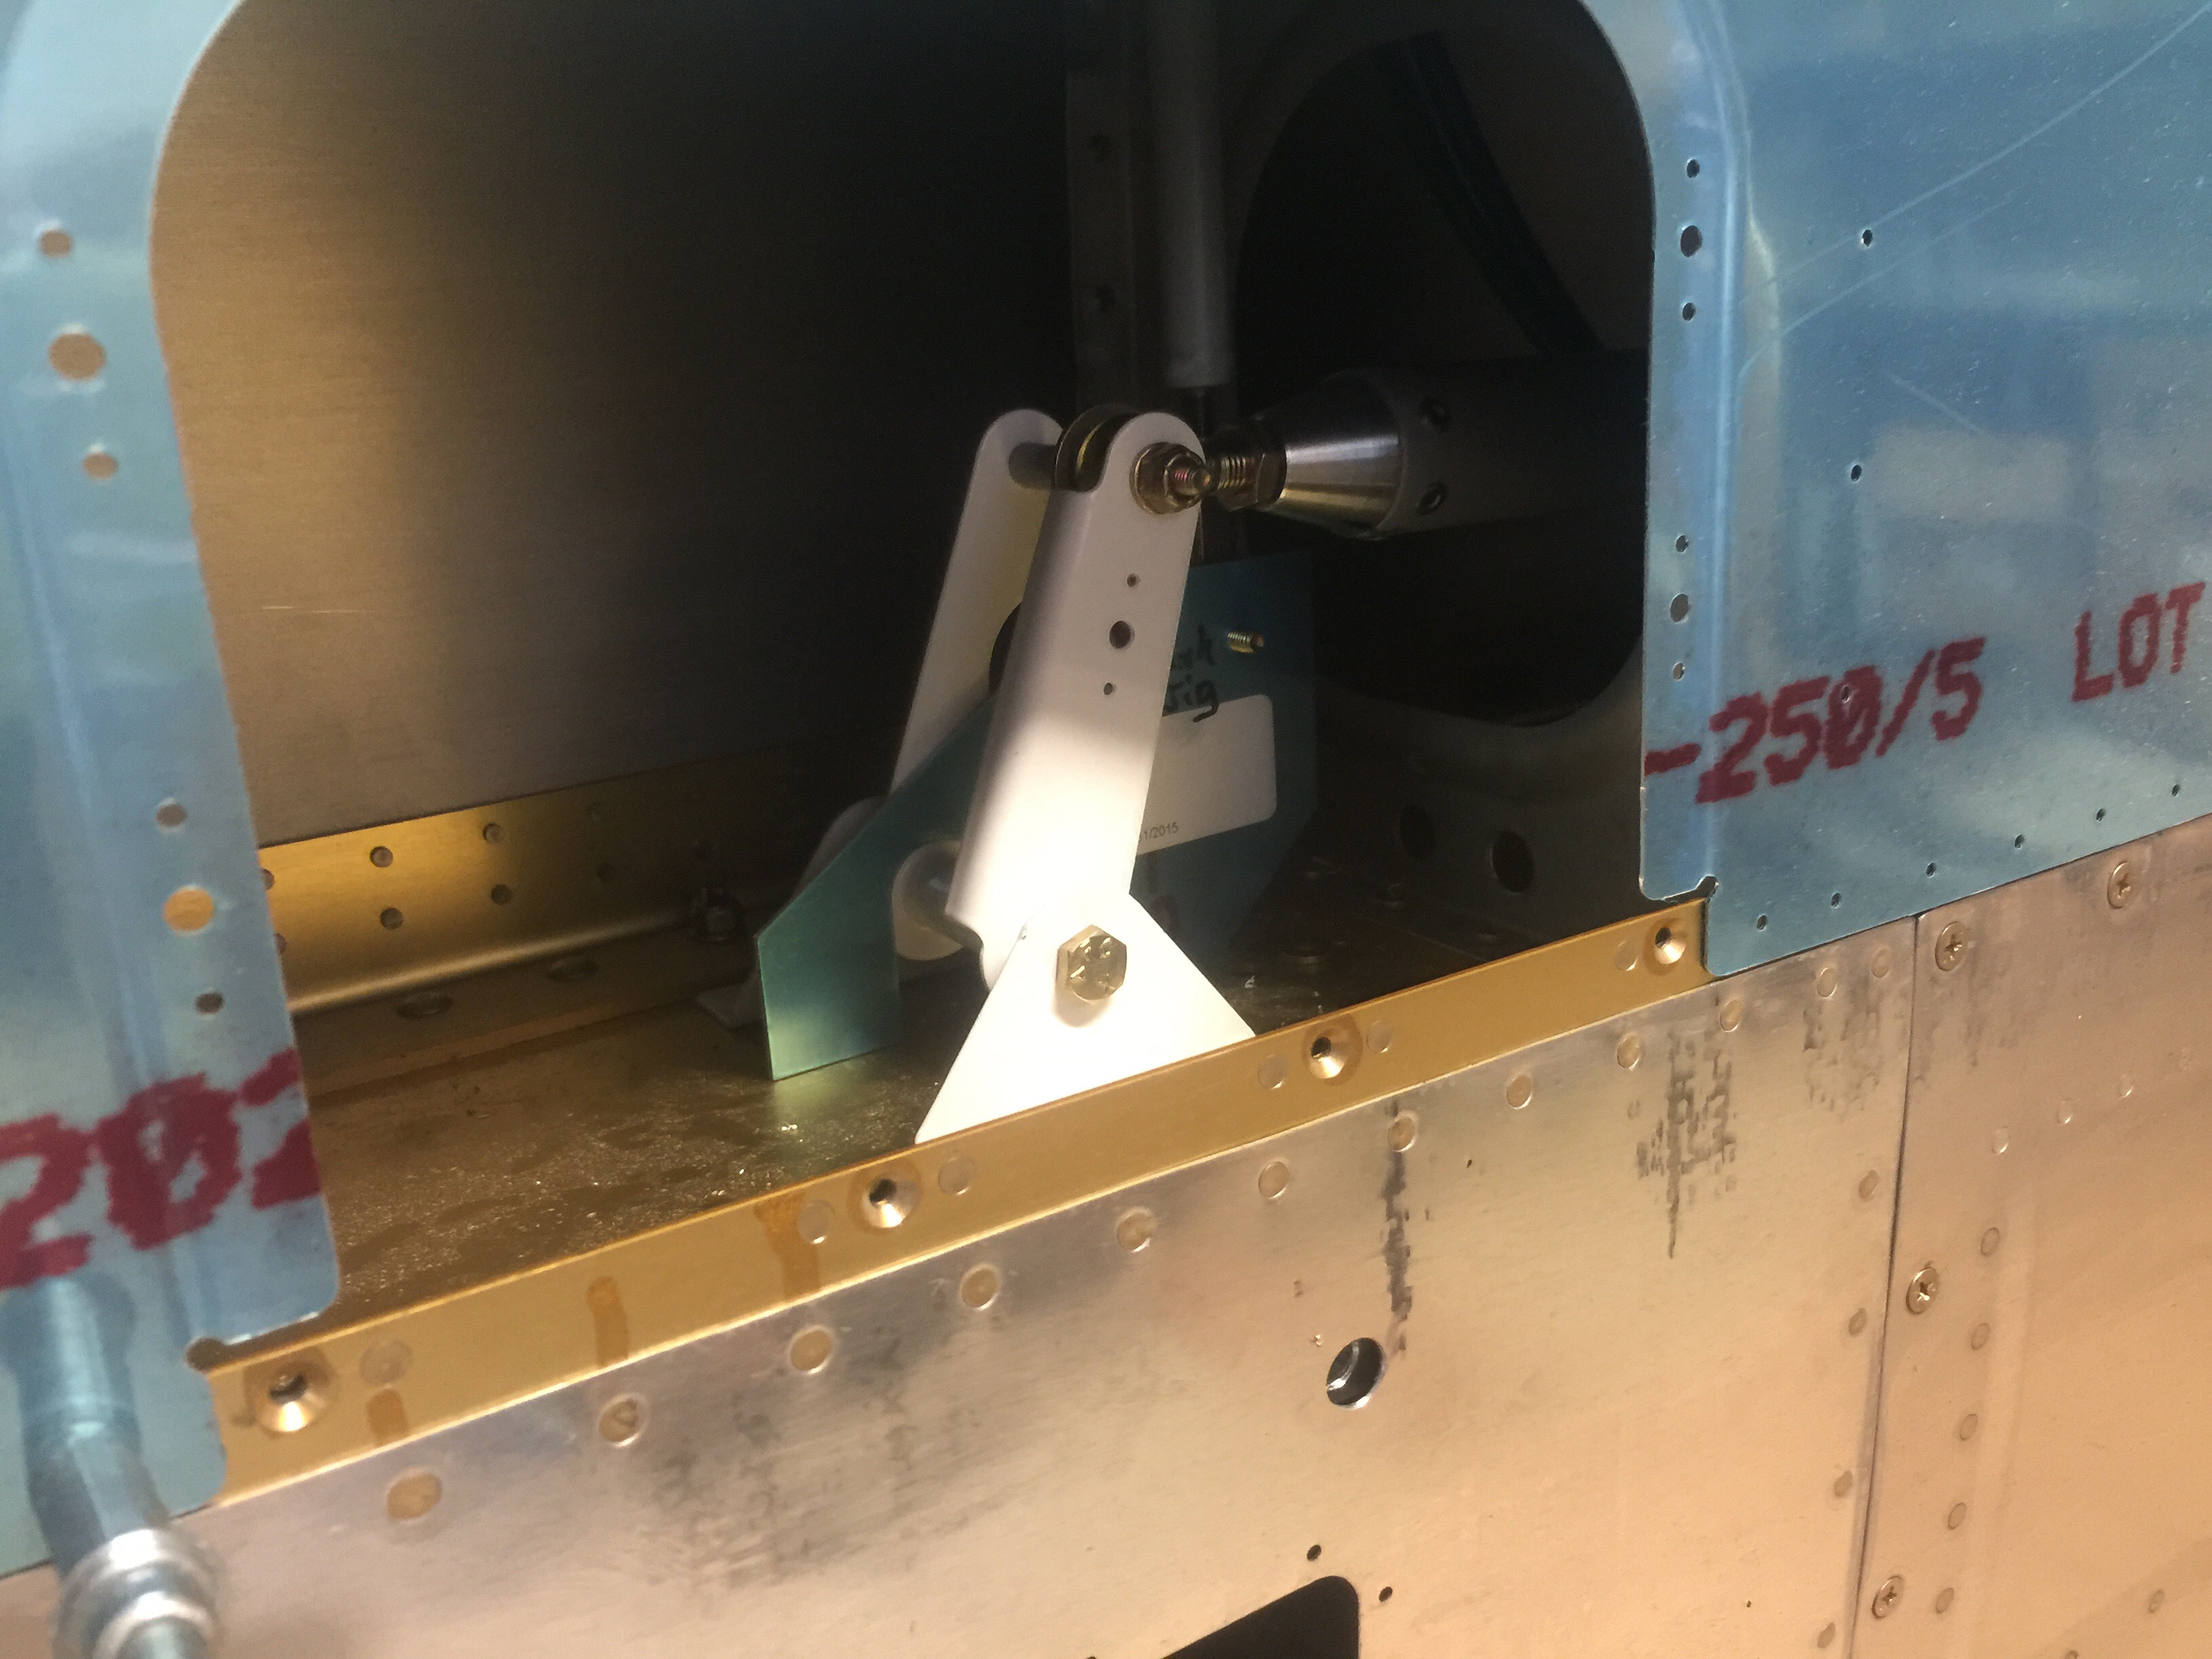
 Here you can see the flap hinge clecoed to the wing, the mark on the lower right side is a 1/4″ mark along the whole hinge. In order to align the trailing edge of the aileron with the flap I had to raise the hinge and flap about 1/16 of an inch, after it was drilled it’s perfectly aligned with the aileron.
 Here you can see the flap hinge on the left clecoed to the wing, and the flap above. Everything will get final alignment before riveting, and then again when attaching the wings to the fuselage.
 While I had the lower outboard skin clecoed on for the flap installation I decided to match drill the skin to the ribs and spars. There’s a lot of rivets for this one skin. Now all that’s left for this wing is to dimple this skin and the under-structure, but before I can rivet this I need to route a wire conduit for the wingtip lighting. It’s a bundle of 4 shielded wires wth 10 or so wires inside.
Next up is the right wing.

Leave a comment