This weekend was a big weekend.

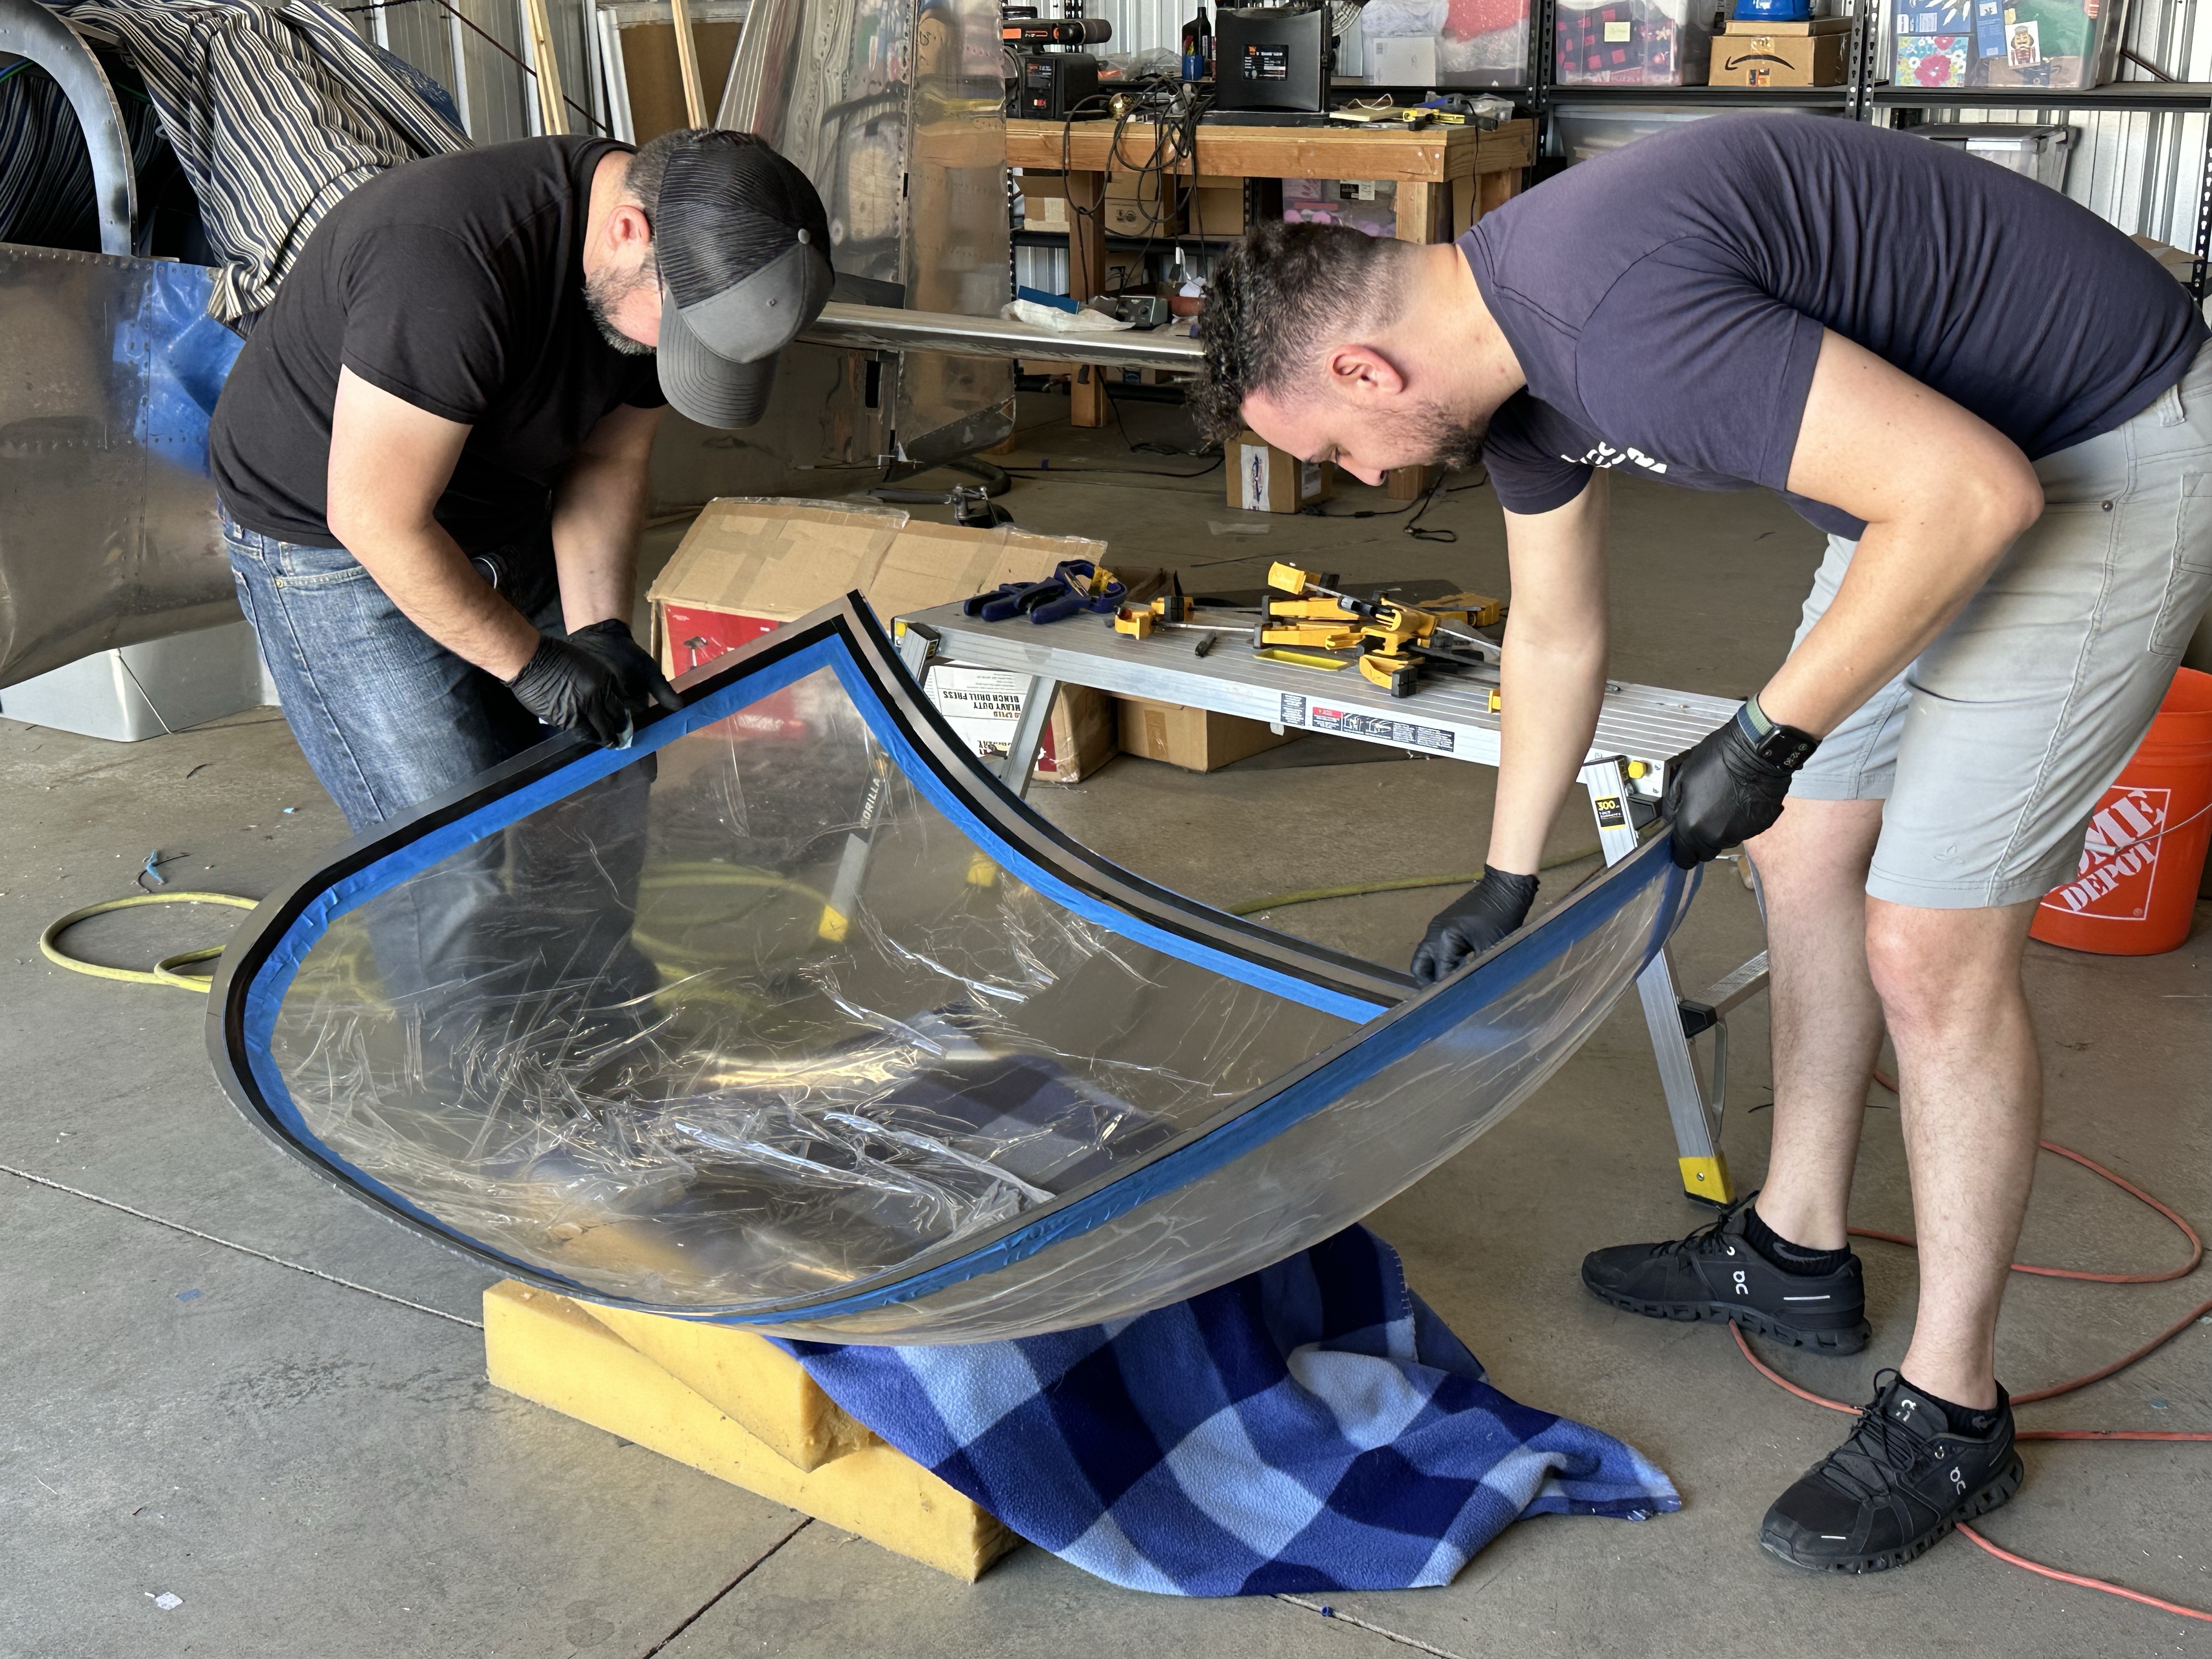
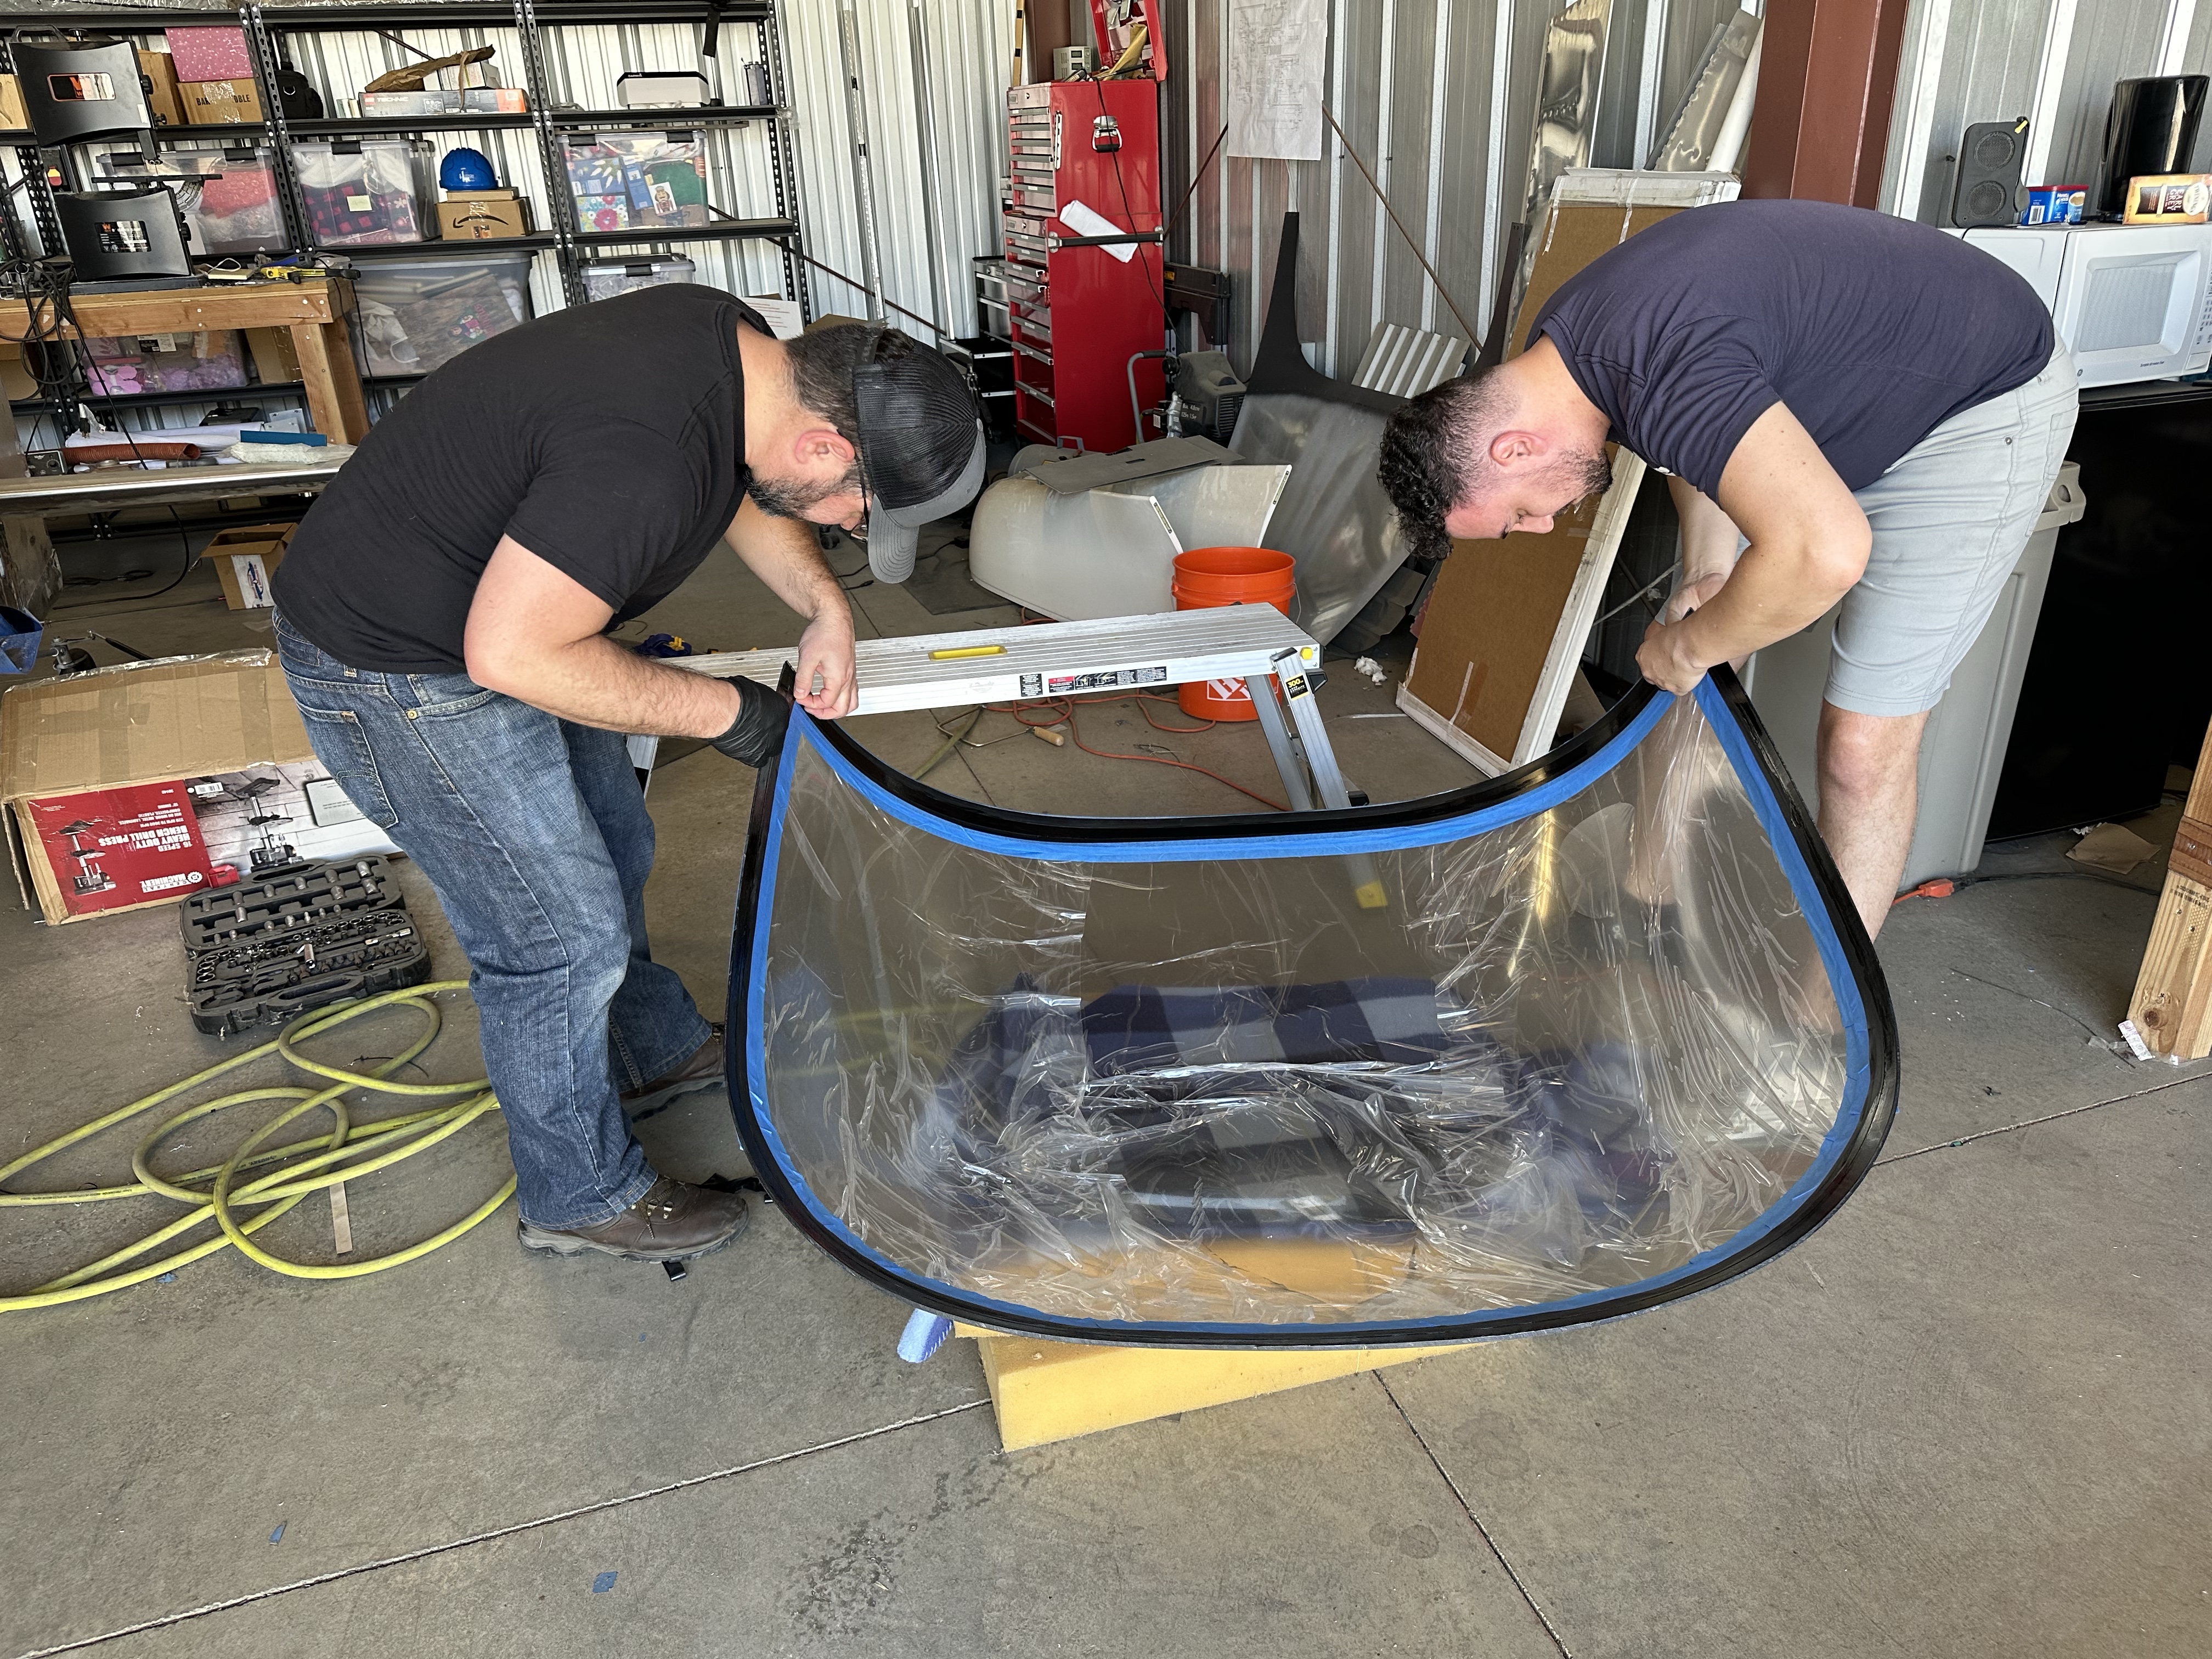
My friend Norio came to help with the install. We started by dry fitting the canopy and marking it for exact alignment. We walked through the process and the execution plan.
The entire process will involve Sikaflex. It’s a three part marine UV resistant glue. We first wipe down the mating surfaces withe Sika Aktivator 205. This preps the surface for the next step.
We waited the required 10 minutes for the Aktivator to do its magic then we primed the surfaces with the Sika 209D primer. This stuff is quite nasty. We then waiting 30 minutes. The primer goes through three phases: very runny liquid, tacky, perfectly smooth and cured. At this point we have an hour and a half to apply the adhesive.
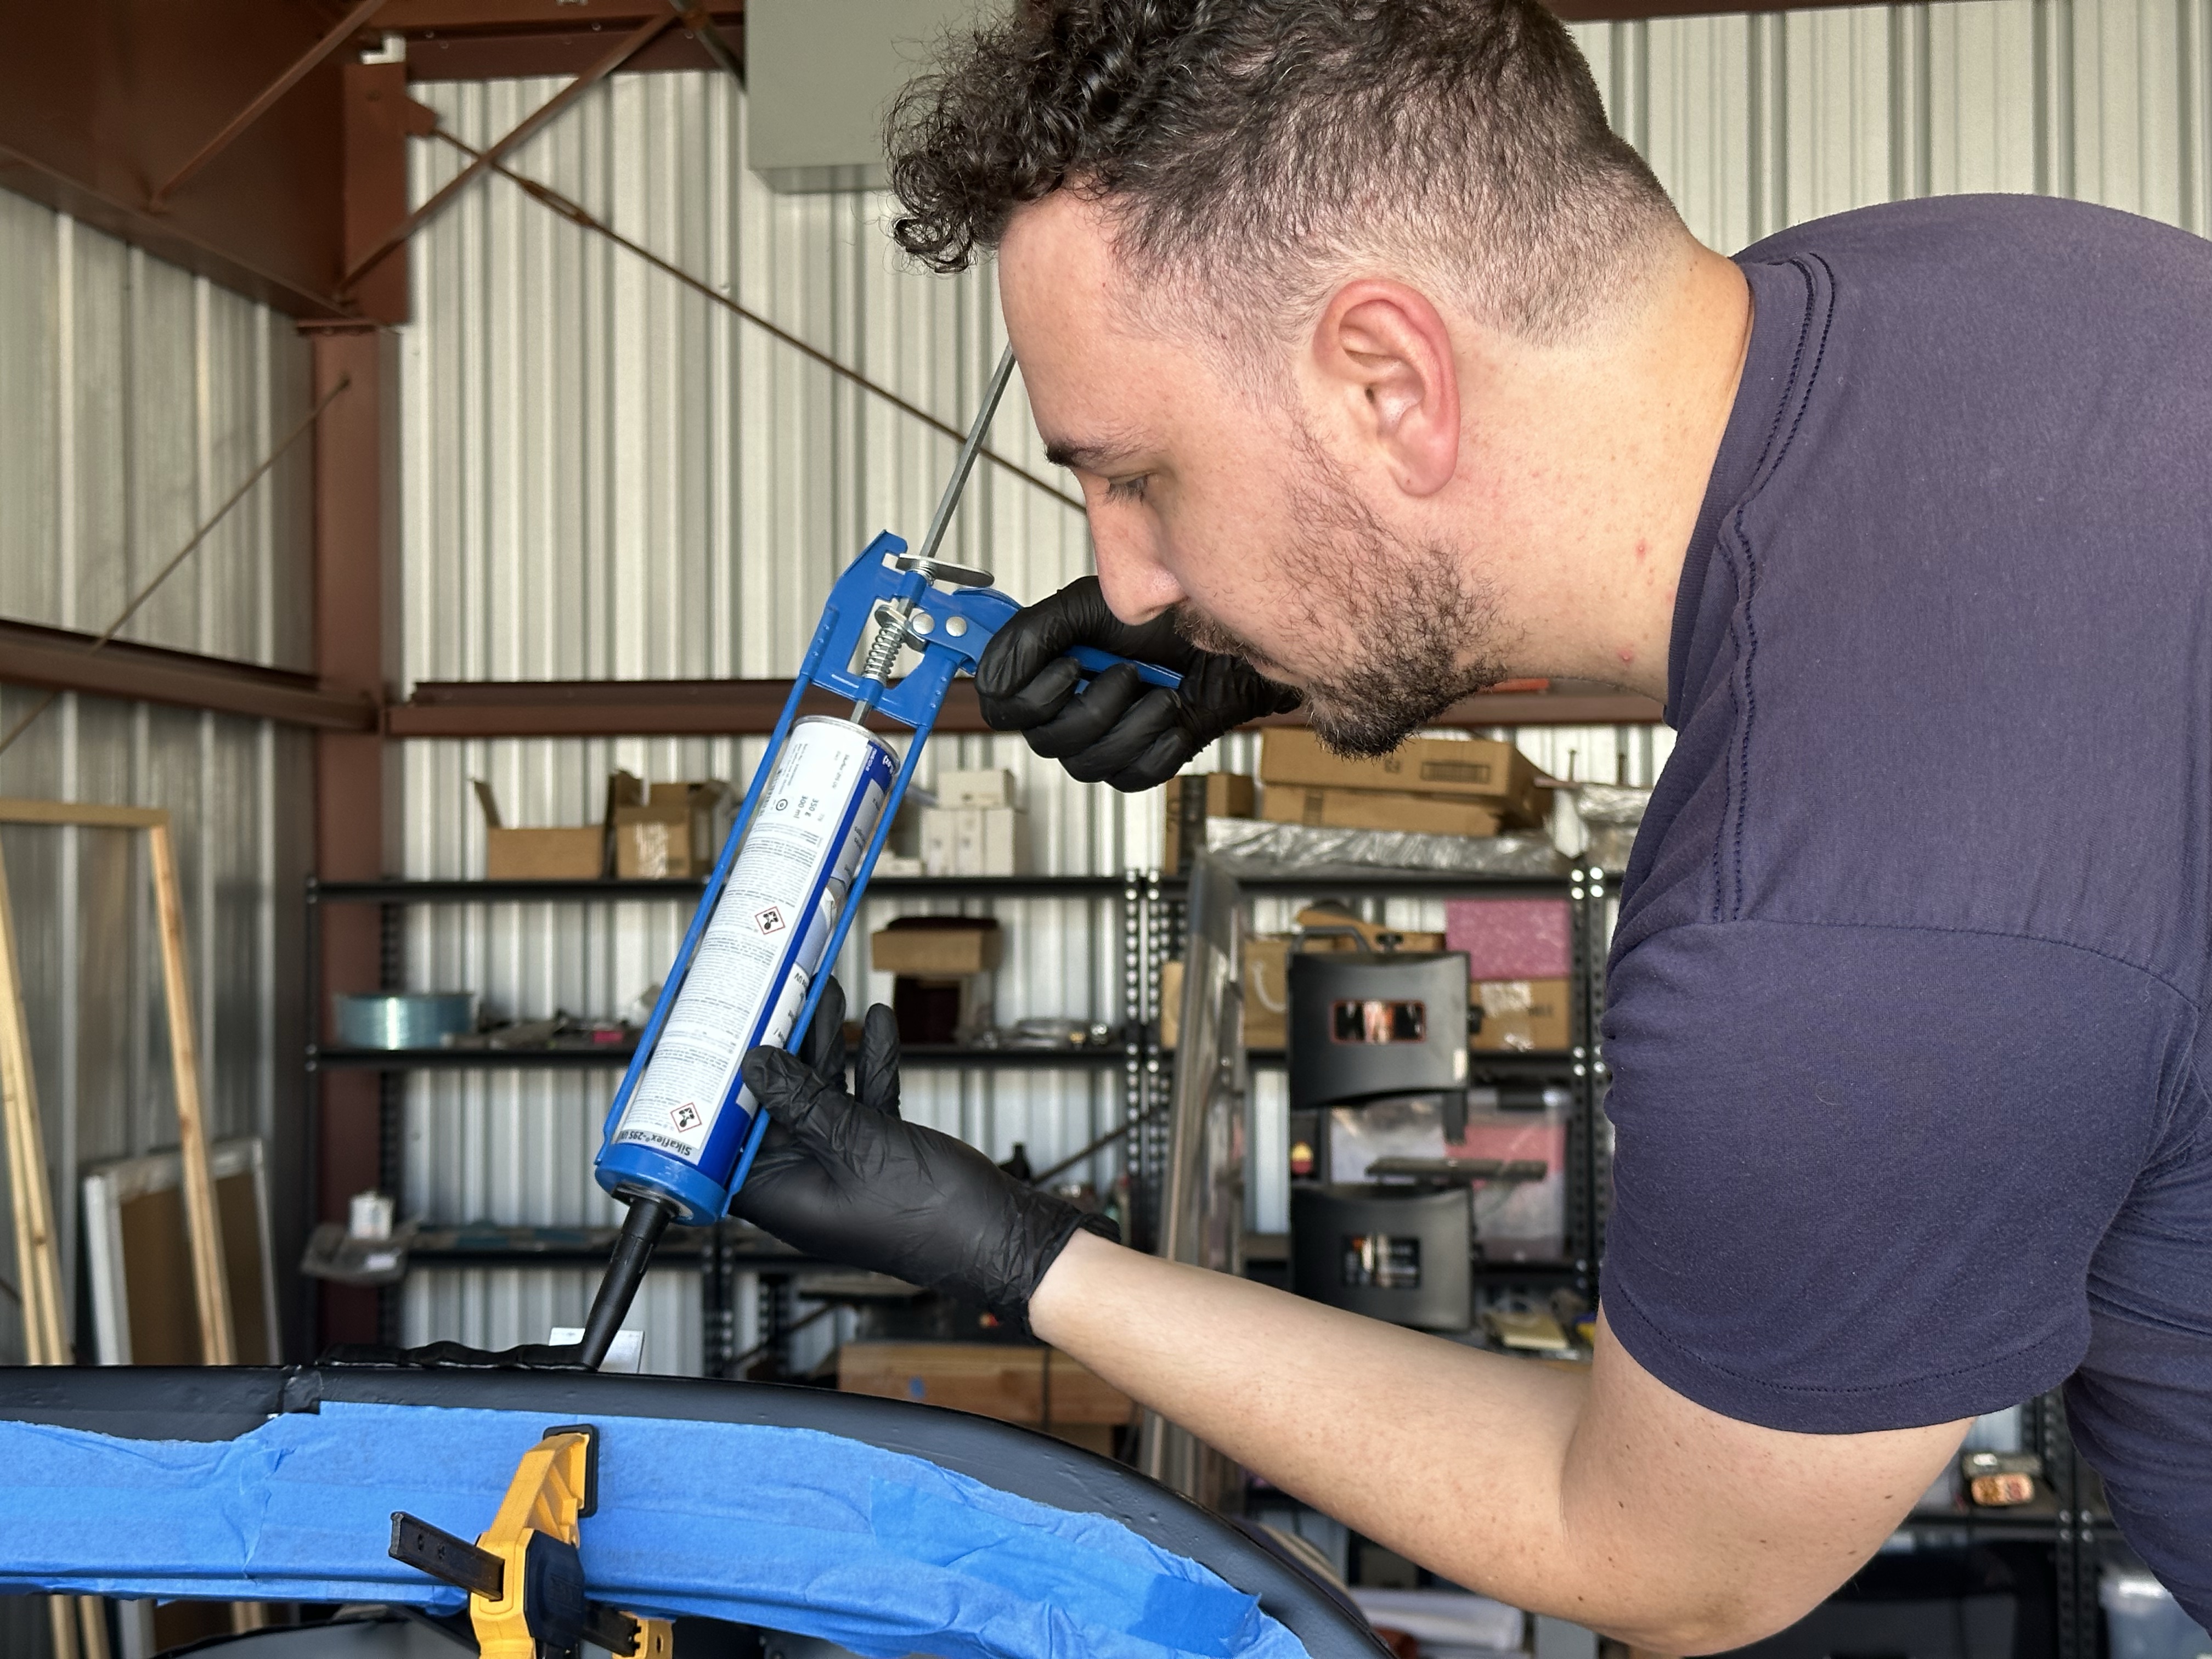
I started at the top of the frame and began applying the bead of Sika 295UV adhesive. I cut a V notch in the applicator tip in order to get the appropriate amount of glue for the bead. Sikaflex recommend 1/8” thickness to allow for thermal expansion.

I worked my way around the perimeter of the frame, along the sides and then finished off at the front of the frame.

I’ve read many posts about this process and every one of them said that they needed more adhesive. So I was hoping this would be enough

Norio and I then grabbed the canopy and prepped to install it. As we put it into place my wife Britney was there to make sure it was aligned to our marks (and take awesome photos).
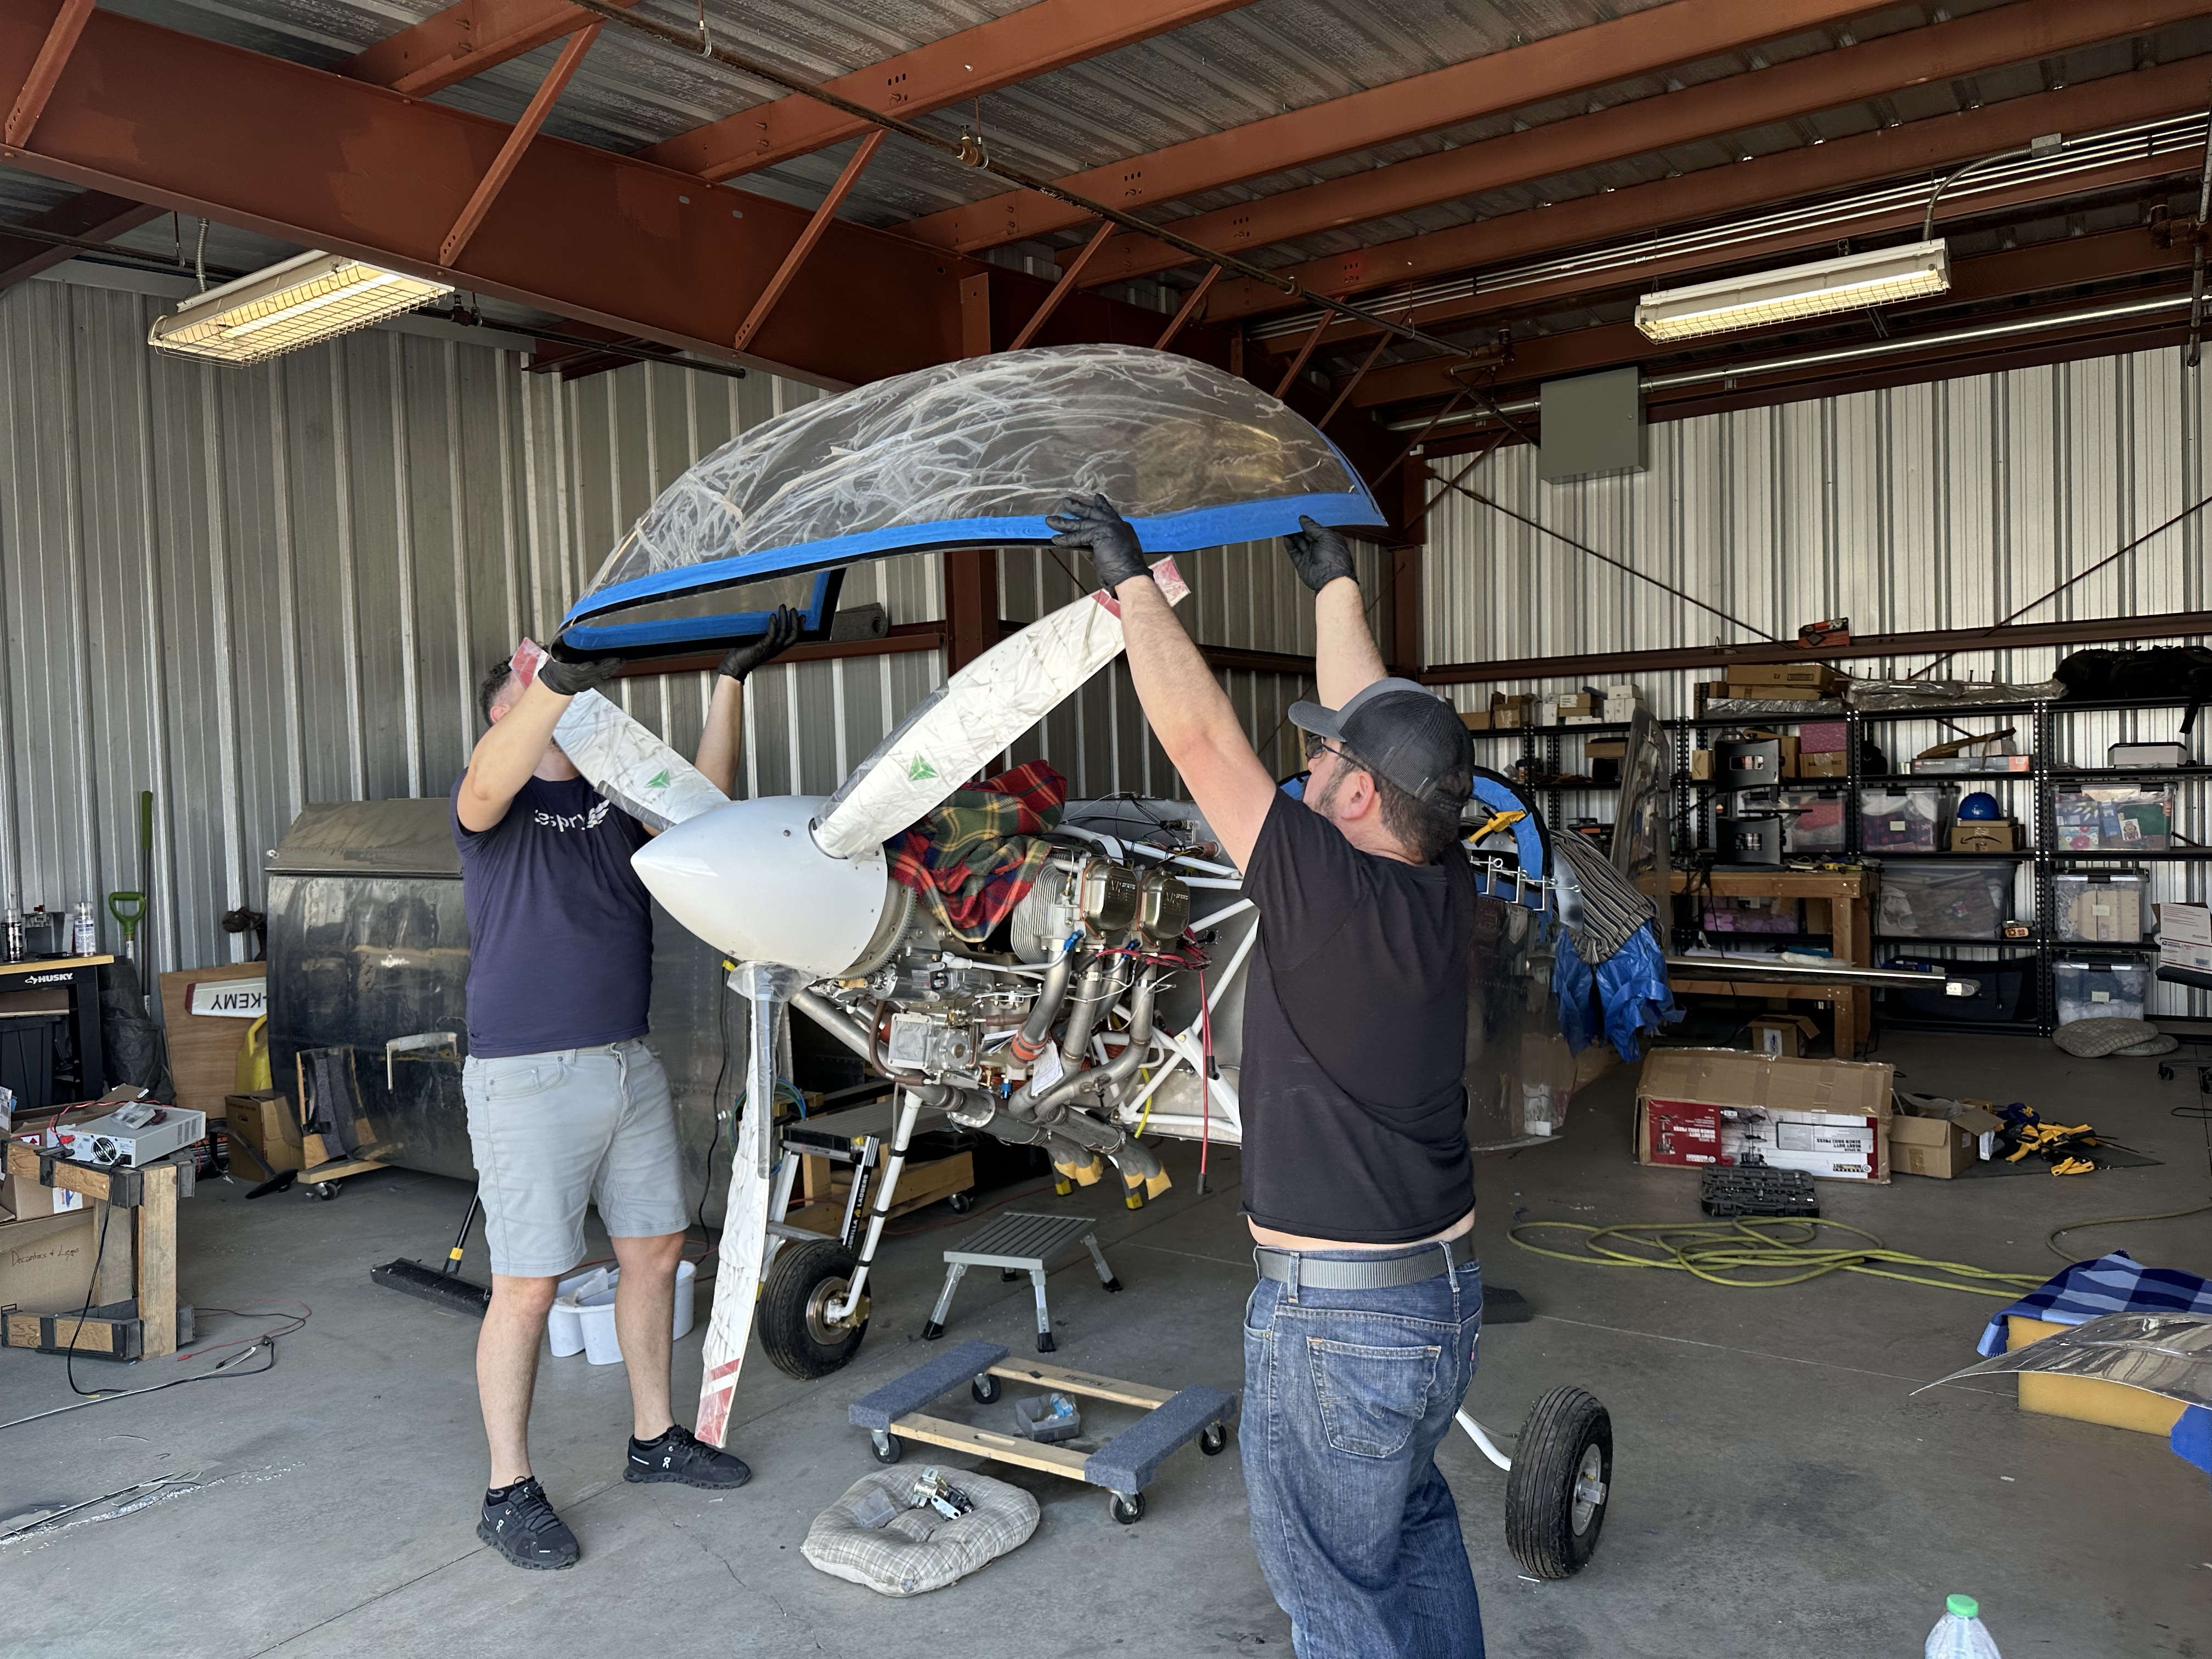
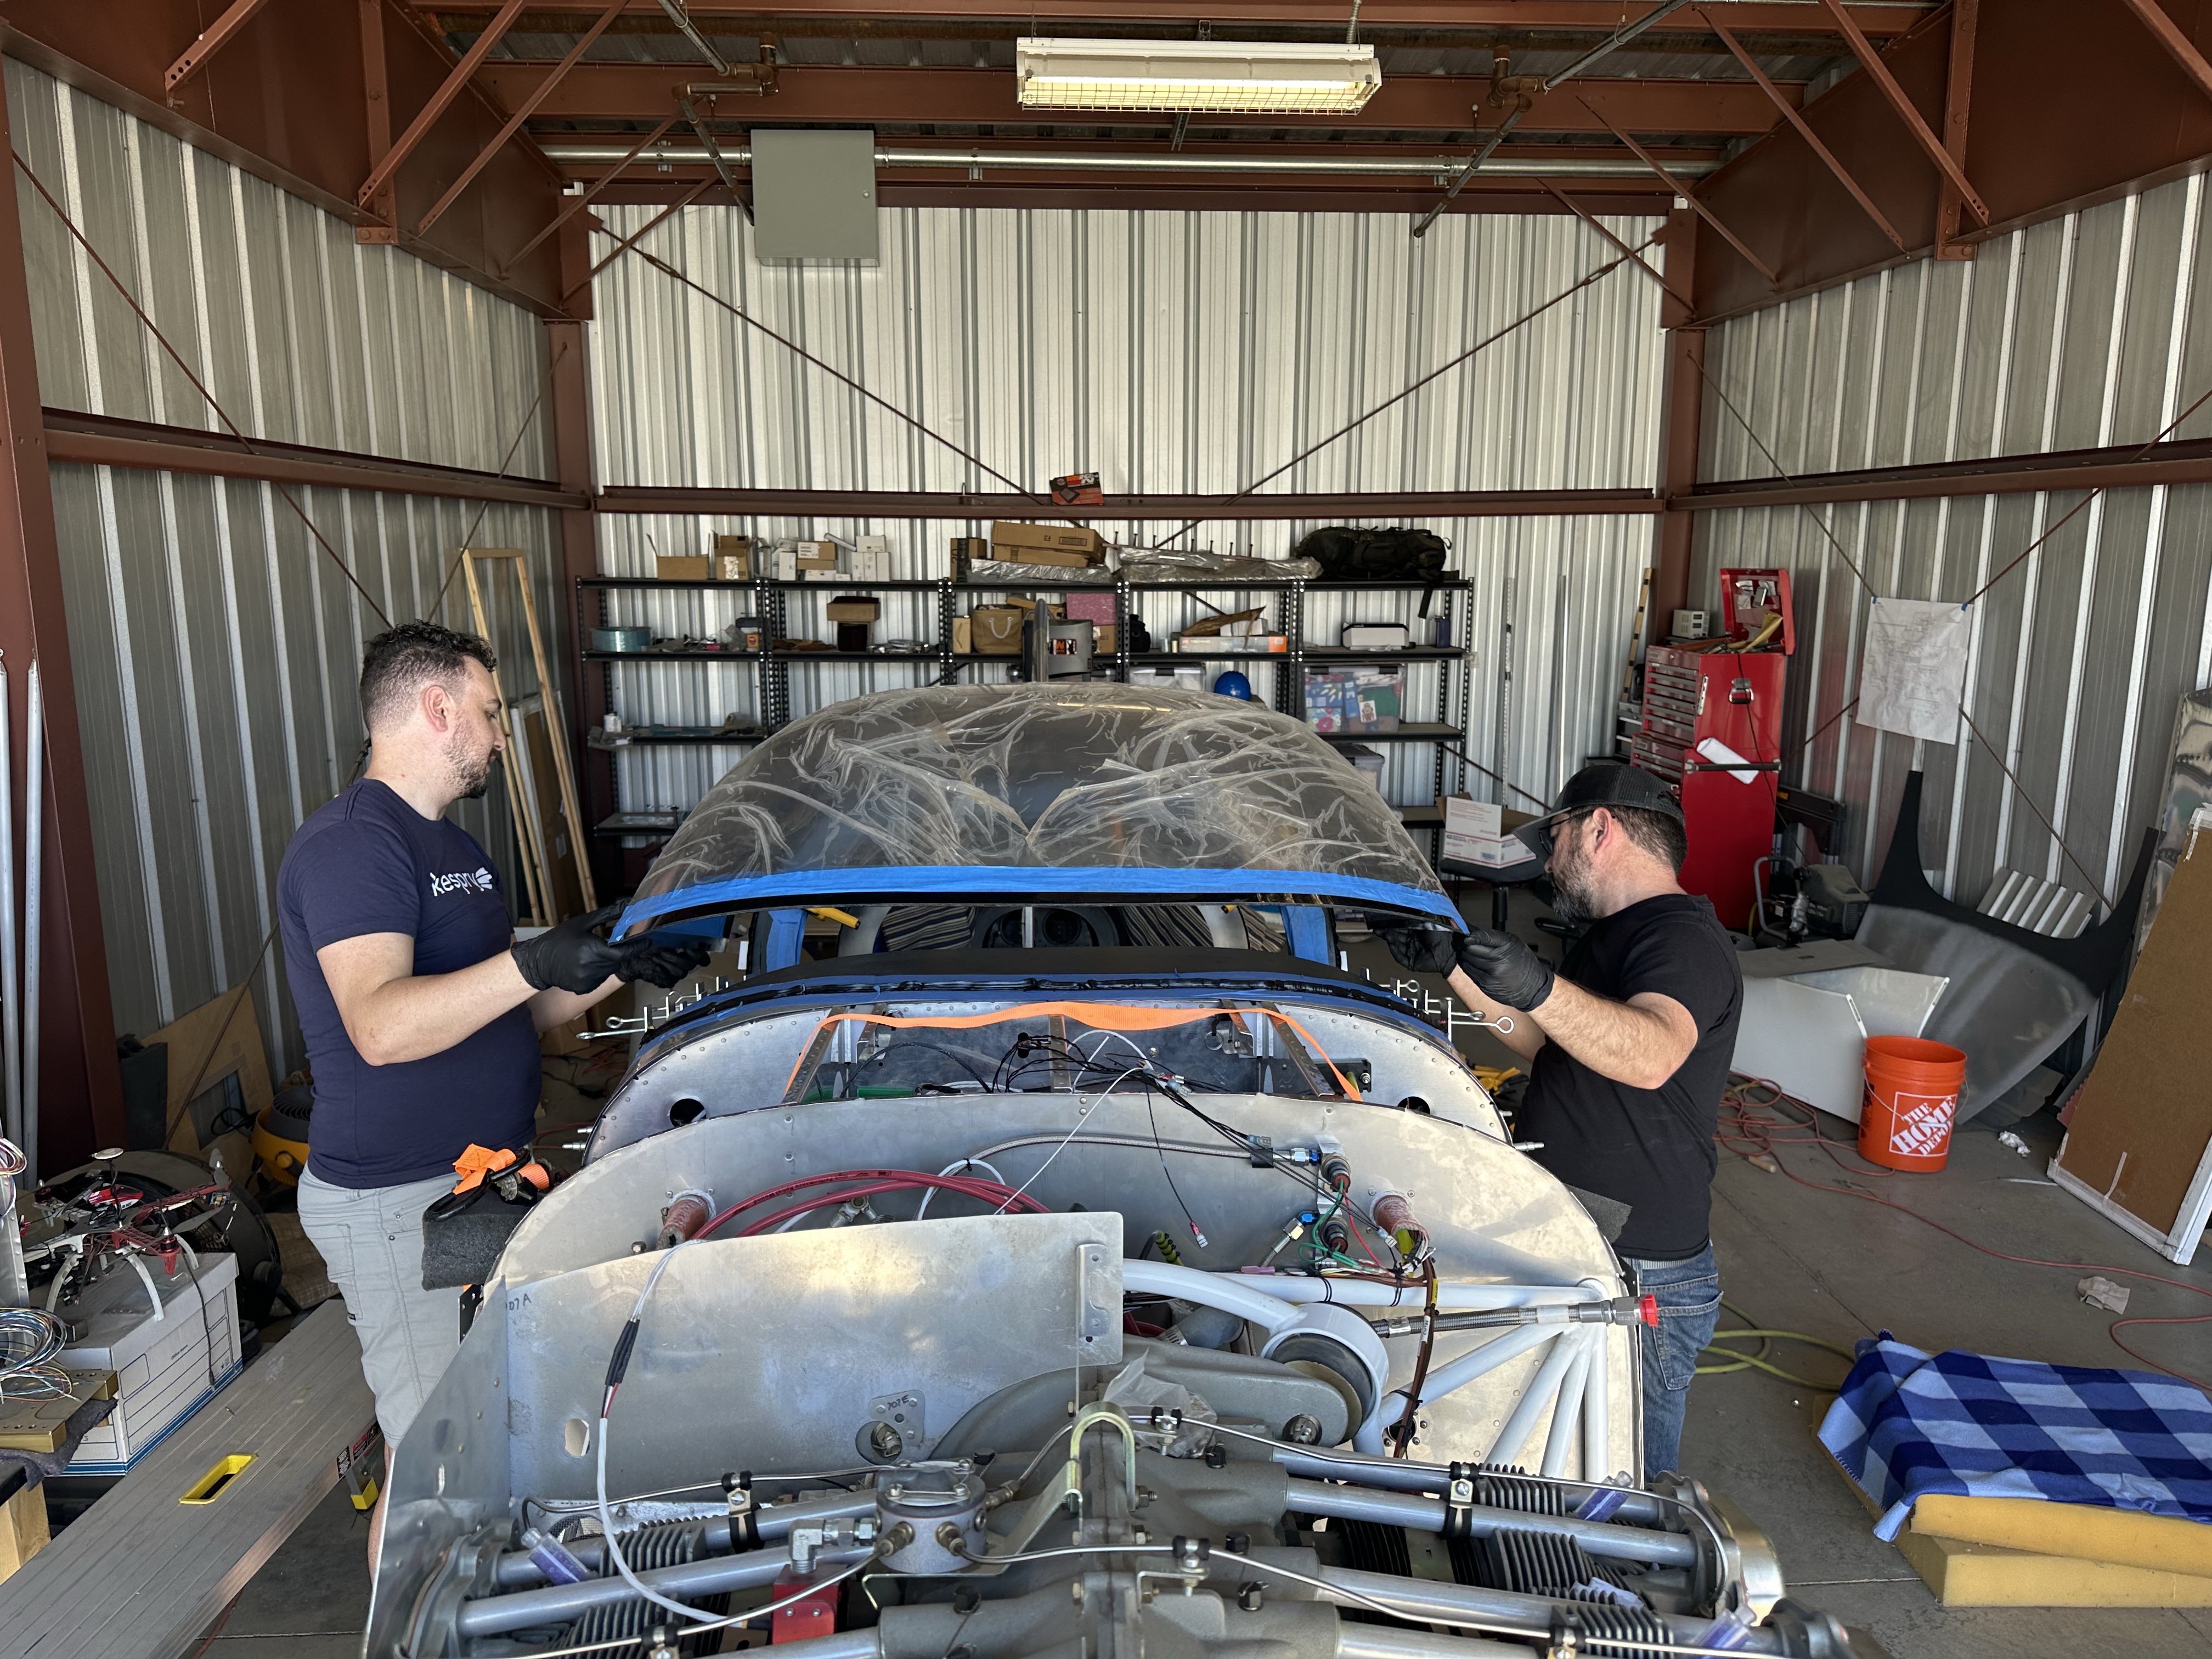

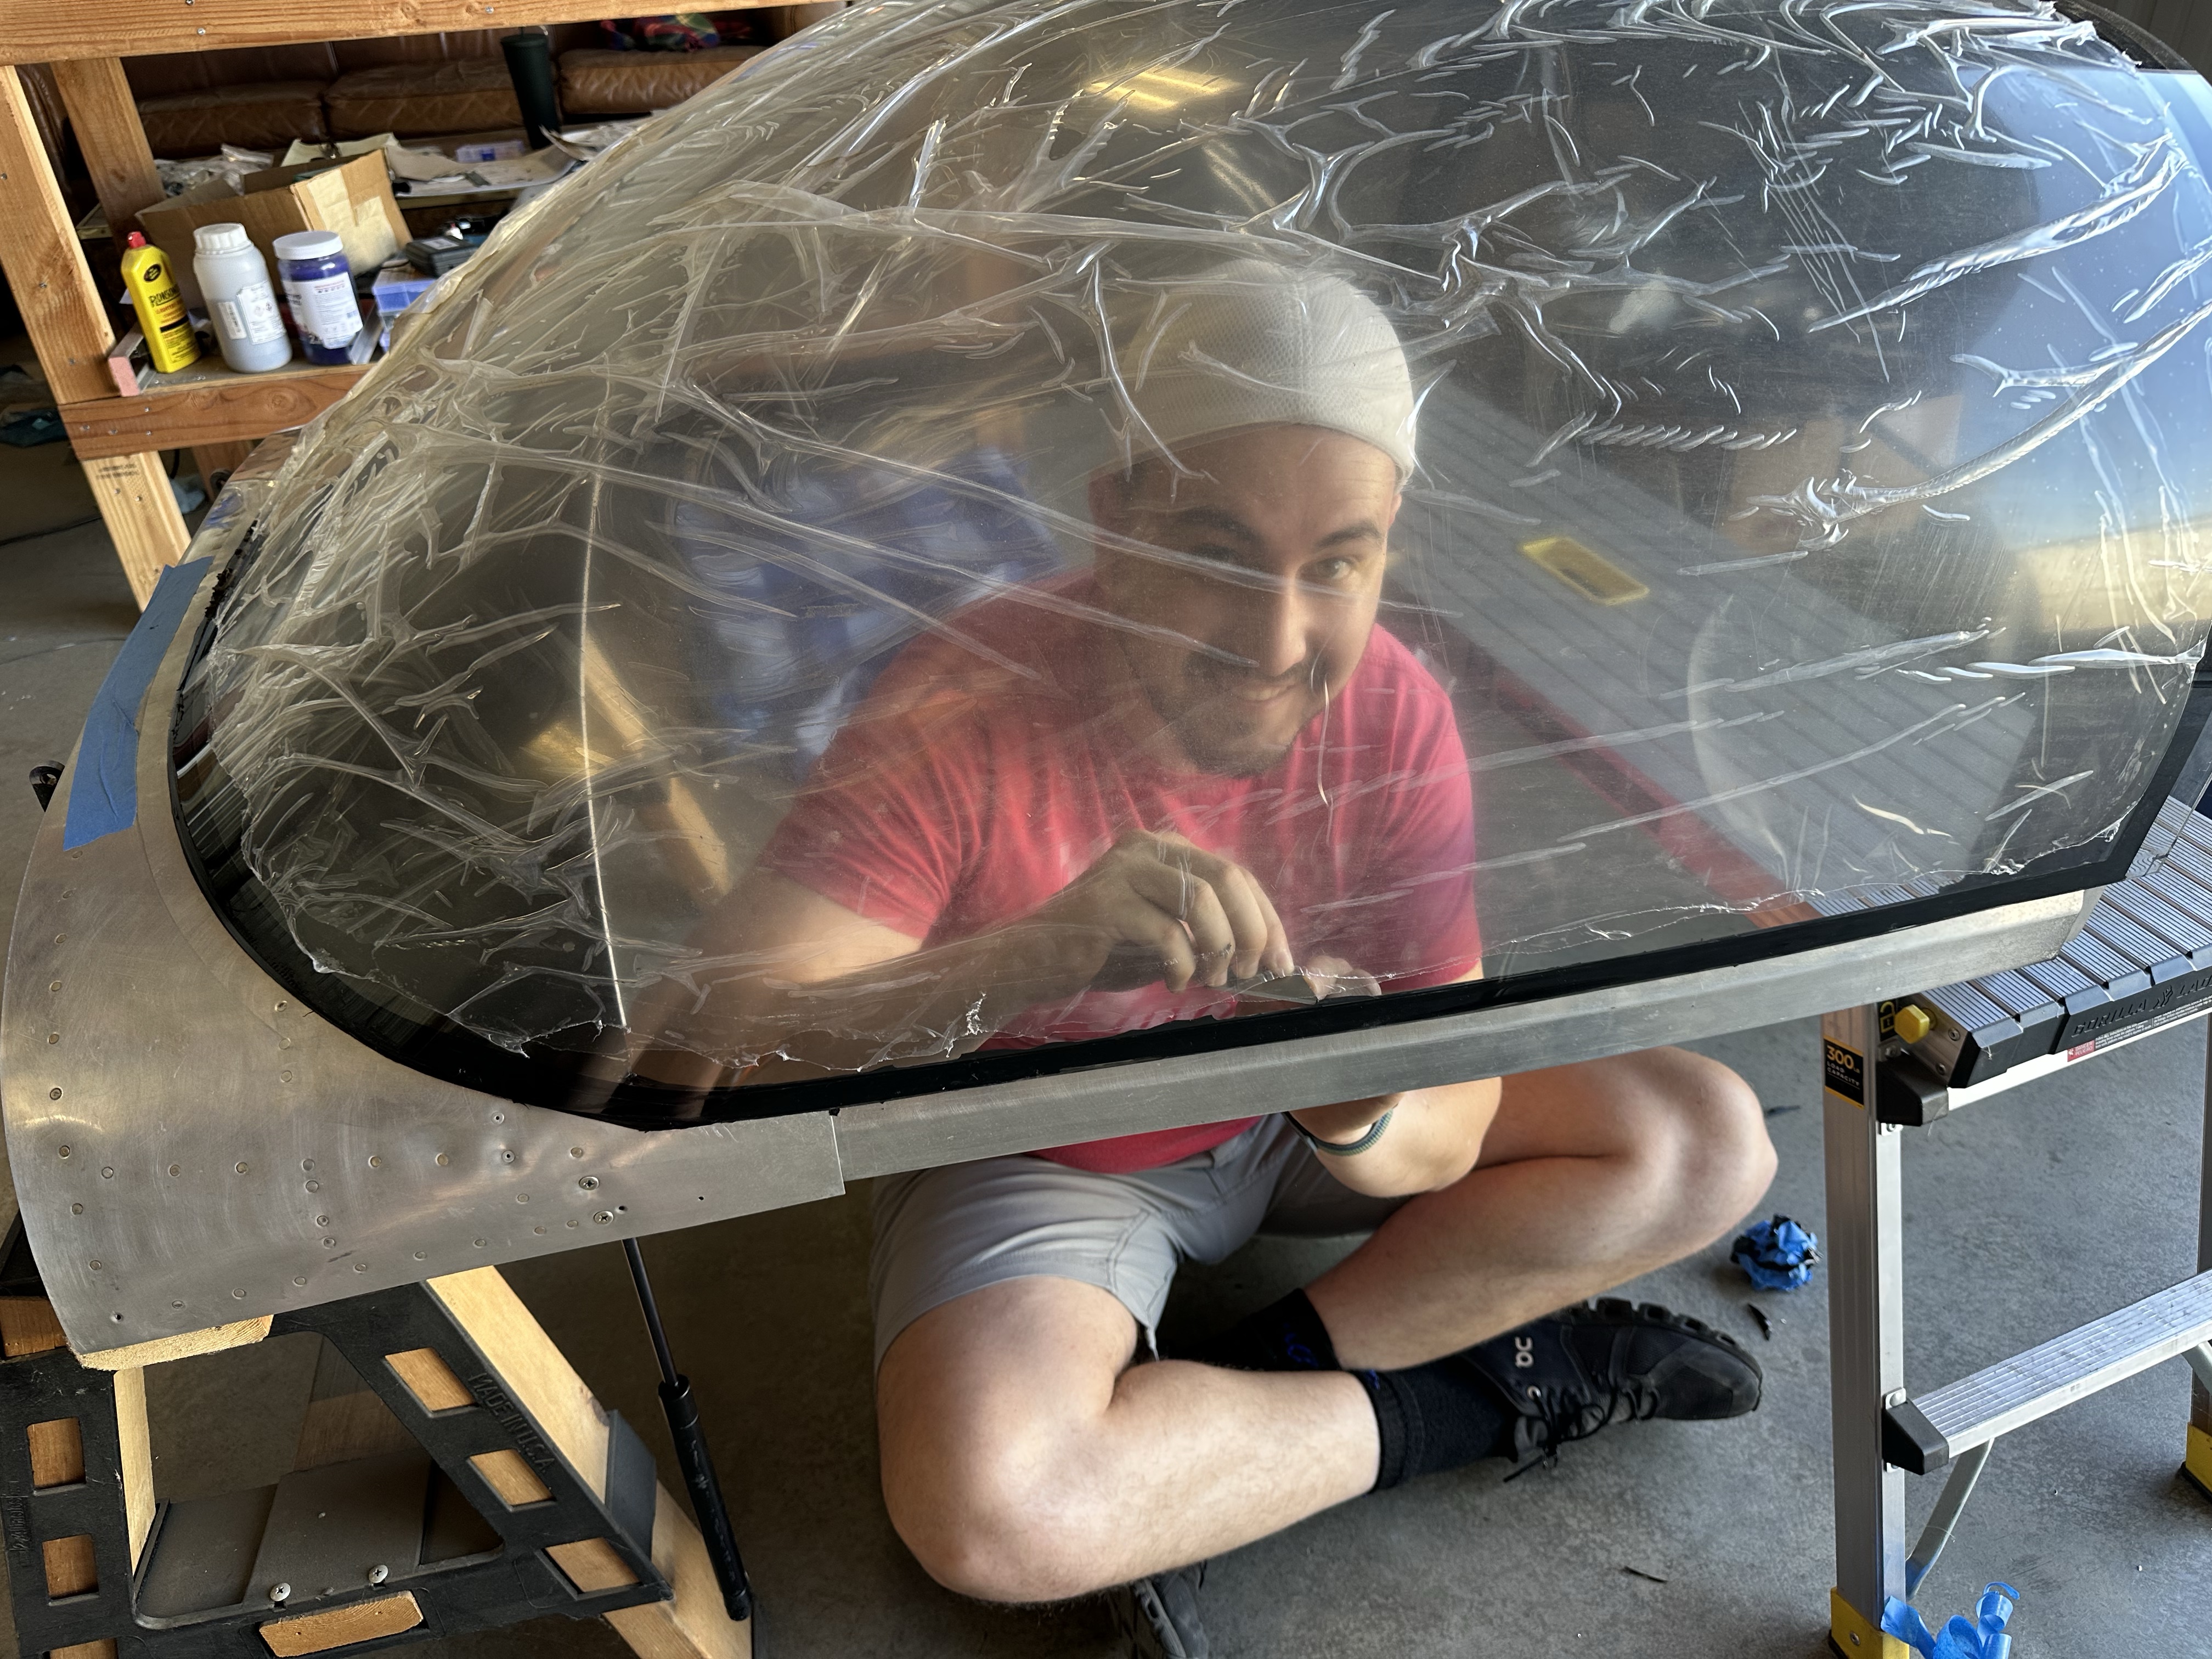
I managed to climb inside to add the final touches and to fill any gaps.

I just barely managed to fit the applicator tip in the gap above the dash. I then used my finger to create a nice fillet.

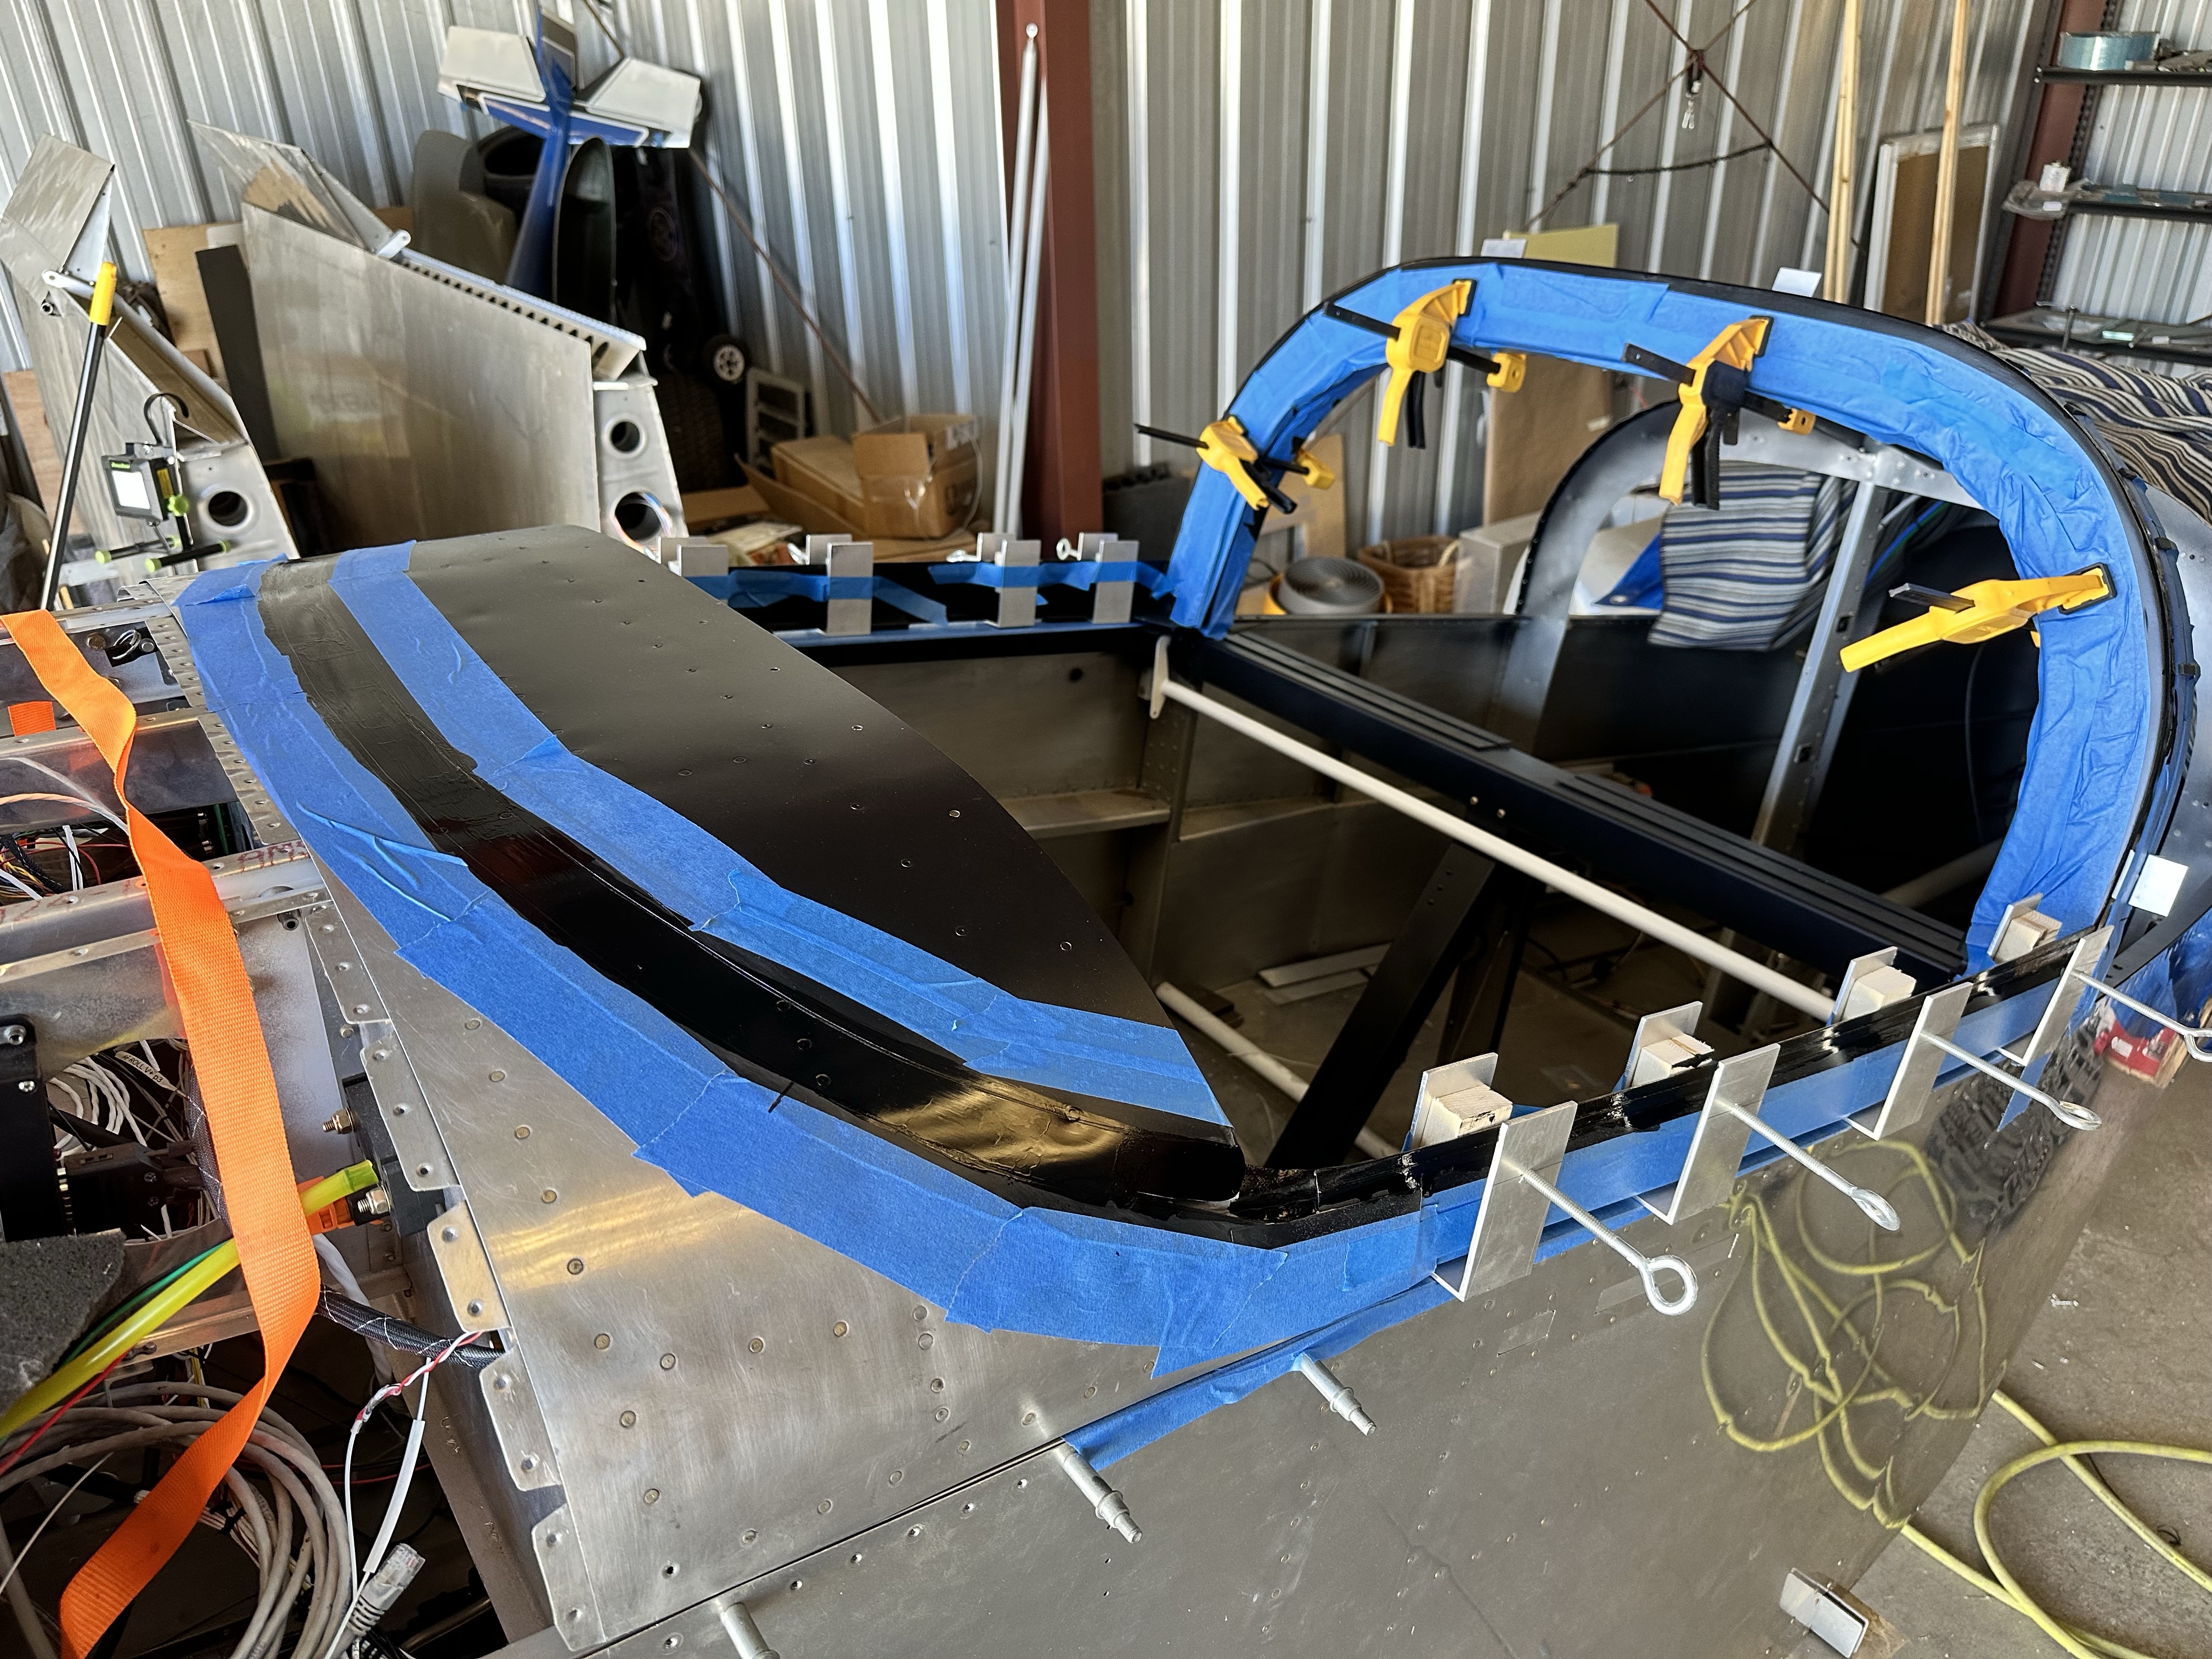
I climbed back out and we did some final checks. We ended up adding a ratchet strap to hold the forward part of the canopy down.
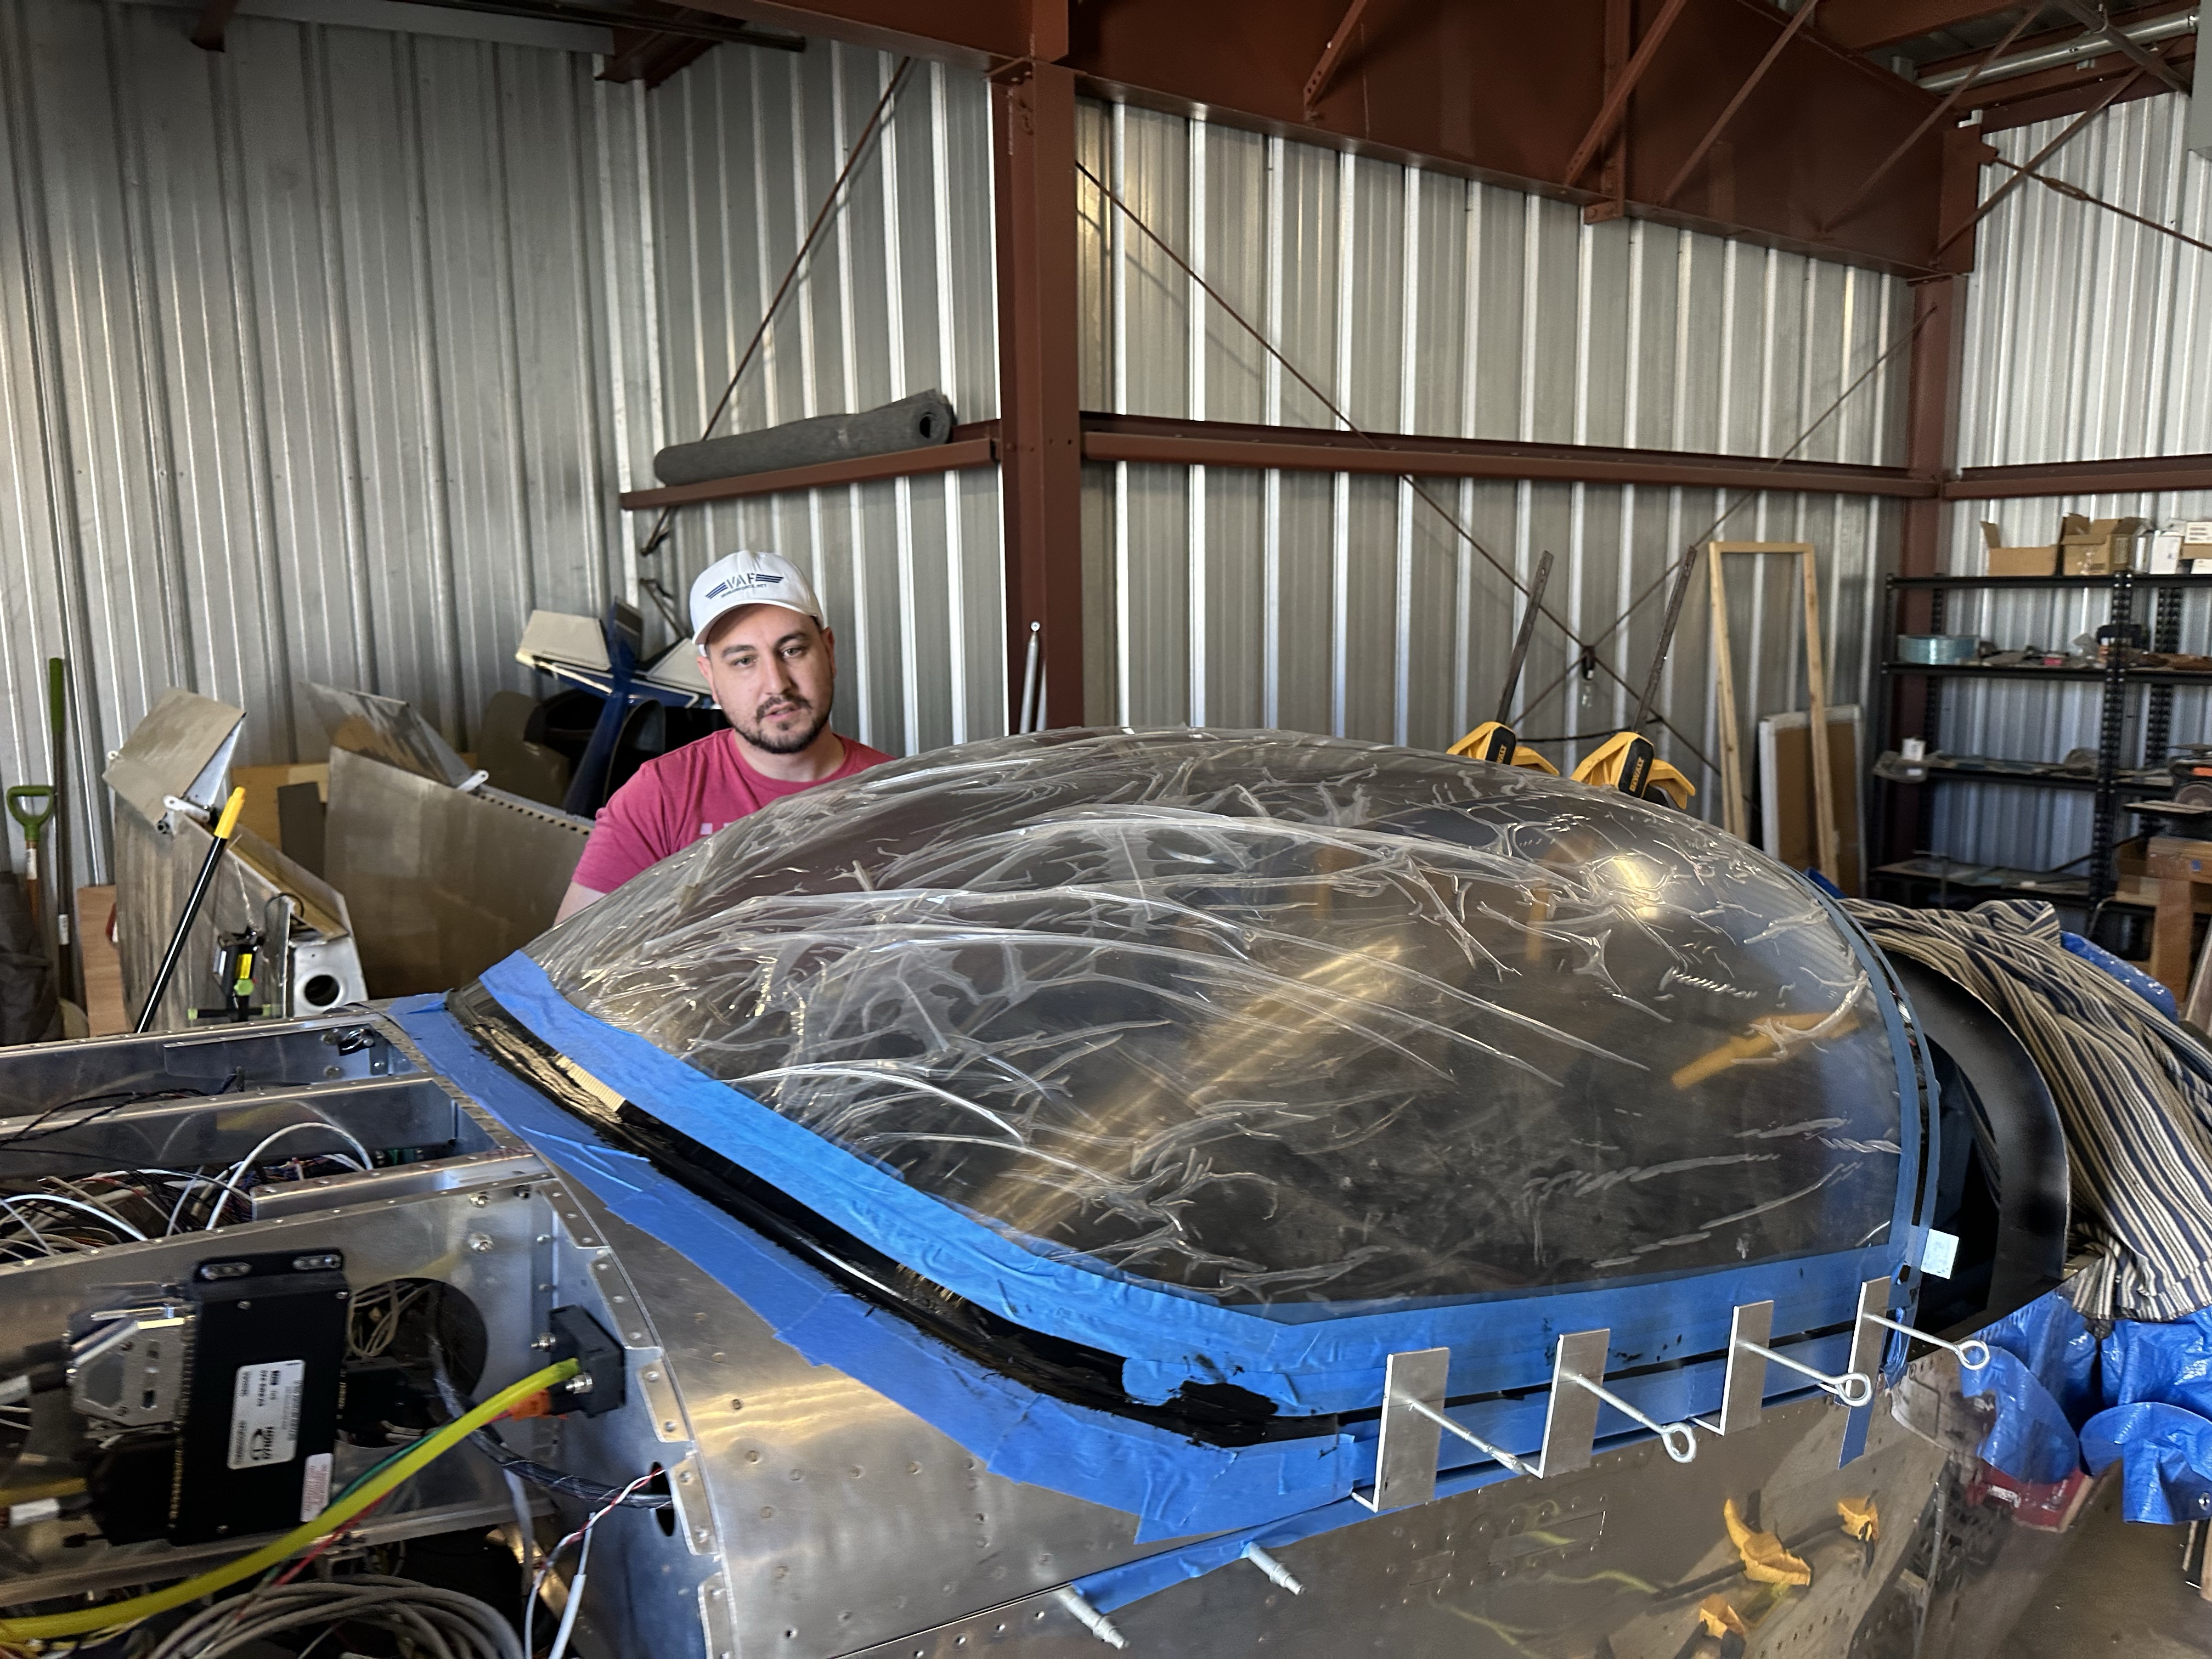
I went back the next morning to check the curing of the canopy. Everything looked great! It was a huge relief. I started removing the clamps.
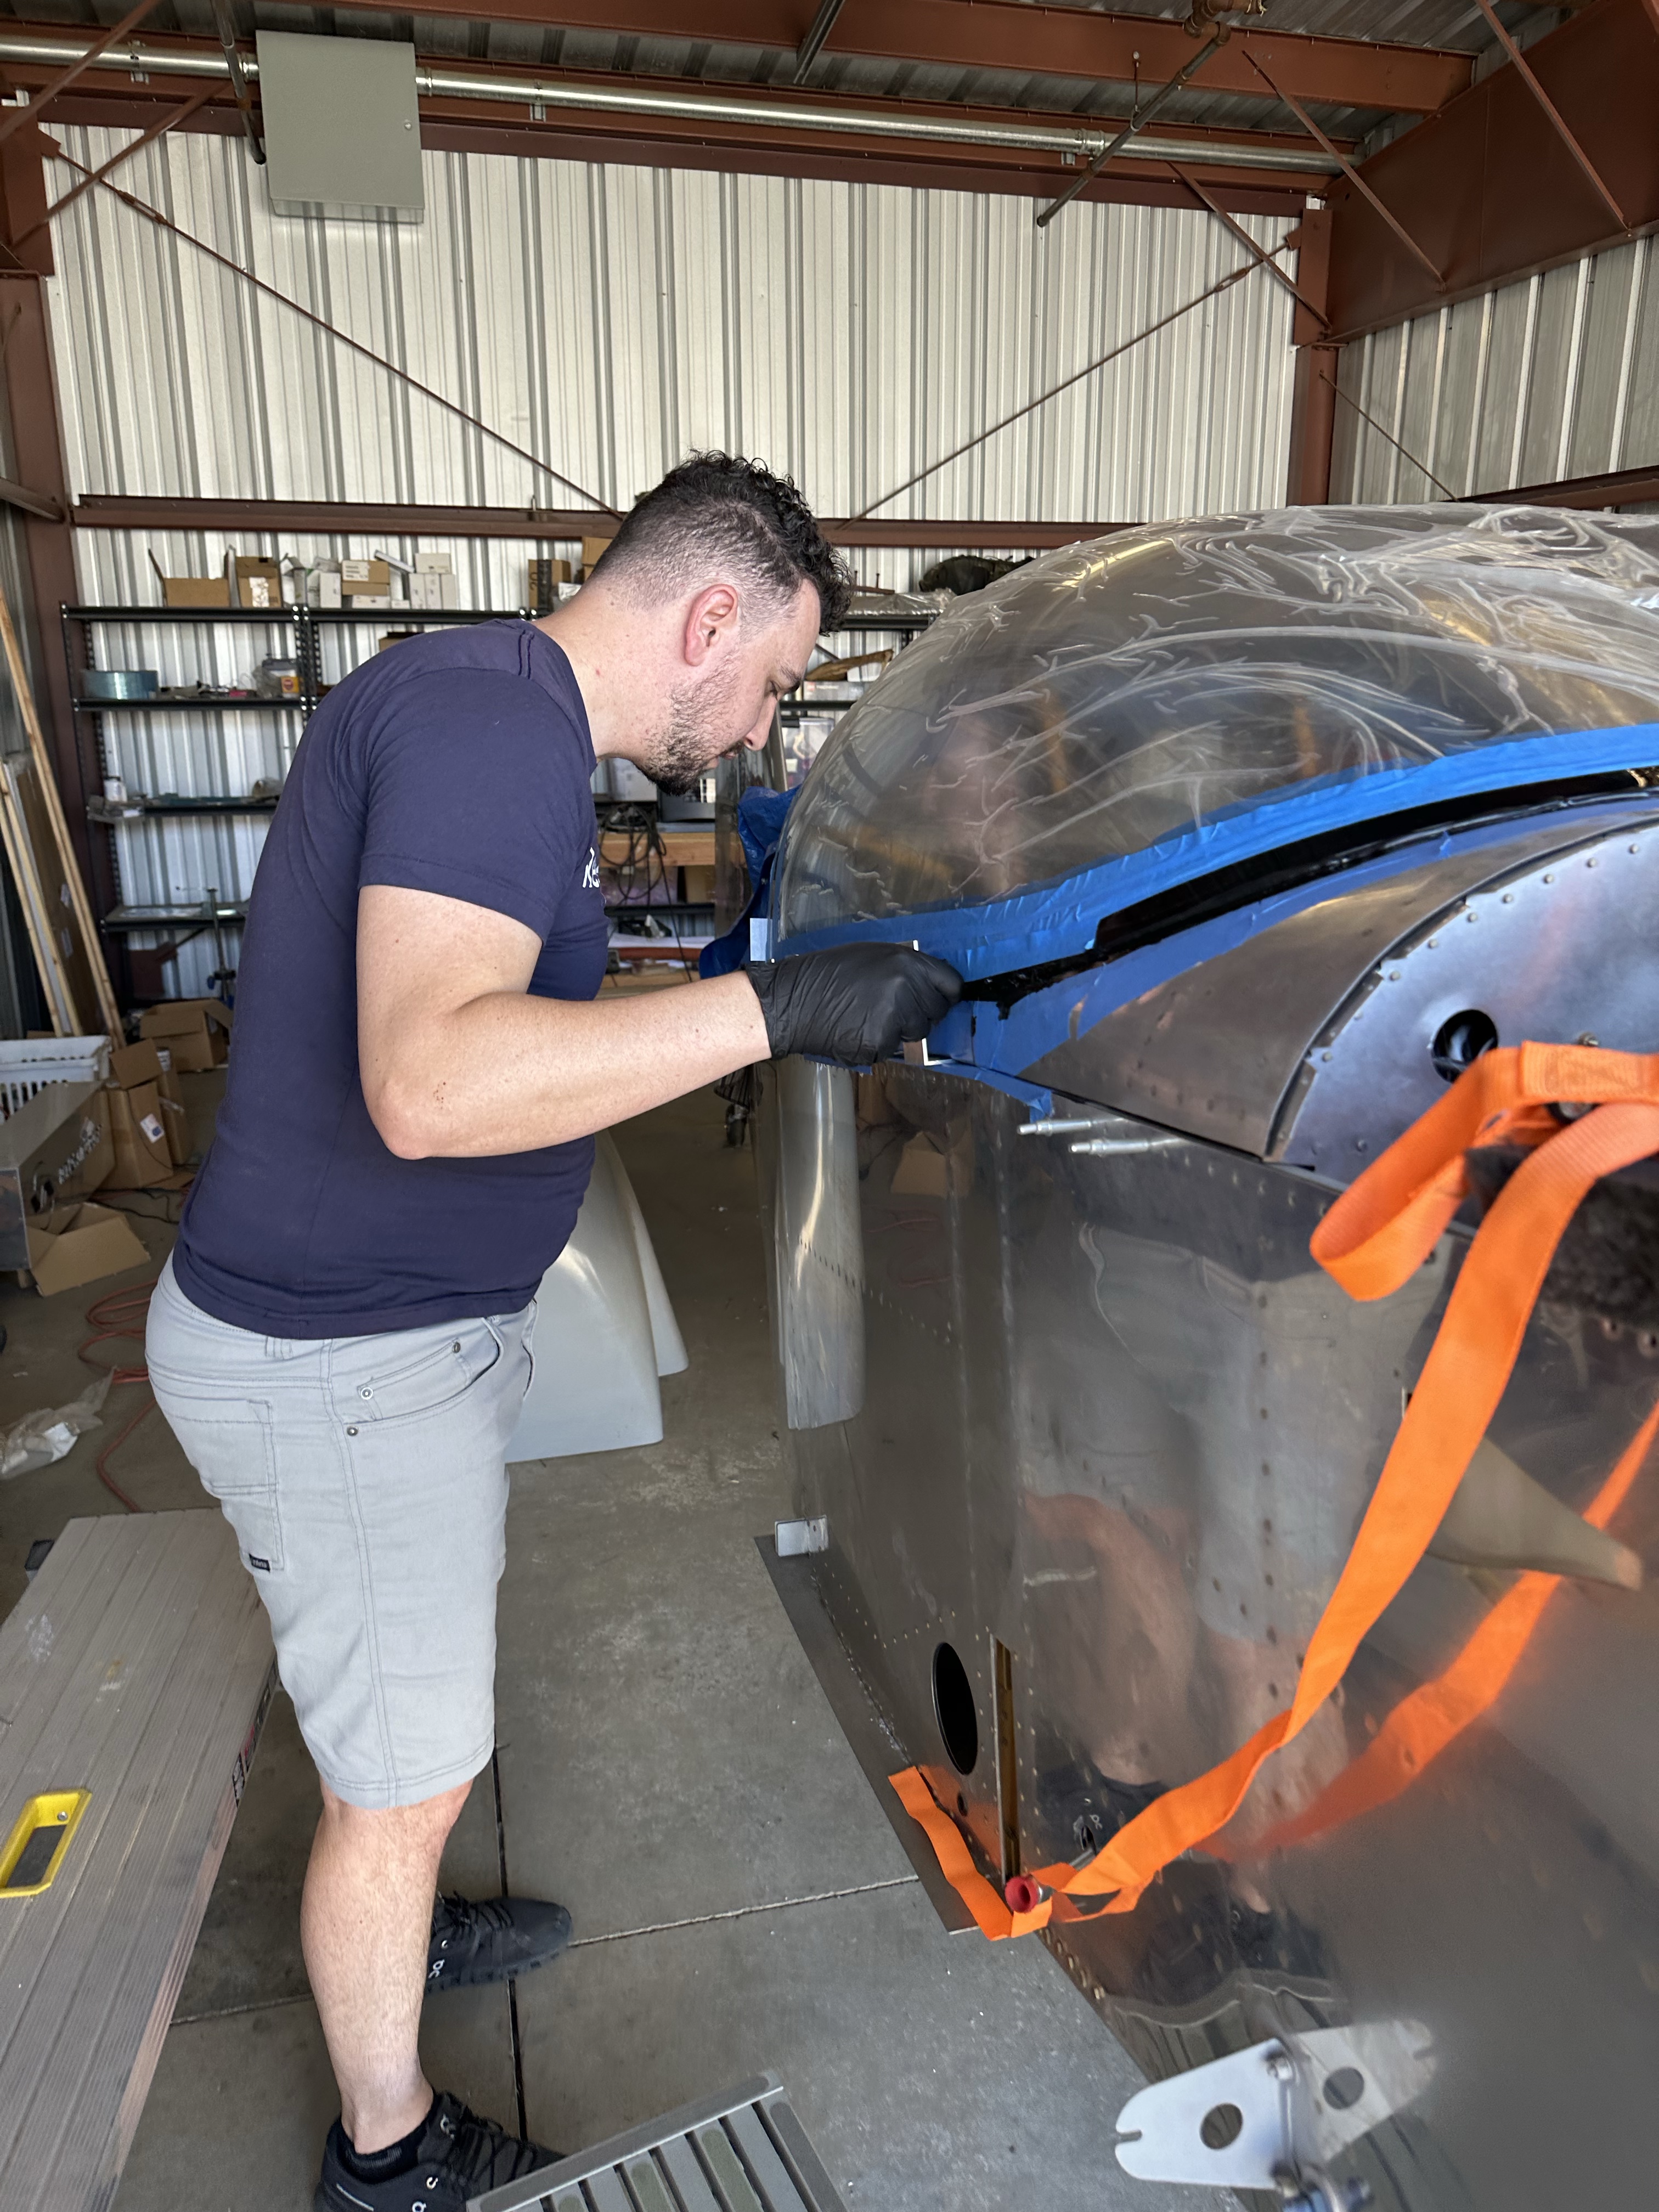
I propped the canopy up so I could get under it and clean up the areas where there was excess squeeze out of the glue.
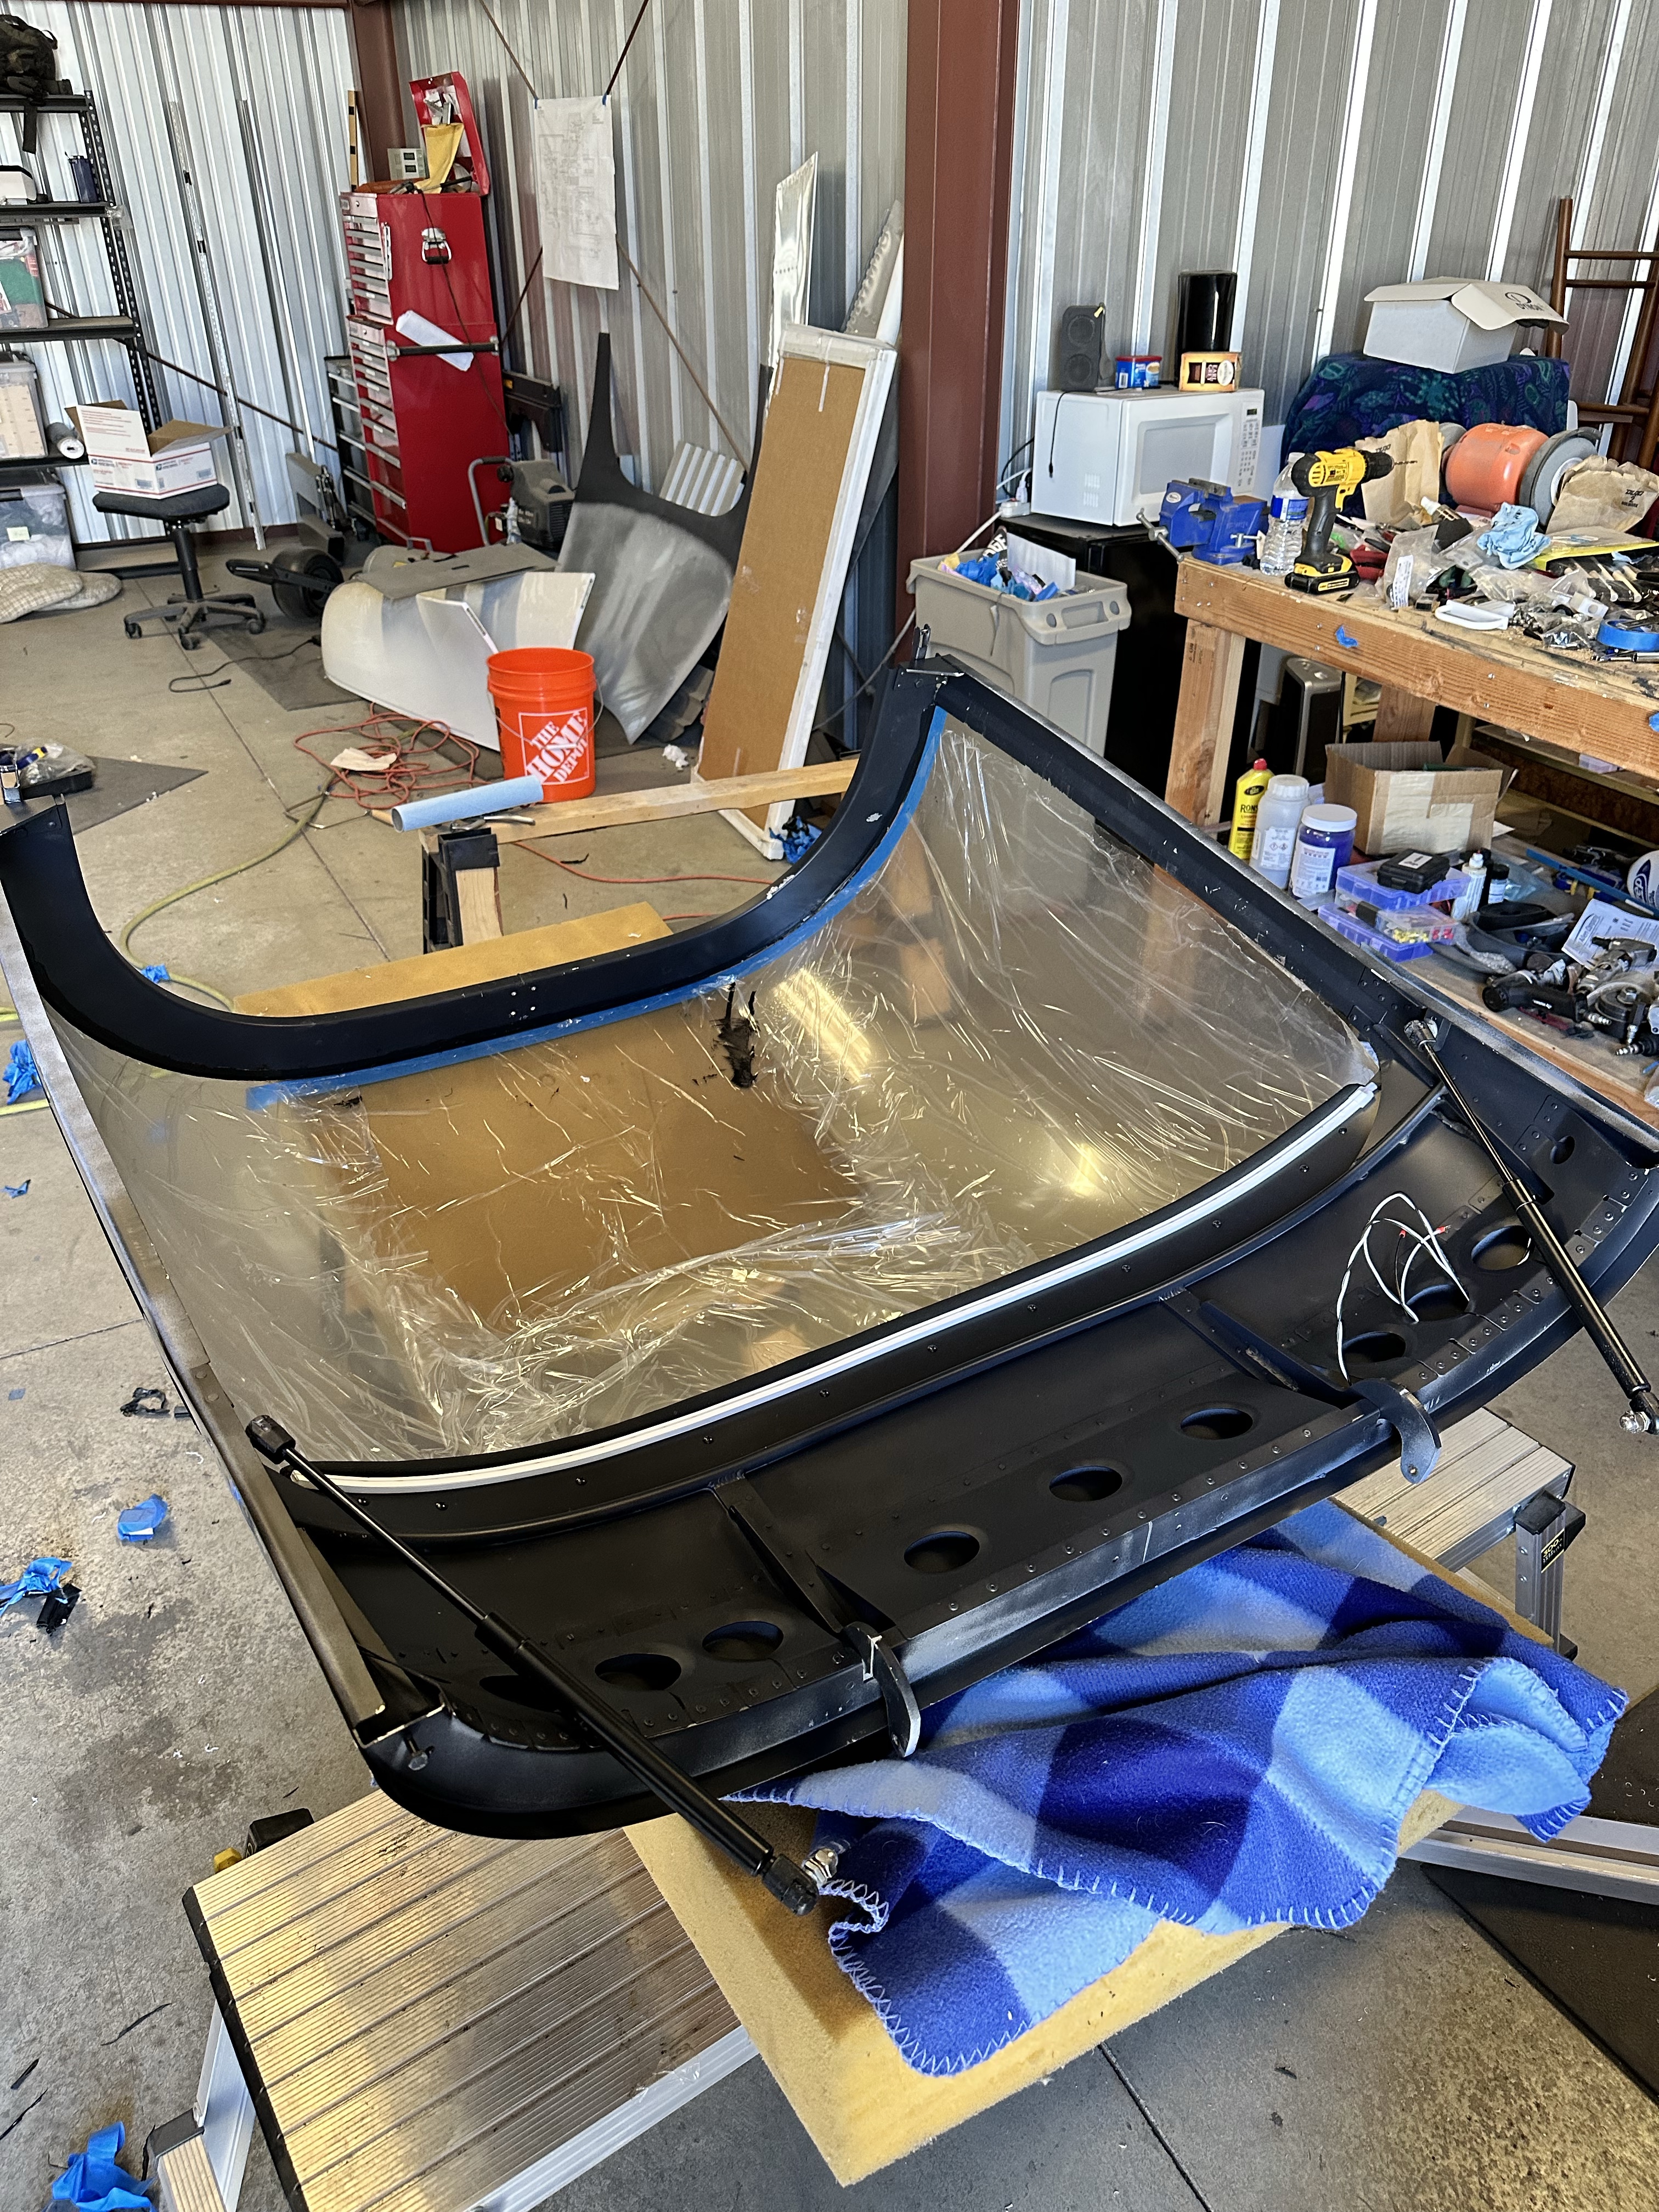
I also flipped it over to check for any gaps. I needed to add some glue on the rear of the canopy frame where I didn’t have access during the initial fitting.
The whole experience was really great. The process was quite straightforward once I read through all the Sikaflex documentation (and referenced many posts on Vans Air Force). The whole process took around 3 hours from test fitting to finished install, with an additional couple hours the next day.

Leave a comment