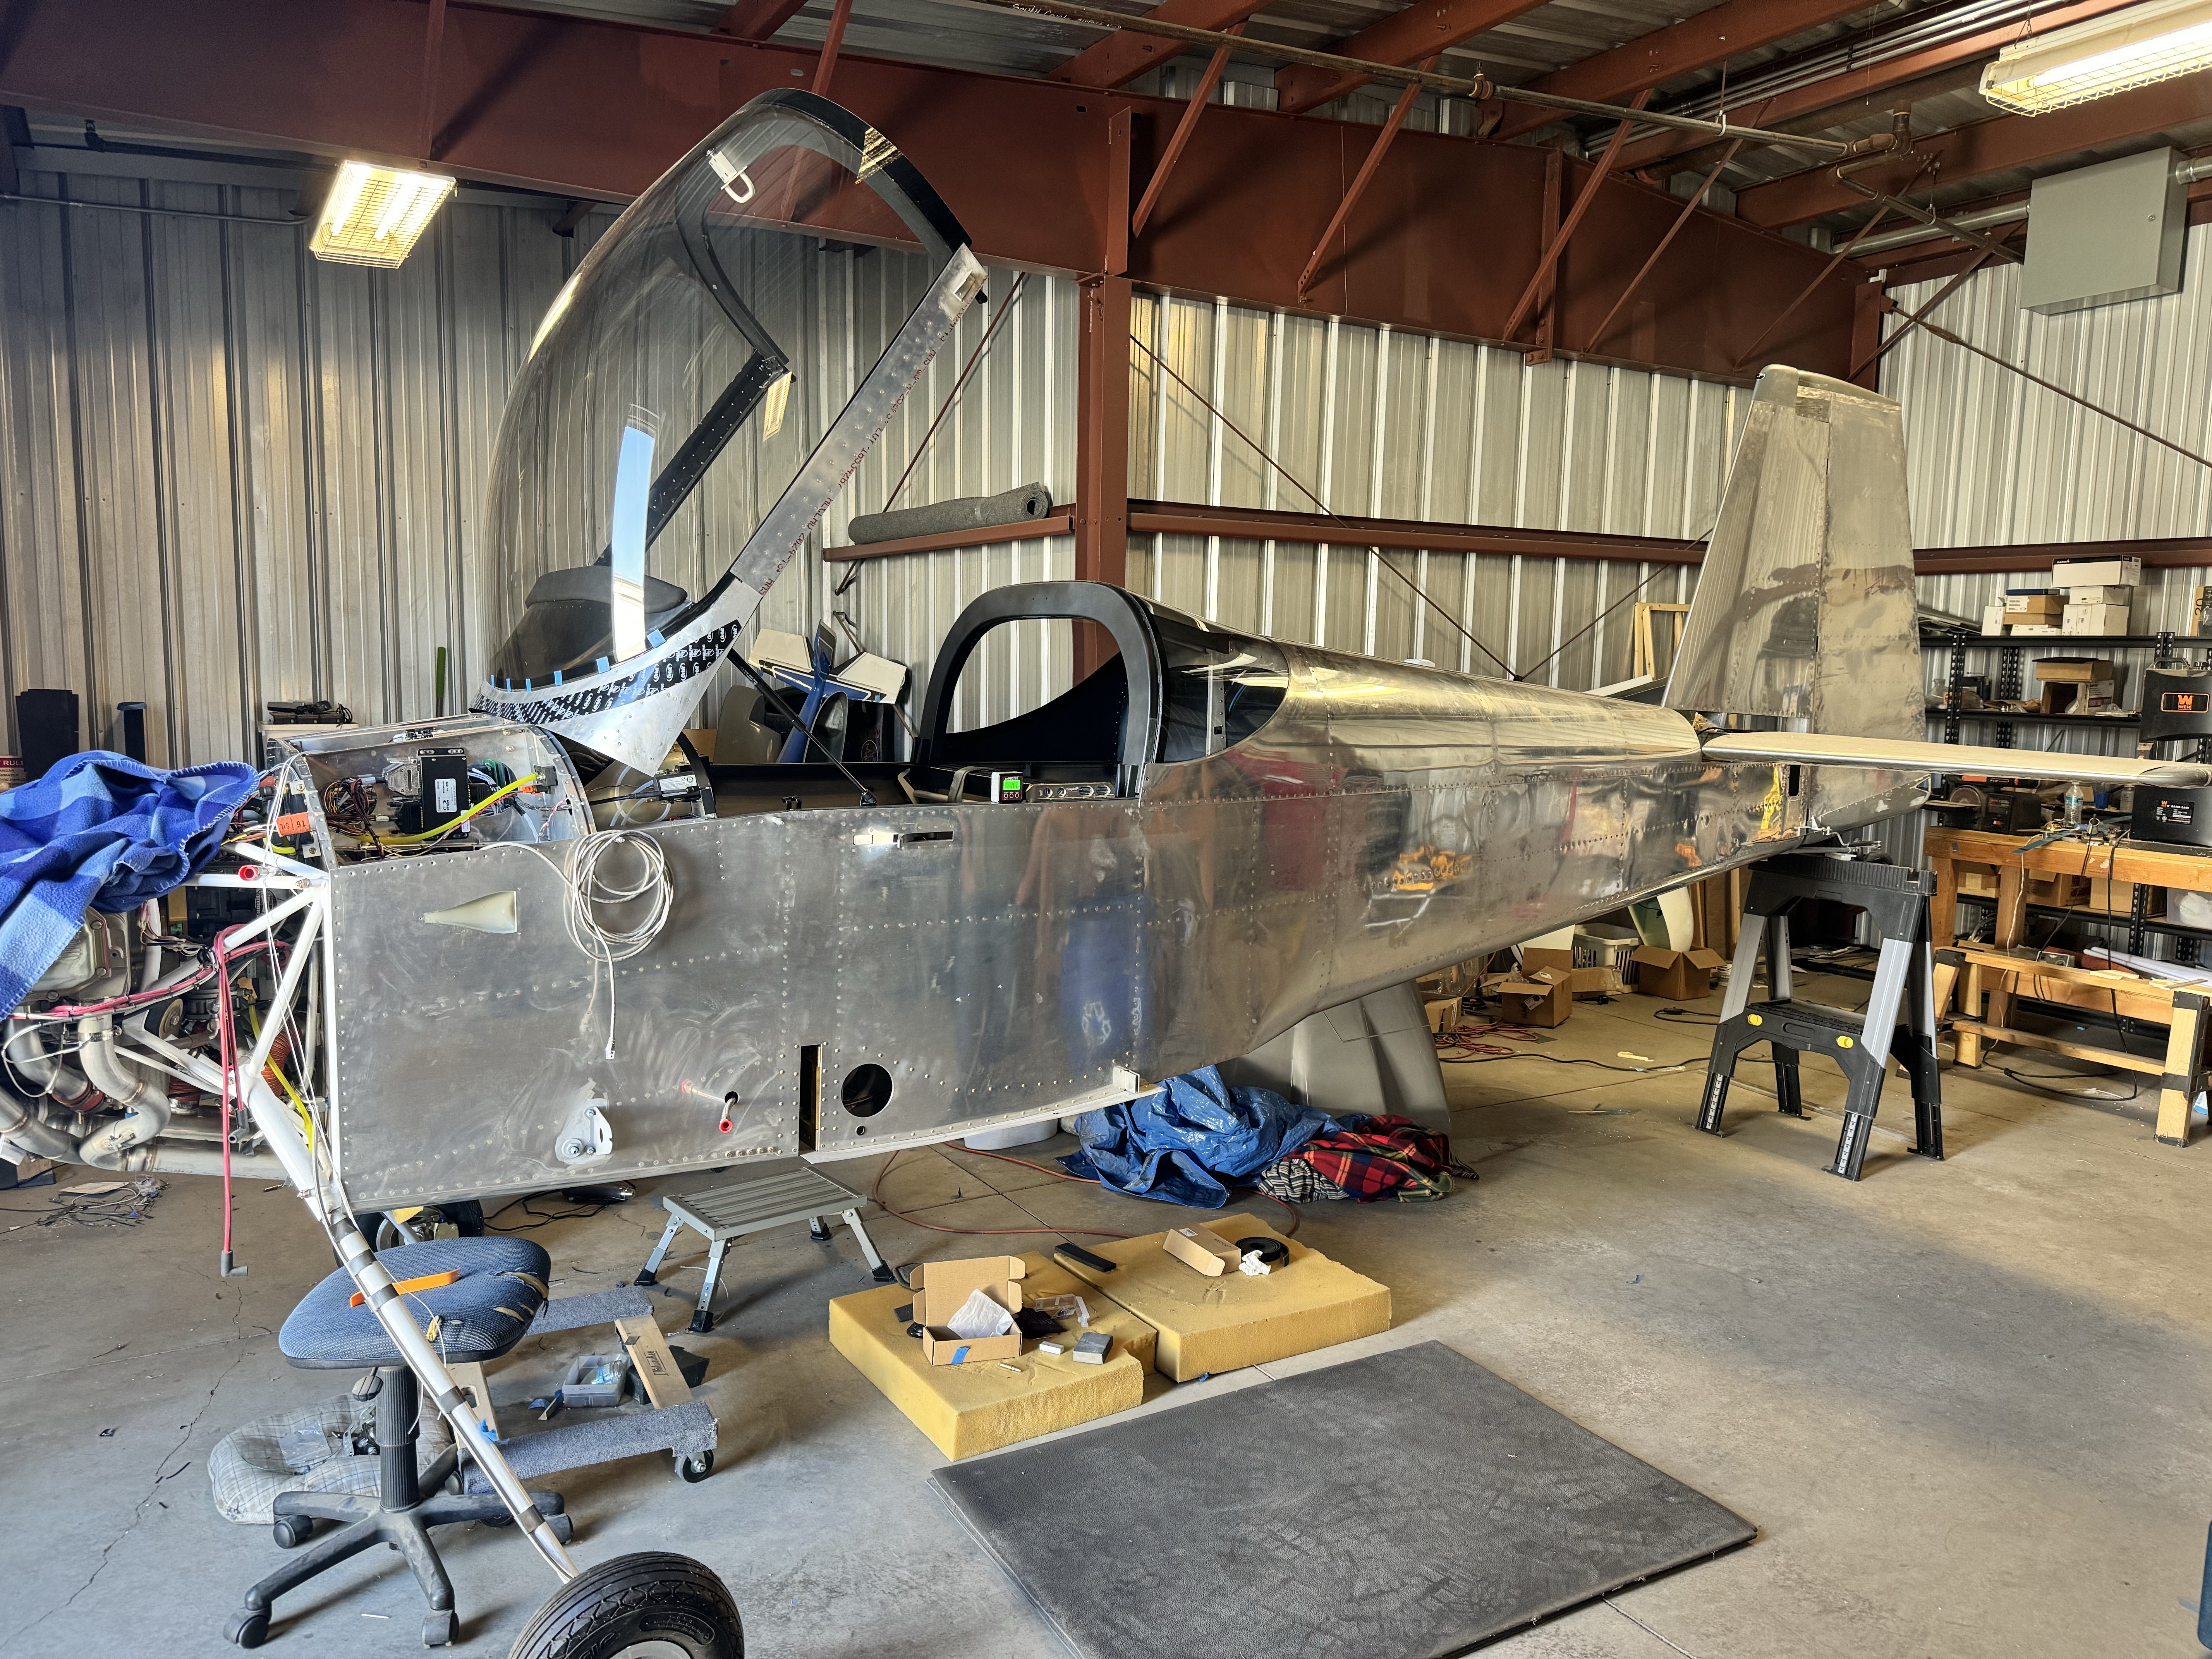
This weekend I hit a huge milestone – my buddy Norio and I installed the wings on the plane!
We started by first leveling the plane to make sure we had the ability to, as well as thinking it would make sliding the spars into the fuselage easier.
Once the plane was level, we began the process of installing the wing. Once we got the main spar on the left wing mostly installed, we needed to make quite a few adjustments in order for the bolt holes to line up. We eventually got the correct dihedral angle which caused the first bolt to slip in nicely. I kept the bolts in the freezer overnight to help shrink them a little, then applied some lube to aid in the bolt install.

I hopped into the cabin to get the second bolt inserted. It took a bit of coercion, as I think there may be some micro-misalignment with the fuselage structure causing quite a tight fit. I used an alignment pin that I built using some store-bought hardware. it definitely helps to get the spar in the right spot.

Once the second bolt was in, I got out and Norio was able to let go of the wingtip. The plane now had one wing! The whole process for the first wing took about an hour, because there was quite a bit of figuring things out with respect to angles and alignment. After taking a quick break, we jumped onto the second wing. At this point, my wife joined us and helped get the second wing installed in about 20 minutes. It was much smoother.

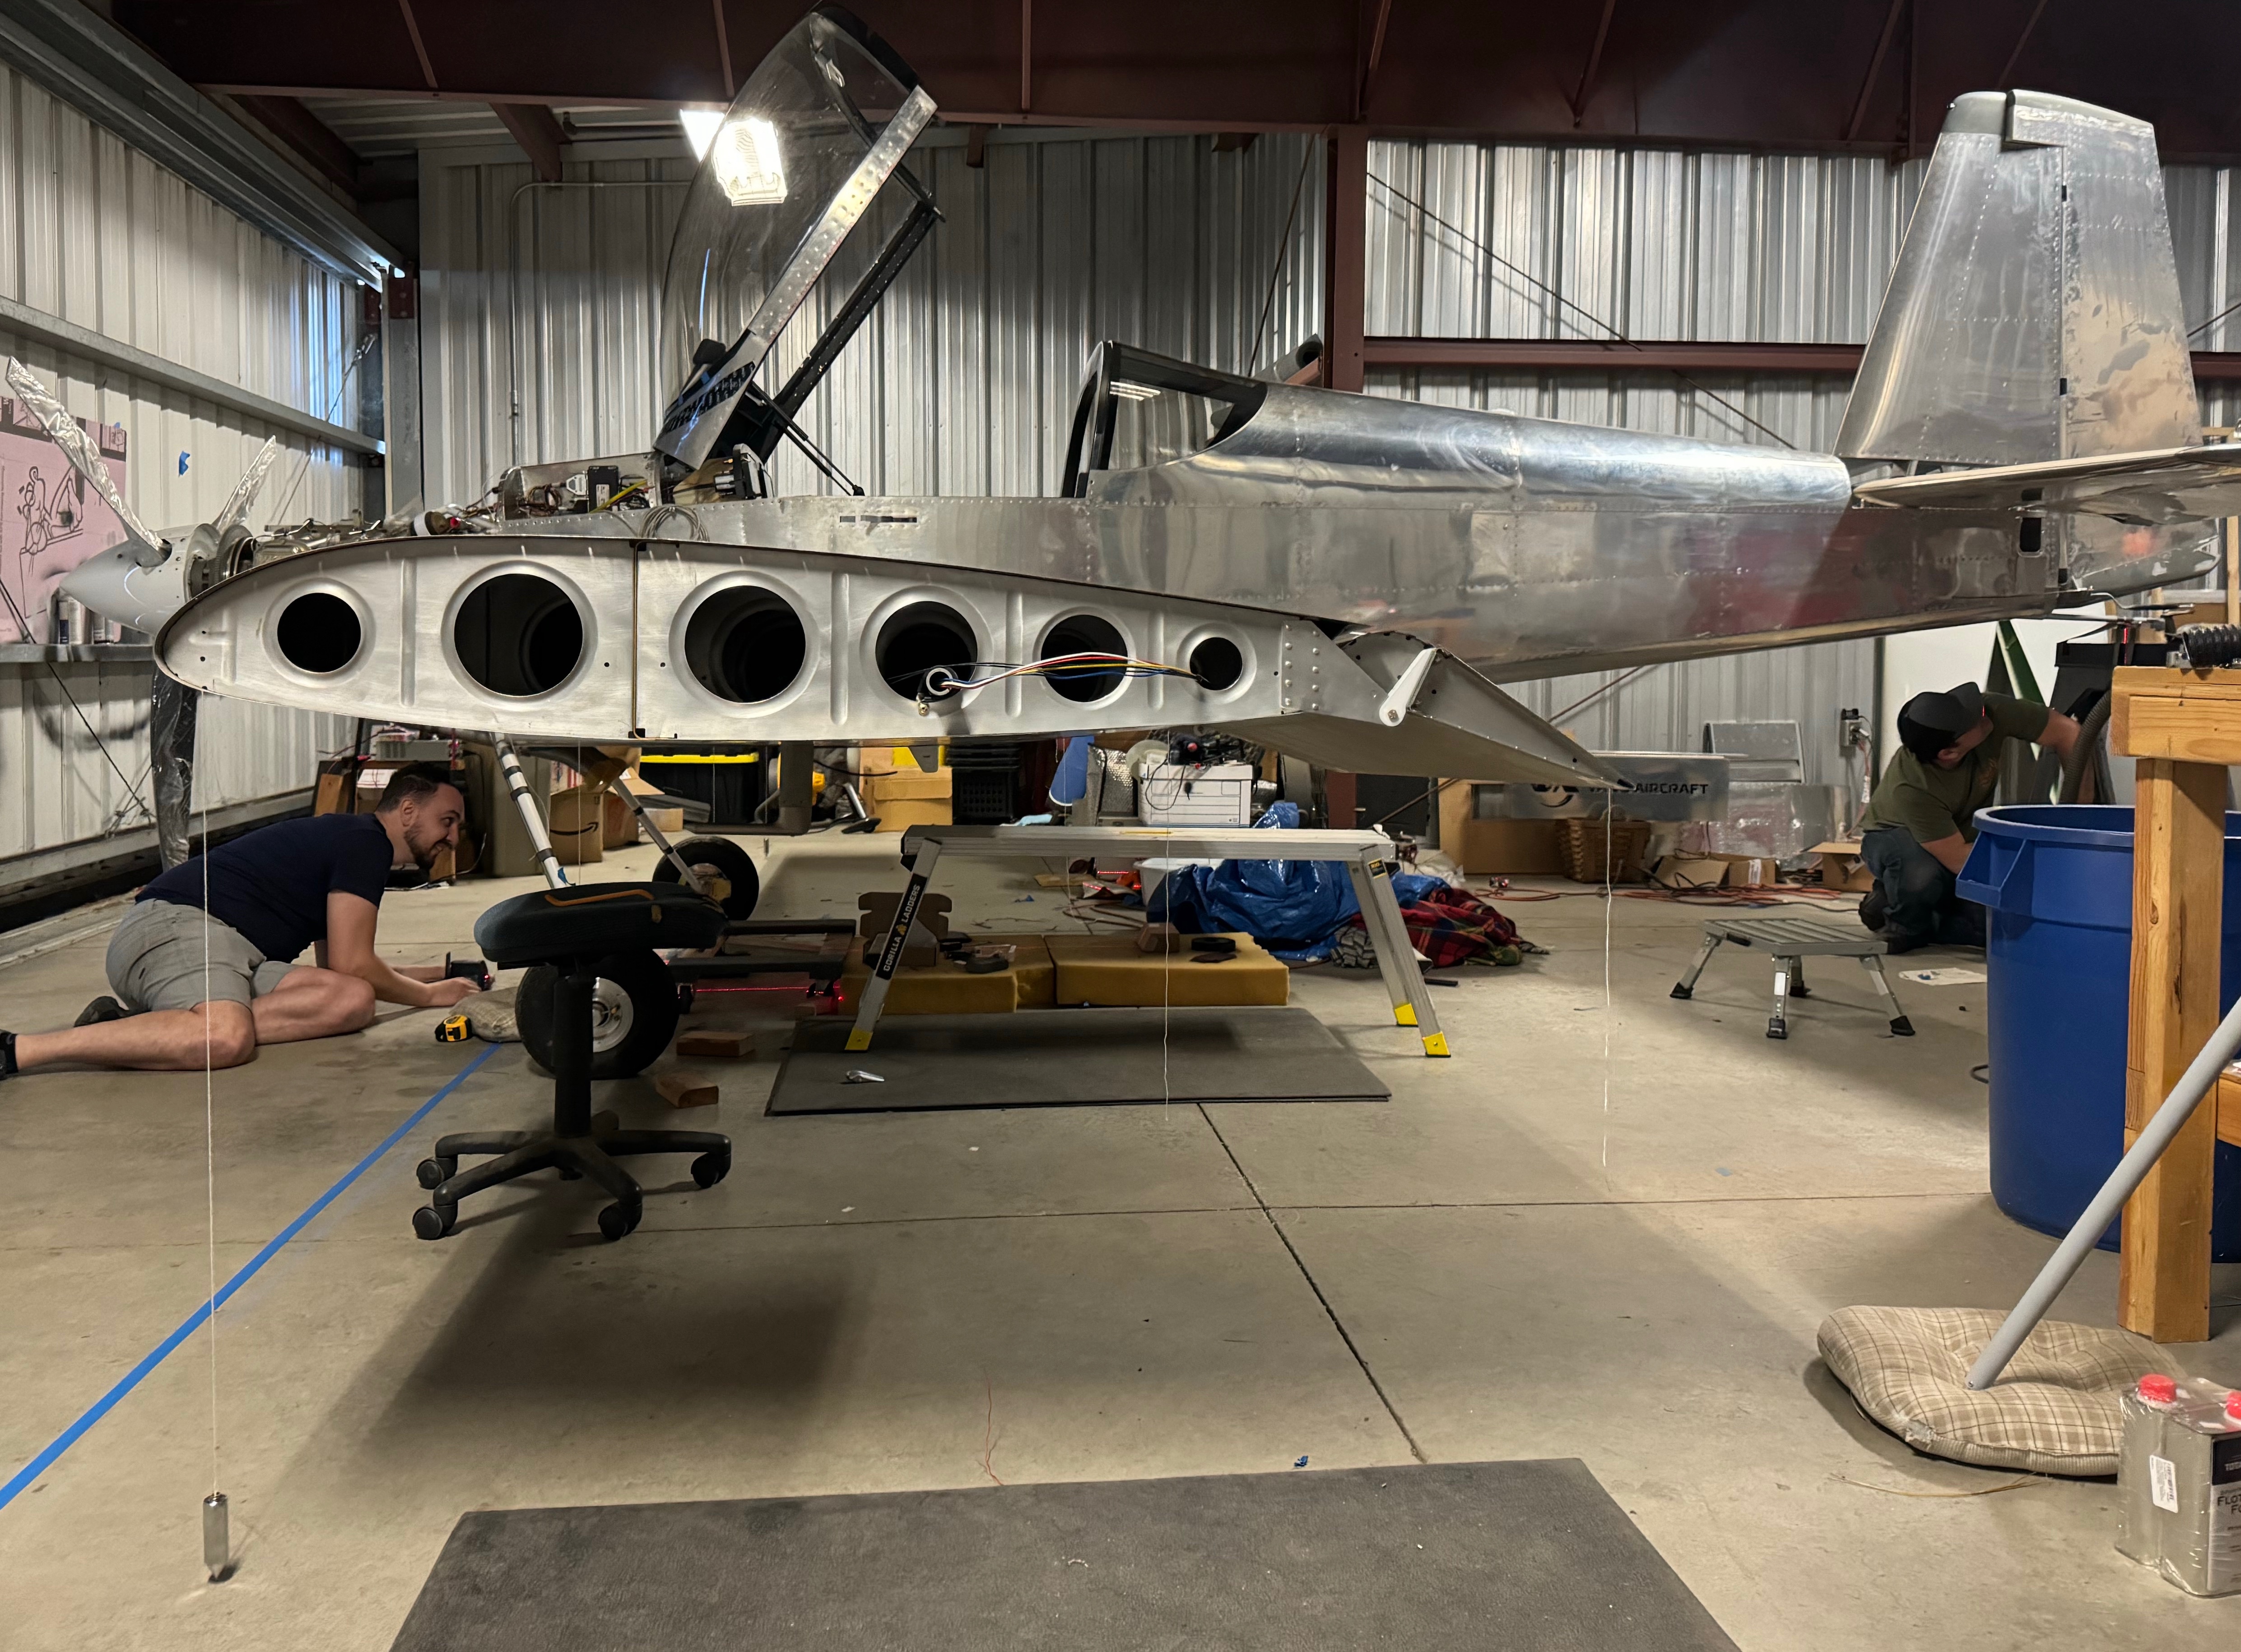
Once both wings were installed with a couple bolts, we began the rigorous process of measuring wing sweep, incidence, and symmetry. We started by first using a laser level to mark a straight line on the ground spanning the wings, that will be used to measure sweep. We then hung four plumb bobs off the leading edge of the wings and began to align them with the laser line. We also aligned the fuselage longitudinally with the laser, so we could later measure the squareness of the whole plane. At this point, we measured the sweep, and both wings were about 1/4″ swept forward. Van’s calls for fore/aft sweep within 1/2″ from center, so it was already within spec, but I knew we could make minor adjustments to achieve a closer sweep angle. A few iterations of adjusting the rear spar, and we got the sweep to within 1/8″ of an inch. This equates to 0.2deg of sweep!
After getting the sweep right, we clamped the rear spar attachment in place. Then we checked the incidence angle. The incidence is measured by spanning a level from the forward spar to the aft spar with a 3″ space above the aft spar. If this angle is 0 deg (or matches the fuselage angle – which was level at 0 deg) then the incidence is correct. Van’s guidance is not so much the precision of 0.0 deg incidence, but that the two wings match. In my case the initial measurement was 0.3deg off from 0 on the left wing, and 0.4 deg on the right wing. At this point we made some minor adjustments by unclamping the rear spar and adjusting it downwards. this brought the angle on the left wing to 0.0deg, and the right wing also to 0.0deg! We clamped the wings, double checked the sweep, and also took a measurement from the wingtips to the aft center of the fuselage. Both those measurements were equal to each other. At this point we wrapped up for the day.
The next morning, we came back and double checked all the measurements with a fresh eye. Everything still measured perfectly. I got out my drill guide and drilled a #30 hole through the rear spar on the left wing. The center of this hole was > 5/8″ from all edges of the rear spars (on both wings) per the structural requirements. I then expanding it to a 1/4″ hole using the guide. After a 1/4″ I drilled the spar to 9/32 and then used a 0.311 reamer to finish the hole. The reason for doing this step is that the bolt is an AN5-10 bolt (measures 5/16″ in diameter), but the hole made by a 5/16″ drill bit is slightly bigger (a few thousandths). For the primary bolt that locks position of the wing, it should be a super snug fit. The bolt measures 0.3125″ in diameter, and the reamer is 15 thousandths smaller than the bolt. We did the same thing on the right wing.

At this point, we called it a day, but I got out the aileron pushrods and inserted them into the wings in preparation for rigging the controls. Similarly with the flaps, I temporarily installed the flaps to ensure that they could fully retract to the underside of the fuselage. Next time I’ll finish the aileron control rigging and flap rigging.

Leave a comment