I’ve been going back and forth on how to best attach the plenum to the engine baffles. I’ve seen it done several different ways. One involves riveting aluminum angle to the baffles and then adding nutplates to the angles and attaching the plenum from the top. Another way is to build up a fiberglass flange that overlaps the baffle and then adding nutplates to the inside of the baffle directly.
Without fully deciding which method(s) to go with, I started with the sides and front. Fiberglass flanges here will help to create a pretty rock solid seal, as well as help to prevent any stress fractions (which I’ve seen in some designs). The rear part of the baffle is the part I’m still debating whether to build up a fiberglass flange, or install the angle.
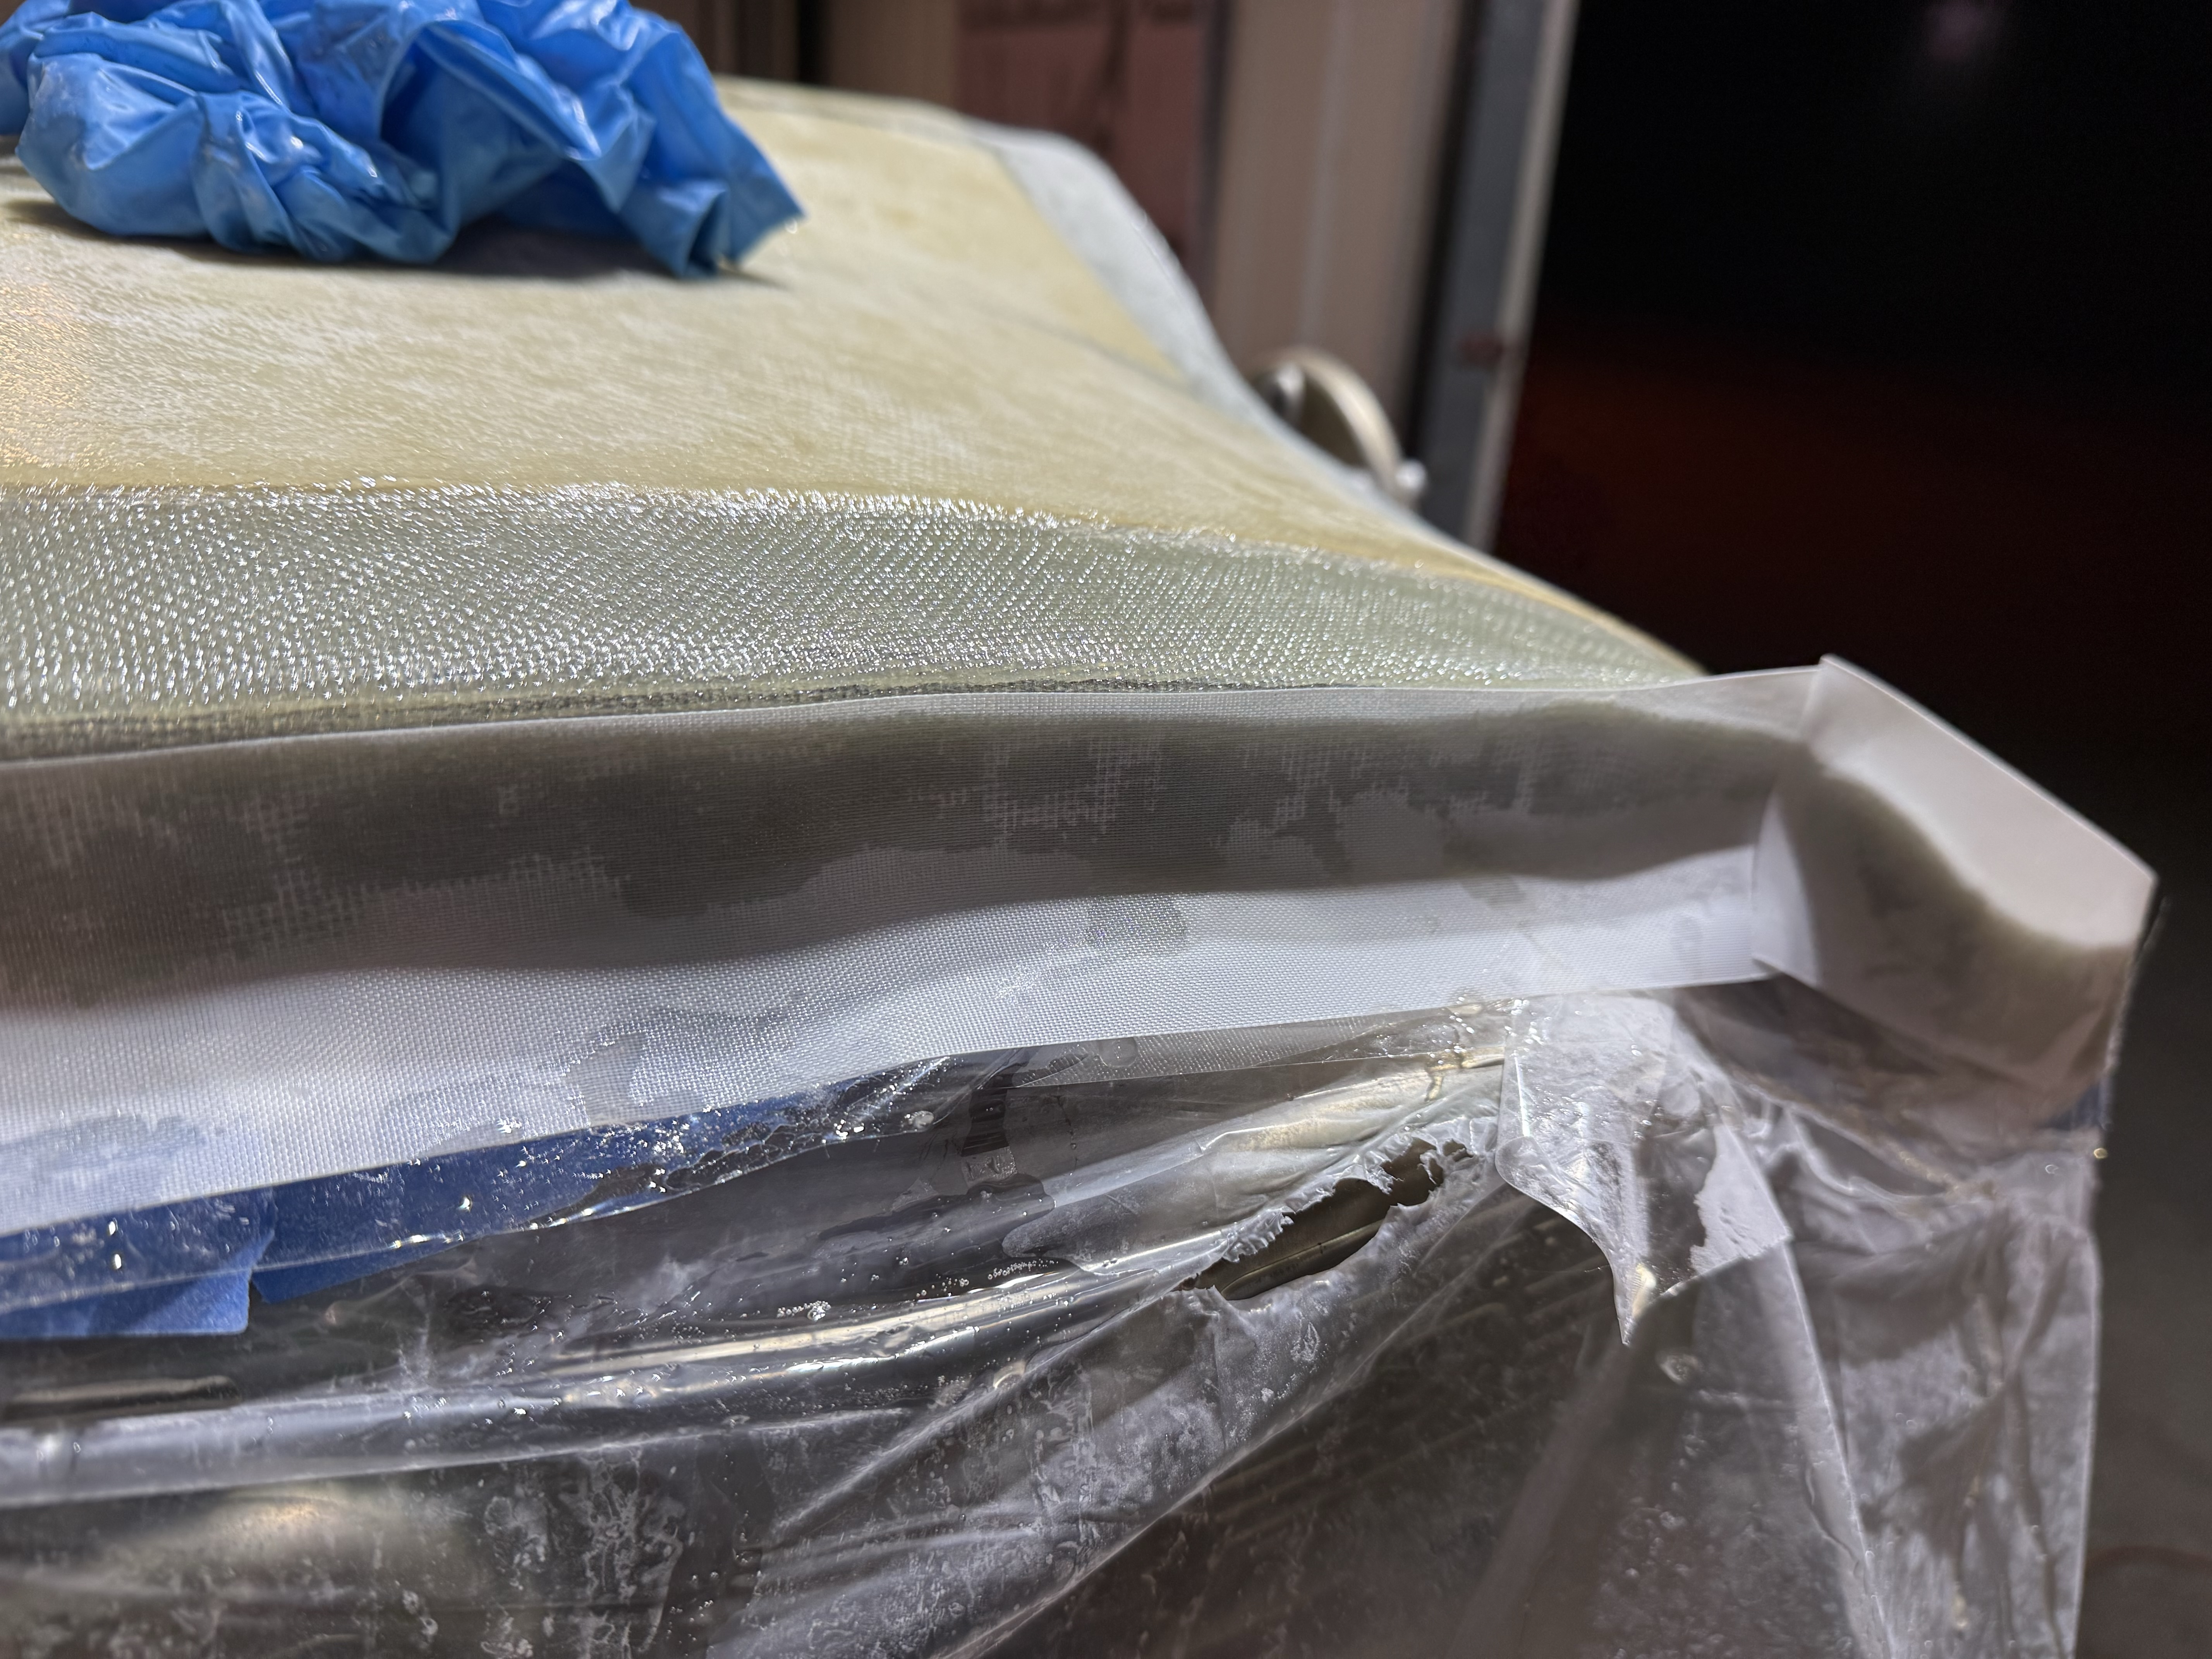
I scuffed and prepped the plenum sides and then I started laying up the flanges. I cut four layers of 9oz cloth to size, and mocked the layup before pouring the epoxy.
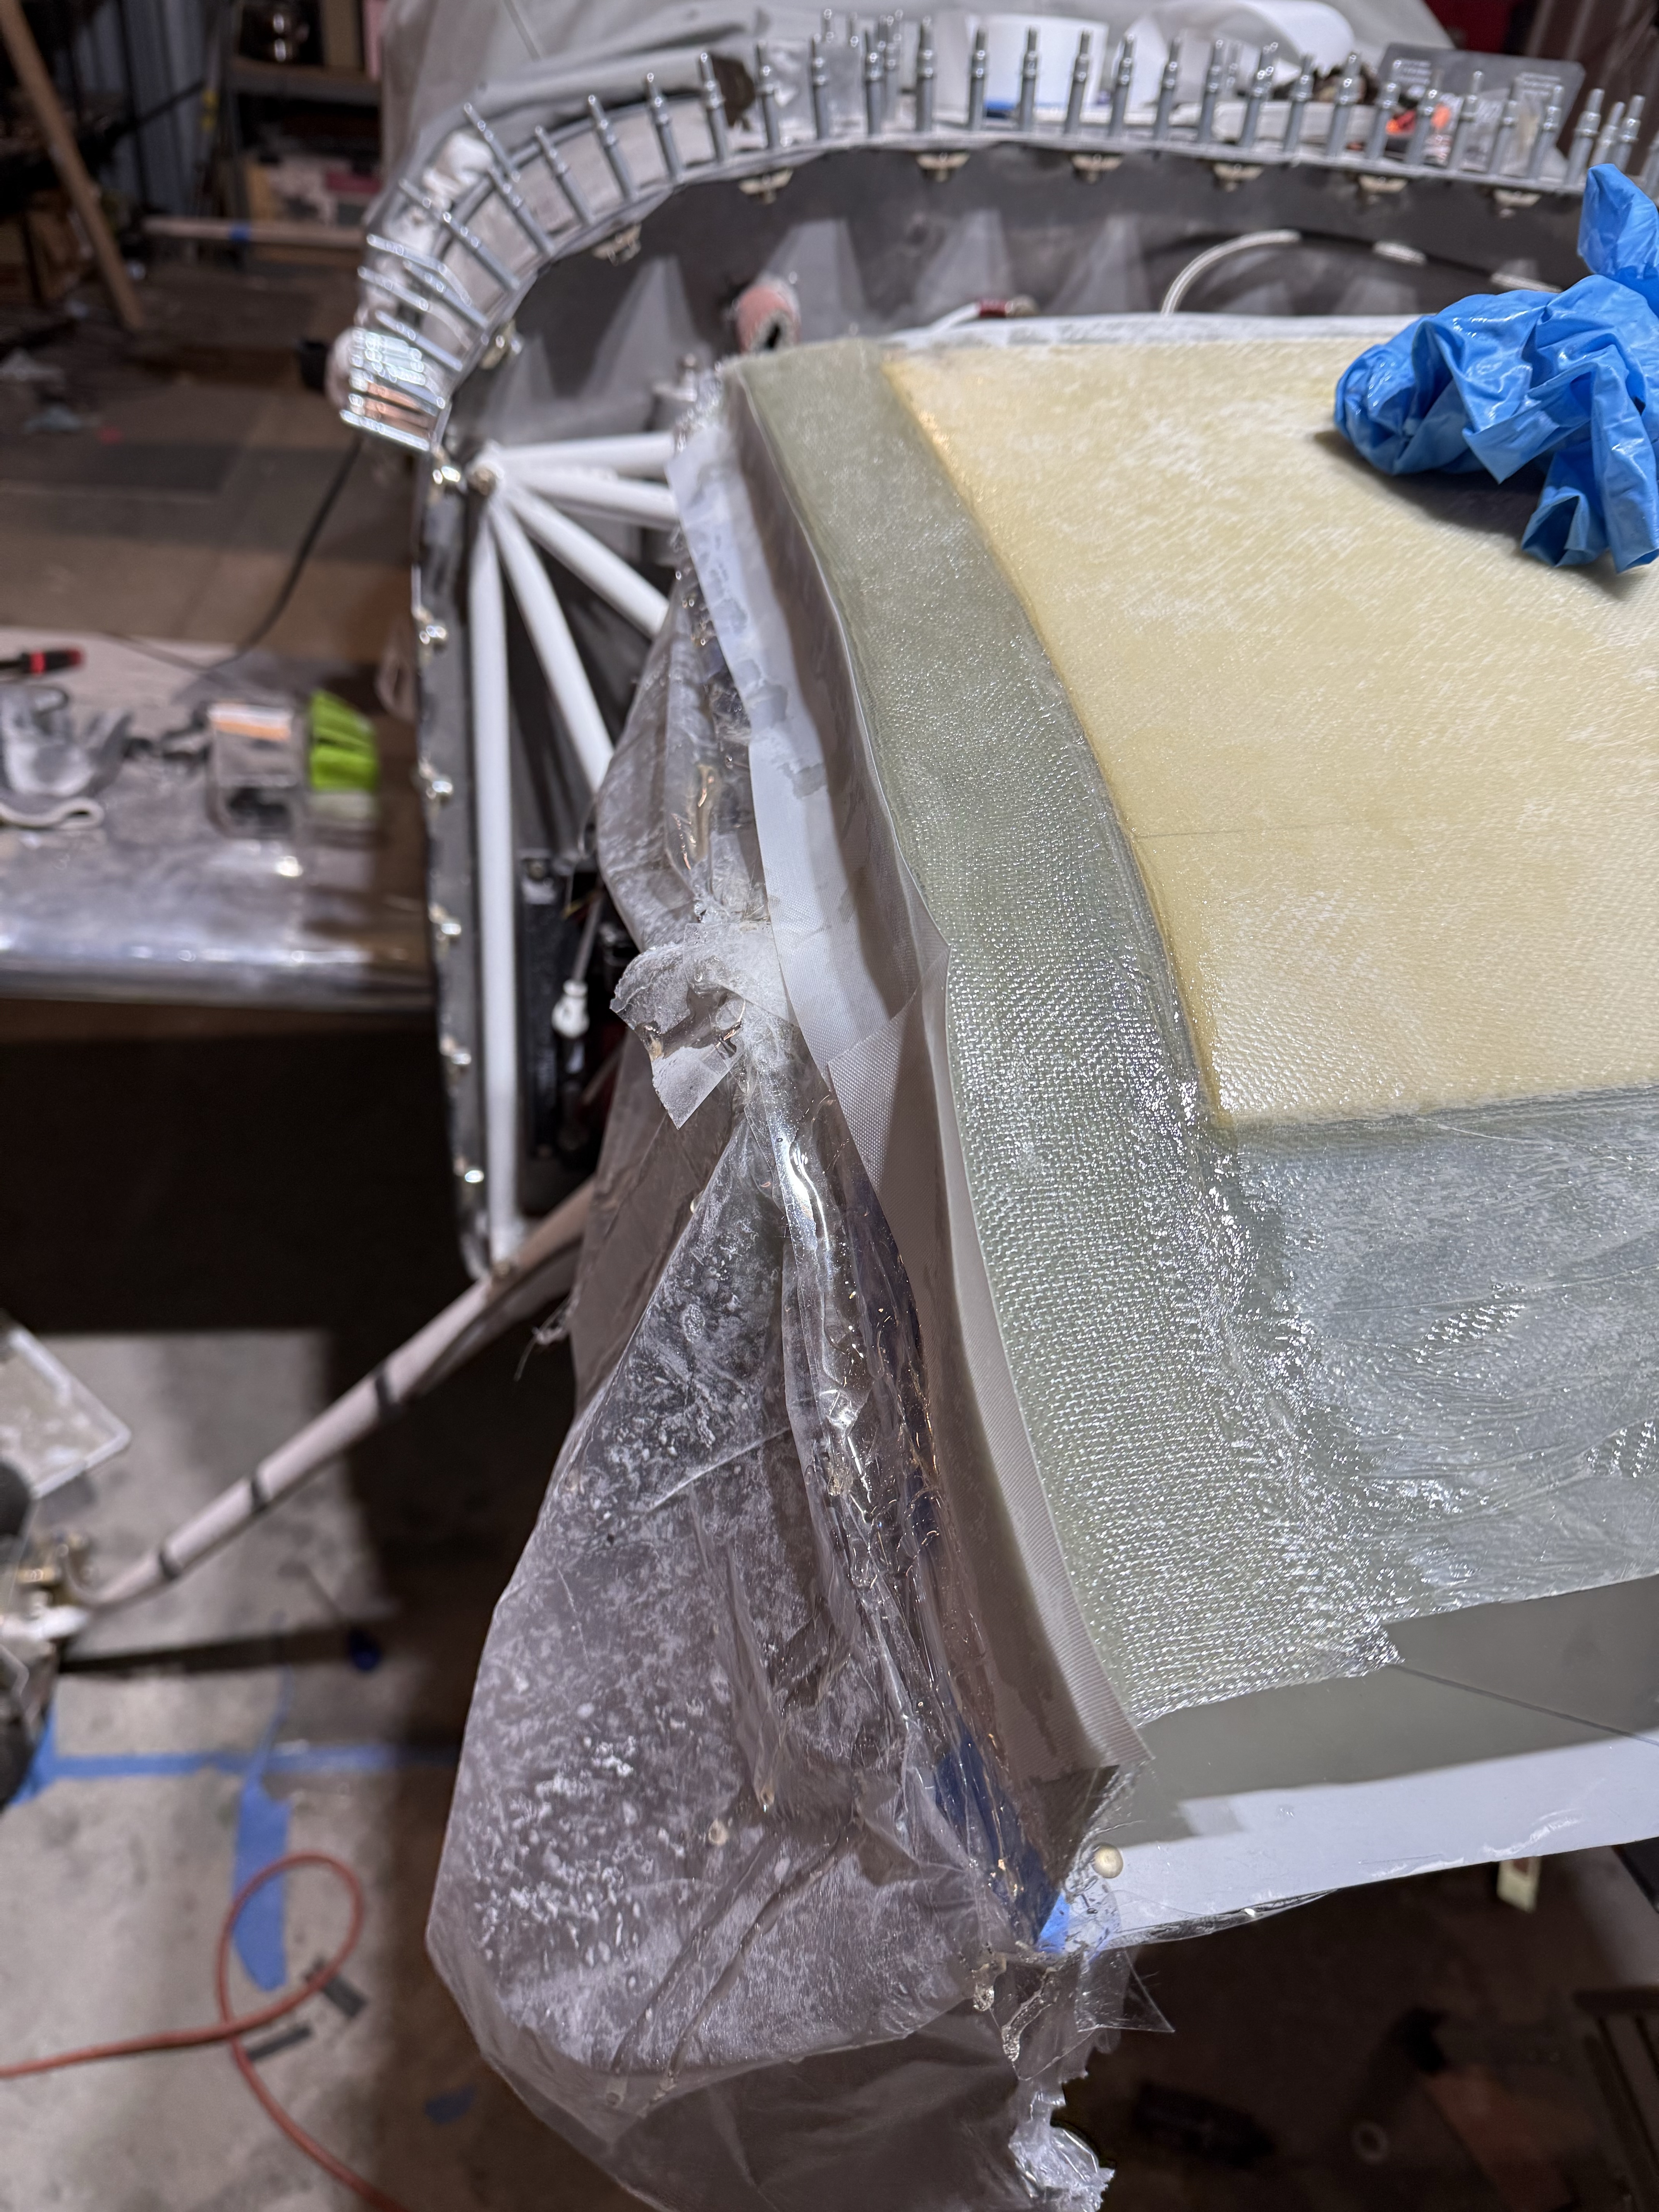
I used some peel-ply to try and absorb some of the extra epoxy, but it was a pretty simple layup.
I didn’t get any pictures, but the other side looked nearly the same.
I came back the next day, and trimmed and cleaned up the edges, and sanded the surface back smooth. I will add some filler to finish out any of the low spots prior to painting.

I drilled the sides to the baffles to temporarily hold it in place, and then prepped to do the forward layup next.

Heres the right side, I will drill these holes to 5/32″ for a -8 screw and add nutplates to the inside of the baffles.
The forward layup was a bit more tricky, as it is a complex shape with several bends. I cut the fiberglass to follow the contours and began the layup. Heres the right half of the forward section.

And the left side. I will trim the flange back to about an inch of overlap.

The center of this flange has a small gap to prevent interference from the inner support bolt/nut.

Leave a comment