After rigging the ailerons and flaps and making sure everything was aligned, I needed to remove the wings one more time in order to finish up some critical items. The to-do list included finishing the Root Fairing seals and drilling two more holes for the Pitot and AOA tubes (for the left wing). The Root Fairing seals have about 20 nut plates that need to be riveted to the wing in order to accept the screws that hold everything together. This required removing the wing so I have access to the inboard rib of the wing to install everything.
A few years back, a fellow builder, Vince, told me about a solo method to remove and install the wings using the wing cradle. If it wasn’t for this guidance It would have been quite annoying to attempt this work by myself. The method involves putting the wing cradle under the wing when its temporarily installed in the plane, and then using some plywood clamped to the cradle to prop the wing up in its final orientation.
I used some scrap plywood my friend Norio gave me, and cut it to size such that when clamped to the cradle, it fit snuggly under the wing. I then clamped everything and tightly as I could. I hopped into the plane and began the painstaking process of removing the bolts that had been temporarily holding the wing on. Its quite a tight and awkward fit, but I managed to remove everything. I then slowly removed the wing while it was held up by the wing cradle. Success!

Once I had the wing off, I began the process of drilling, countersinking, dimpling, and installing the nutplates to the inboard rib of the wing. This was pretty straightforward, nothing too challenging here.
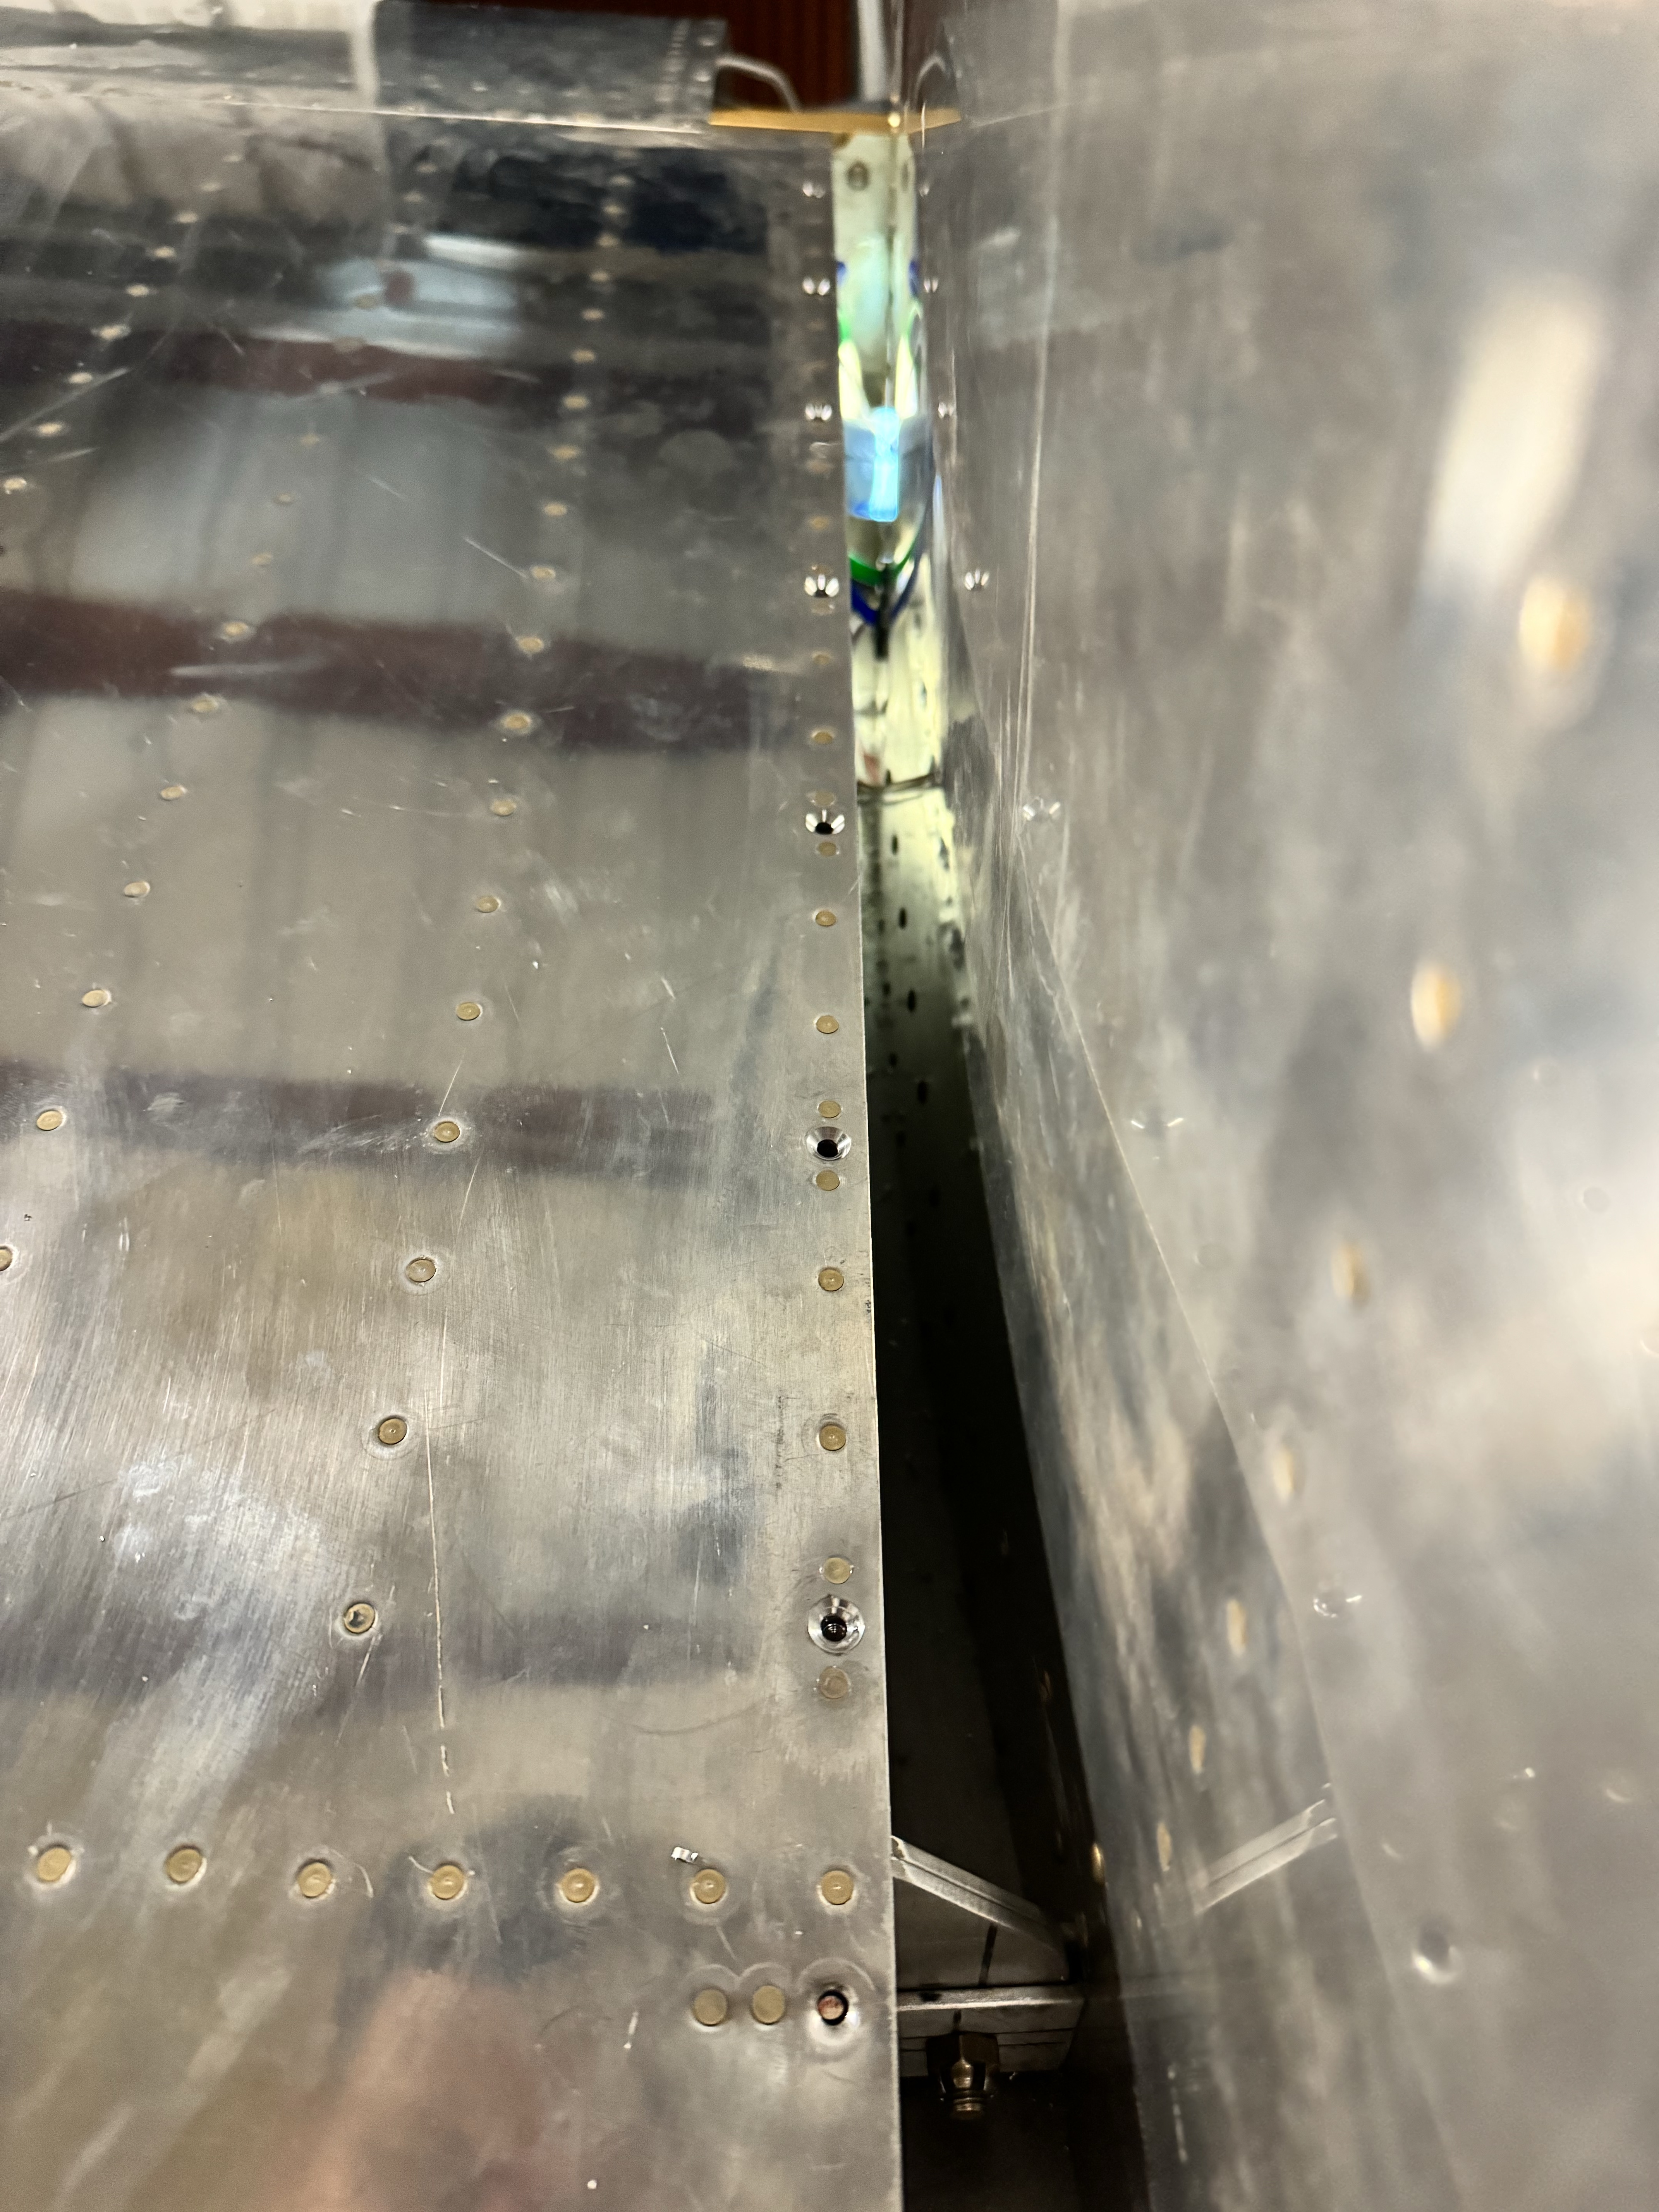
I also used this opportunity to drill two additional holes in the side of the fuselage for the pitot and angle of attack lines. Its all quite a tight fit inside this area, so trying to make sure I had everything lined up appropriately. When I initially installed the lines, I mistakenly cut one of them a couple inches too short. In this pic you can see a short segment that is used to attach everything. After taking this pic I added a longer segment in the wing under one of the access panels (where its easier to work) in order to remove this short segment under the floor pan.

I Also needed to attach the nutplate to the fuel tank bracket. This is an AN4 bolt that will slip away in the event that the wing impacts something, in order to prevent the fuel tank from rupturing to minimize the risk of a fire. The bolt here will be safety wired.
Once I had everything drilled, and all the nutplates installed, I reinstalled the wing. The wing cradle method worked absolutely flawlessly, and makes installing the wings solo completely reasonable. I then installed all of the bolts that hold the wing, as this is the final time the wings will come off!

The next day, I went back to the hangar to repeat the entire process on the right wing. This one took me about 50% less time, which was nice. Now that the wings are permanently installed, I can now wire up the wingtip lights, and autopilot servo, which will close out the two remaining avionics to-do items.

Leave a comment