Over the weekend I riveted the final skin (and the final rivet) of the plane.
Before I got to riveting, I knocked out some items from the backlog. I needed to remove the oil filler neck in order to get to one of the bolts for the baffle.

This otherwise impossible to reach screw has been torqued and (not in the picture) marked with torque paint.
I also fabricated the baffle tie-rods.
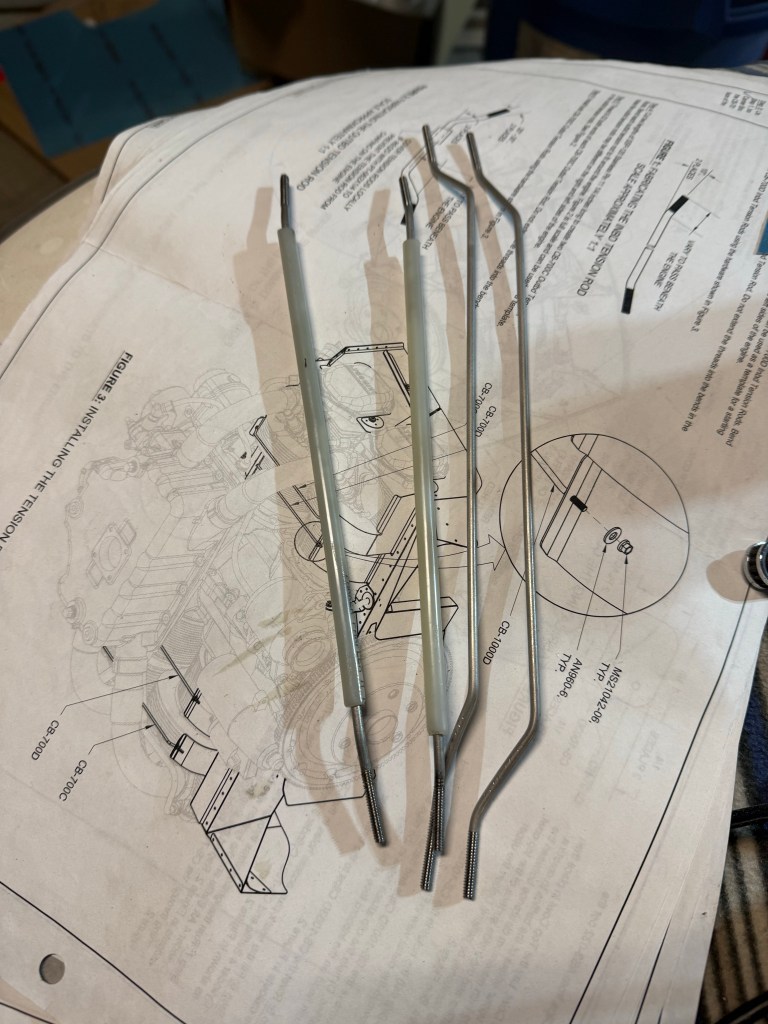
I added the plastic tubing to the remaining two rods. Highly recommend doing it prior to threading the ends.

These are threaded to -6. I then installed them on the baffles. It took some iteration and some pressure, but I eventually got them installed and torqued.

The plastic tubes will protect the stainless steel from abrading the oil return lines if they end up making contact. I may adjust things in the future if anything gets too close. (This picture reminds me I need to secure the propeller oil line (brown) and the alternator wires (red/white) ).
I then torqued and safety-wired the alternator and belt. I used the method that many people have described online. For a new belt (like I have) it should be tensioned in a way that it takes 11-13 ft-lbs to turn the alternator pulley under the belt.

I then torqued and safety wired the alternator bolt.
I still have a little work to take care of firewall forward, but I wanted to knock out the fuselage skin riveting. Before I started riveting, I needed to move the engine monitor SV-EMS-220 to the other side of the avionics bay.

Looking through one of the access panels, this is now mounted inboard of the skin rivets, and has much easier access.
I started riveting the skin from the center rib, moving towards the sub-panel and then outboard.

Here you can see the rivets long the sub-panel. The access panels I installed in the skin allowed me to rivet this completely solo. It also makes future avionics maintenance a non-event. I should never have to crawl under the panel unless I need to make adjustments to the rudder pedals.

Here are the left side rivets. They transition to -4 rivets towards the firewall.

Here is the underside of the rivets. You can see where the EMS would have interfered with the rivets if I had it on the other side of this rib.

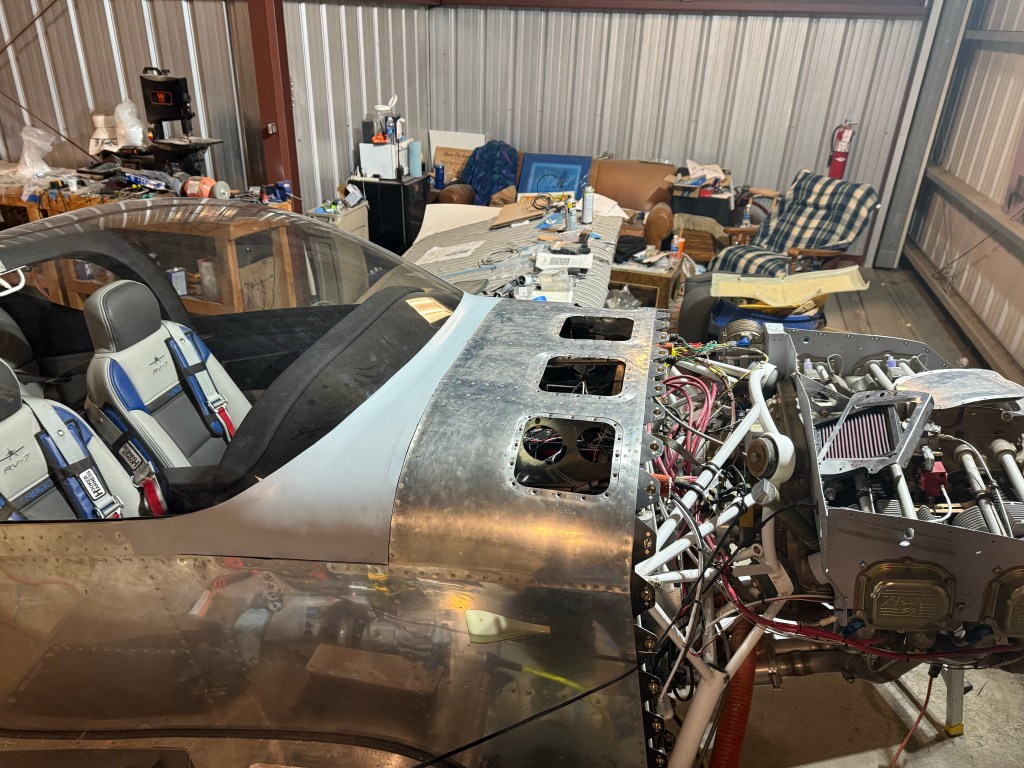
Here is the completed installation. Just a bit of wiring clean up and securing, and the plane is complete. I can officially say I’ve riveted my last rivet (until the next one).

Leave a comment