Installed engine mount

Tonight I wanted to mount the engine mount in preparation for hanging the engine in a few weeks. It took some force, but I managed to install it tonight. 

I only have the 4 outside bolts installed. The remain two on the bottom I didn’t install yet because I need to fabricate some shims. 
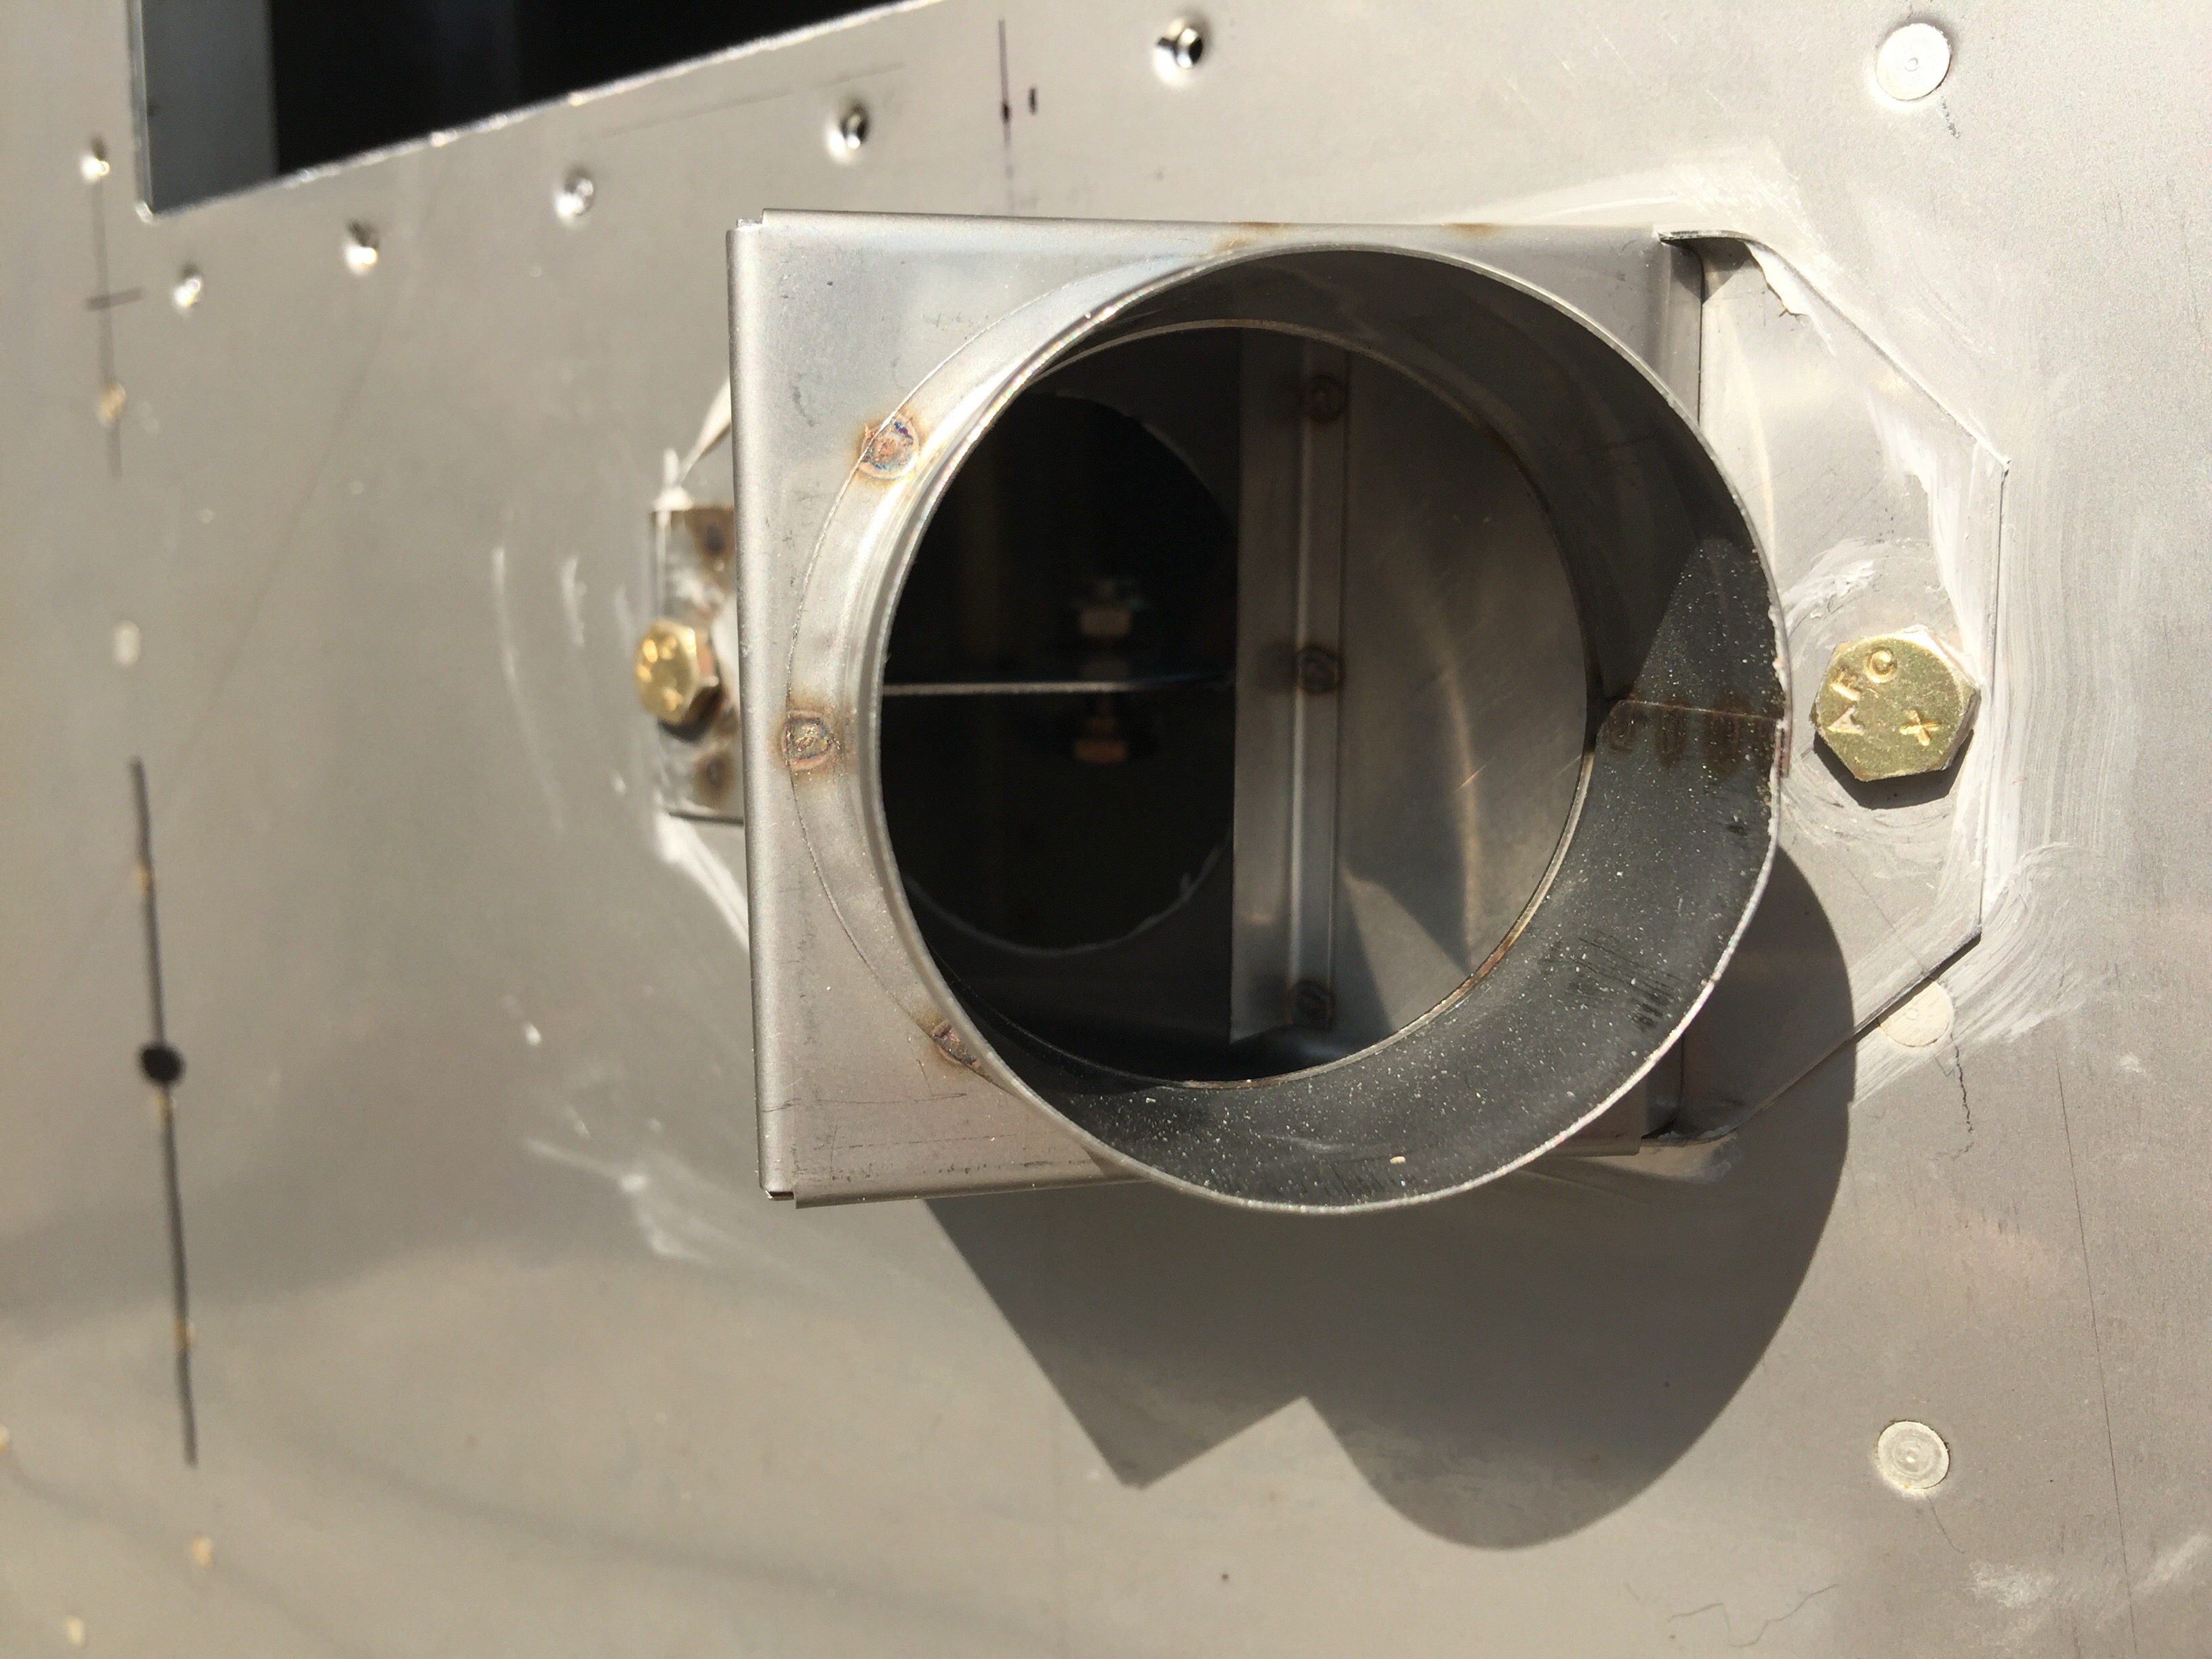
Here you can the see the gap between the engine mount and the firewall. I’ll fabricate a small shim and then I’ll install the remaining two bolts. 

Next up is to install the landing gear! 

Installed engine mount

Received Engine! 

Today I received my engine! Its AWESOME! I ordered mine from Superior Air Parts. The engine is an XP-IO360-B1HD2. It’s 185hp with a cold air induction system and duel P-Mag electronic ignitions. It’s going to be incredible! 


Here’s a shot from the back of the engine, you can see the two P-Mags on the back (gold and black) on either side of the oil filter. The oil filler neck is on the right side behind cylinder 3. 

I’m setting up a large order from Vans that include a lot of the firewall forward kit components, but I need to delete several things because of the custom configuration of my engine. 

Received Engine! 

Firewall Prep

Yesterday I spent several hours installing a bunch of firewall components. I started by drilling a 2″ hole for the stainless steel heater box. I then positioned it and drilled the two holes for mounting. 

It came with a tube of firewall sealant, I lined the underside and then bolted it in place. 

A tube will attach to this end and a heat muff surrounding the exhaust on the other. 

I then began measuring and lining up the battery tray. I’m going with an EarthX lithium battery. 

This is mounted using three bolts from the inside of the firewall. I also installed my vent line ports. These are some fancy aerodynamic covers that I got from JD Air. They require a 5/8th hole and mount from the inside. 

Here are the two vents installed. 

I then installed the brake reservoir. It’s mounted on the passenger side in case I want to add copilot brakes later on. 

The hydraulic low pressure line attaches to the inside of this reservoir. 

Lastly I installed the master relay and starter relay. This took some work mainly due to the slightly different battery case. I had to drop the pair down a bit lower than the standard installation spot. 

Here’s everything installled on the firewall. You can see the relays just below the battery. 

Next up, firewalls recess, then the engine mount. 

Firewall Prep

Ordered Engine

I placed the order for my engine today! It’s a big step and will force me to work super hard over the next 6 weeks in order to be ready for it. 

I’m going with a Superior Air Parts XP-360. It’s an IO-360 fuel injected engine with dual P-mag electronic ignition, also got the optional Superior Cold air induction, and it is configured for a constant speed prop. Total comes out to $30,350. 

I am very excited about it and can’t wait to install it on the plane! 

Ordered Engine

Panel

Yesterday I spent a few hours working on the panel support angle. 

This angle was drilled and then notched with the bandsaw so that it can follow the contour of the panel. 

Here’s how it looks as it takes form. I then drilled this to the panel with a #30 bit for the -4 rivets. 

This is the angle clecoed to the panel. 

I also mocked up the panel layout and drew switch location and other peripherals. 

I then decided to hook up the ADAHRS and GPS to the display. I was able to get a fix on position and also noticed that my mounting of the ADAHRS was off just a tiny tiny bit. I will have to shim it with something very thin. 

Panel

Fuse work – avionics

It’s been a while since I’ve had time to work on the plane, and this past week I was dealing with a slight cold. 

I received some of my avionics over the last few weeks, and a couple days ago I got my primary EFIS. I got started today by making a custom mount for the ADAHRS.  

It has been bent to follow the contours of the j stringers and the center support. It consists of some angle supports and .040 aluminum. 

It is screwed to the supports and will get much stiffer once the skin is riveted on. The adhars is then screwed to nutplates on the mount so that it is removable. 

I also installed my gps antenna with 4 nutplates and some countersunk -8 screws. 

Here’s the inside shot showing the nutplates. 

I also routed the plumbing for the pitot system with some zip ties. 

After this I also installed the transponder on the bottom support. 

The Comm antenna is just forward of the transponder and will have the antenna routed forward through the wiring conduit. 

The last step for wiring avionics is to connect the ADAHRS to the network. 

I also booted up my skyview hdx for the first time. This thing is beautiful! 

I used the test network cable to hook up the computer and see if I could get attitude info. 

Next up is to work on panel and forward fuselage work. 

Fuse work – avionics